Converting terrain to terrn2 format
Basic (Single-layer) 0.3x terrain to terrn2 conversion
As of version 0.4.0, terrains now use the terrn2 file format. This page will teach you how to convert a basic terrain to terrn2+.
Programs needed:
What defines a "Single-layer" terrain?
In the old .terrn format's .cfg file, you will find a line at the top in this format:
WorldTexture=texture.dds
This is the texture image for this single-layer. A majority of 0.3x terrains only use this layer for their terrain texture. Terrains that have more than one texture layer use Alpha Splatting which is not covered in this tutorial.
Getting the template
I have made and uploaded a template terrain here with the right file structure which will be used throughout this tutorial. Download the raw heightmap version, as 0.3x terrains use .raw heightmaps.
Choosing your terrain to convert
Lots of terrains have already been converted, you can find them here, don't waste your time converting a terrain that has already been converted! In this tutorial I will be converting the Cliffdrop terrain.
Getting started
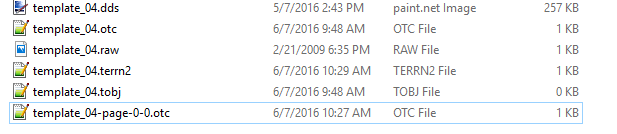
Once you've downloaded the template terrain, extract it into a folder using any zipping program (Windows can extract files by default, but I use 7-Zip. It should look like this:
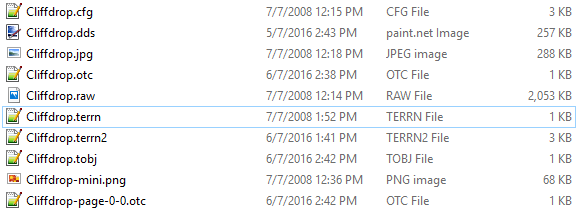
Extract the 0.3x terrain zip into that same folder. Now it should look like this: 
Rename the template_04 files to match your terrain's file name Delete the template_04.raw file first as you will get duplicate errors otherwise!:
Transfering terrain information to terrn2 terrain files
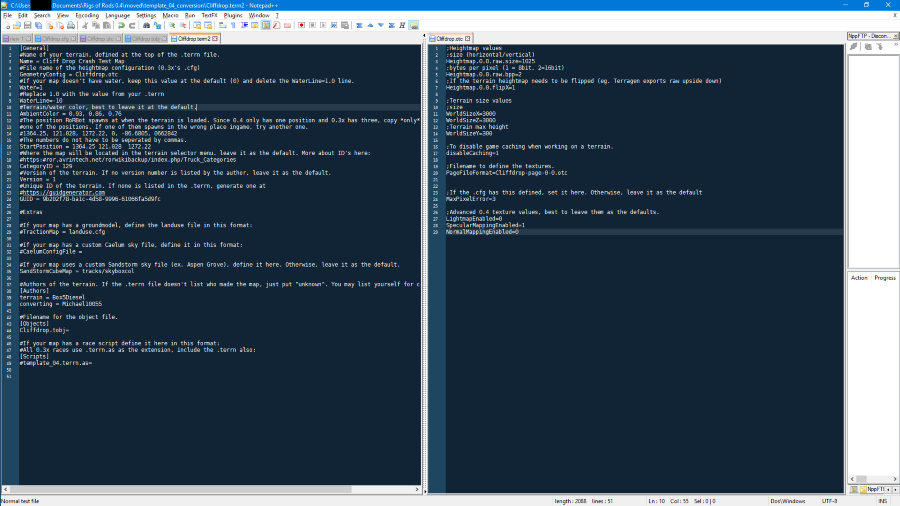
Now that you've got both the new terrn2 files and the old terrain files in the zip, I will start out by transfering the information from the .terrn file to the .terrn2 file. If you're using Notepad++, you can open both files and have them side-by-side for easy editing: 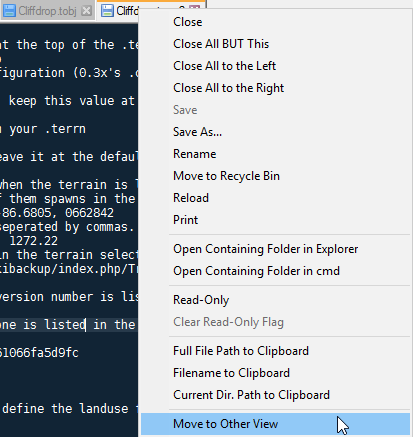
.terrn -> .terrn2
[General]
#Name of your terrain, defined at the top of the .terrn file.
Name = Cliff Drop Crash Test Map
#File name of the heightmap configuration (0.3x's .cfg)
GeometryConfig = Cliffdrop.otc
#If your map doesn't have water, keep this value at the default (0) and delete the WaterLine=1.0 line.
Water=0
#Replace 1.0 with the value from your .terrn
#WaterLine=1.0
#Terrain/water color, best to leave it at the default.
AmbientColor = 0.93, 0.86, 0.76
#The position RoRBot spawns at when the terrain is loaded. Since terrn2 only has one position and 0.3x has three, copy *only*
#one of the positions. If one of them spawns in the wrong place ingame, try another one.
#1364.25, 121.028, 1272.22, 0, -86.6805, 0662842
#The numbers do not have to be seperated by commas.
StartPosition = 1364.25 121.028  1272.22
#Where the map will be located in the terrain selector menu. leave it as the default. More about ID's here:
#https://archives.rigsofrods.org/wiki/index.php/Truck_Categories
CategoryID = 129
#Version of the terrain. If no version number is listed by the author, leave it as the default.
Version = 1
#Unique ID of the terrain. If none is listed in the .terrn, generate one at
#https://guidgenerator.com
GUID = 9b202f78-ba1c-4d58-9996-61066fa5d9fc

#Extras

#If your map has a groundmodel, define the landuse file in this format:
#TractionMap = landuse.cfg

#If your map has a custom Caelum sky file, define it in this format:
#CaelumConfigFile =

#If your map uses a custom Sandstorm sky file (ex. Aspen Grove), define it here. Otherwise, leave it as the default.
SandStormCubeMap = tracks/skyboxcol

#Authors of the terrain. If the .terrn file doesn't list who made the map, just put "unknown". You may list yourself for converting the terrain.
[Authors]
terrain = Box5Diesel
converting = CuriousMike

#Filename for the object file.
[Objects]
Cliffdrop.tobj=

#If your map has a race script define it here in this format:
#All 0.3x races use .terrn.as as the extension, include the .terrn also:
[Scripts]
#template_04.terrn.as=
.cfg -> .otc
;Heightmap values
;size (horizontal/vertical)
Heightmap.0.0.raw.size=1025
;bytes per pixel (1 = 8bit, 2=16bit)
Heightmap.0.0.raw.bpp=2
;If the terrain heightmap needs to be flipped (eg. Terragen exports raw upside down)
Heightmap.0.0.flipX=1

;Terrain size values
;size
WorldSizeX=3000
WorldSizeZ=3000
;Terrain max height
WorldSizeY=300

;To disable game caching when working on a terrain.
disableCaching=1

;Filename to define the textures.
PageFileFormat=Cliffdrop-page-0-0.otc


;If the .cfg has this defined, set it here. Otherwise, leave it as the default
MaxPixelError=3

;Advanced terrn2 texture values, best to leave them as the defaults.
LightmapEnabled=0
SpecularMappingEnabled=1
NormalMappingEnabled=0
.cfg -> *.-page-0-0.otc
Cliffdrop.raw = Heightmap filename
1 = Amount of layers
worldSize = X/Z value in the .otc [Has to be the same]
Cliffdrop.dds = texture name
Cliffdrop.raw
1
; worldSize, diffusespecular, normalheight, blendmap, blendmapmode, alpha
3000     , Cliffdrop.dds     ,   Cliffdrop.dds
.terrn -> .tobj
After the configuration lines in the .terrn (usually after line 4) Copy all trees, grass and object placement lines after it except "end".
1385.381592, 300.027374, 736.709045, 0.000000, 0.000000, 0.000000, truckshop

1388.14, 300.974, 716.53, 0, 0, 0, truck wrecker.truck
We're done with the text editor now.
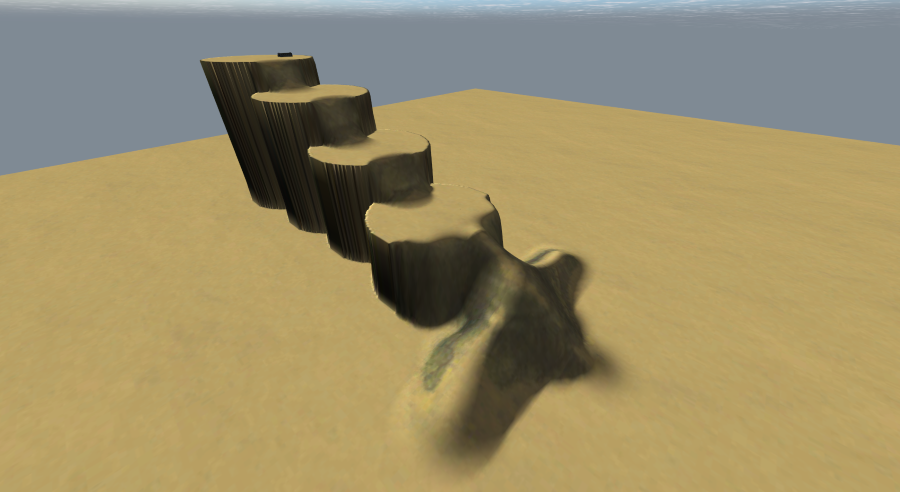
Removing the terrain shininess
If you tried the terrain in-game right now, you'd see there is a bright white spot covering the terrain where the sun is. Using latest version of GIMP, this can be fixed by applying a black layer mask. I recommend backing up your original texture image first.
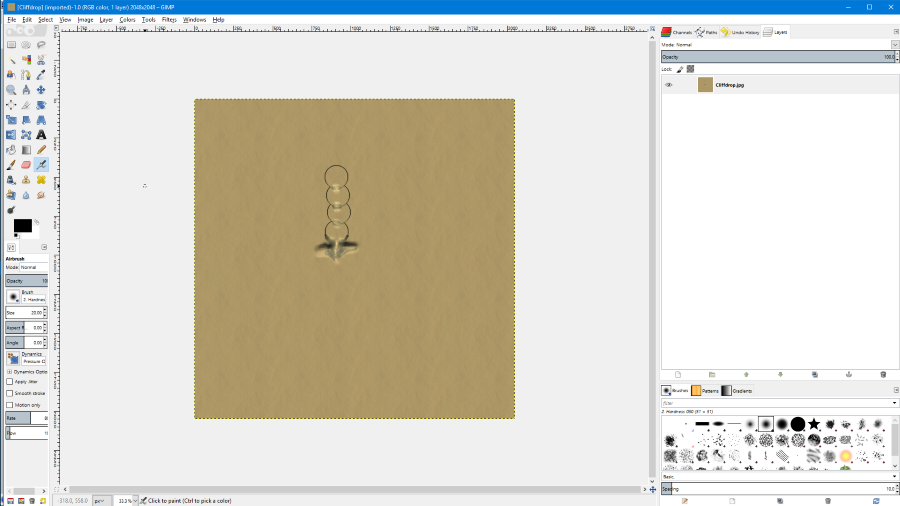
Open your texture in GIMP (in this case, Cliffdrop.jpg)
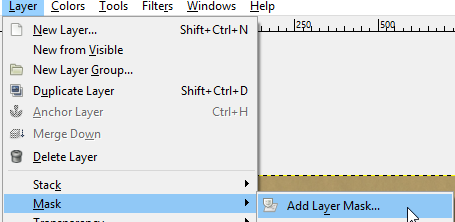
Go to Layer > Mask > Add Layer Mask...
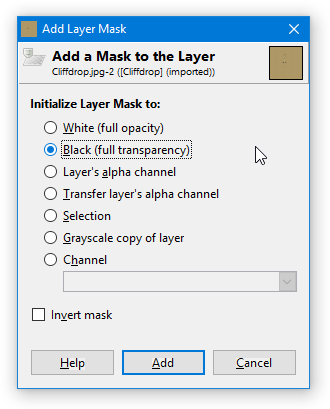
Select Black (full transparency) and click 'Add'
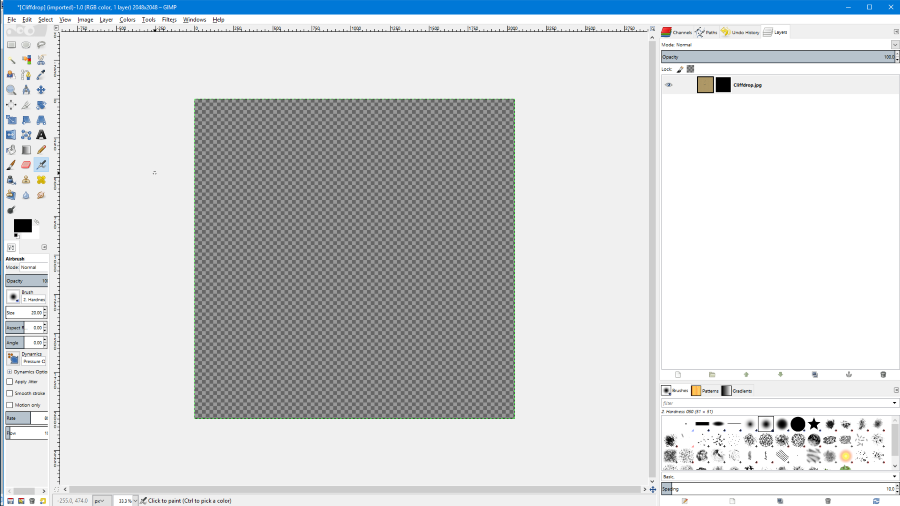
It should now look like this:
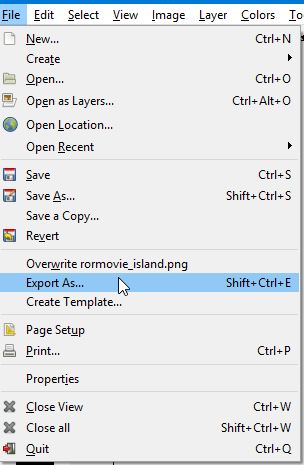
Go to File > Export As...
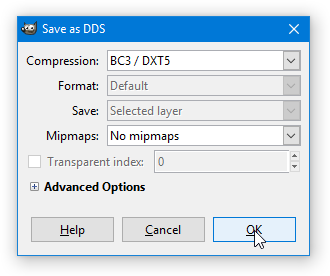
Set the file format to .dds

Set the compression type to 'BC3 / DXT5' and click 'OK'
You can now close GIMP.
Trying the terrain in-game
Now go ahead and zip all the files and place them in your Documents\My Games\Rigs of Rods\mods folder.
When you load the terrain in Rigs of Rods, You should now have a working terrn2 terrain!
Download the finished terrain here.
Removing the alpha mask
If you want to edit an existing terrain texture or don't have the original image anymore, you can follow these steps to remove the alpha mask:
Install paint.net if you don't already have it.
Since paint.net does not have this functionality by default, you also need to install dpy's Plugin Pack.
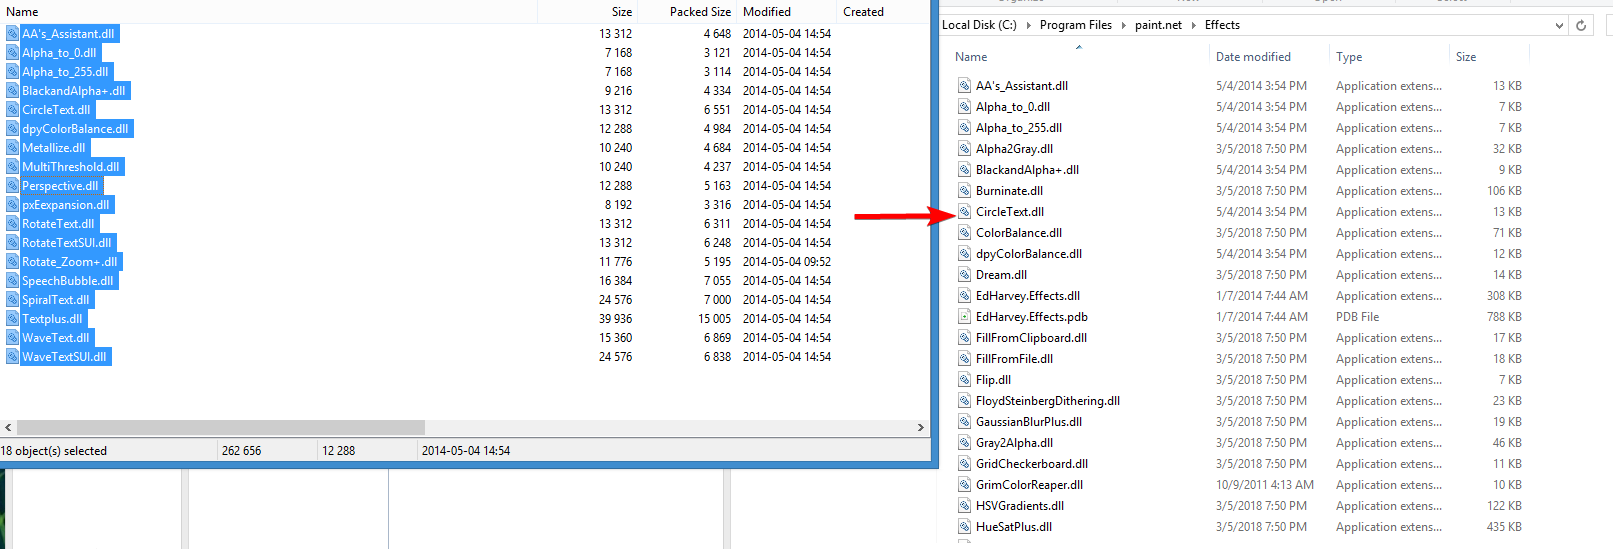
To install the plugins, open the zip file and drag the .dll files inside the dpyplugins8.1 folder into paint.net's Effects folder, usually located in C:\Program Files\paint.net\Effects:
Click Continue when it asks for administrator permission.
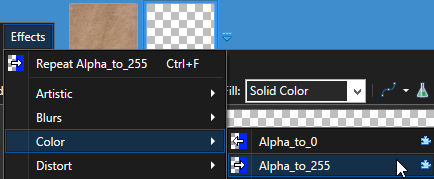
Now open your .dds file in paint.net and navigate to Effects -> Color -> Alpha_to_255.
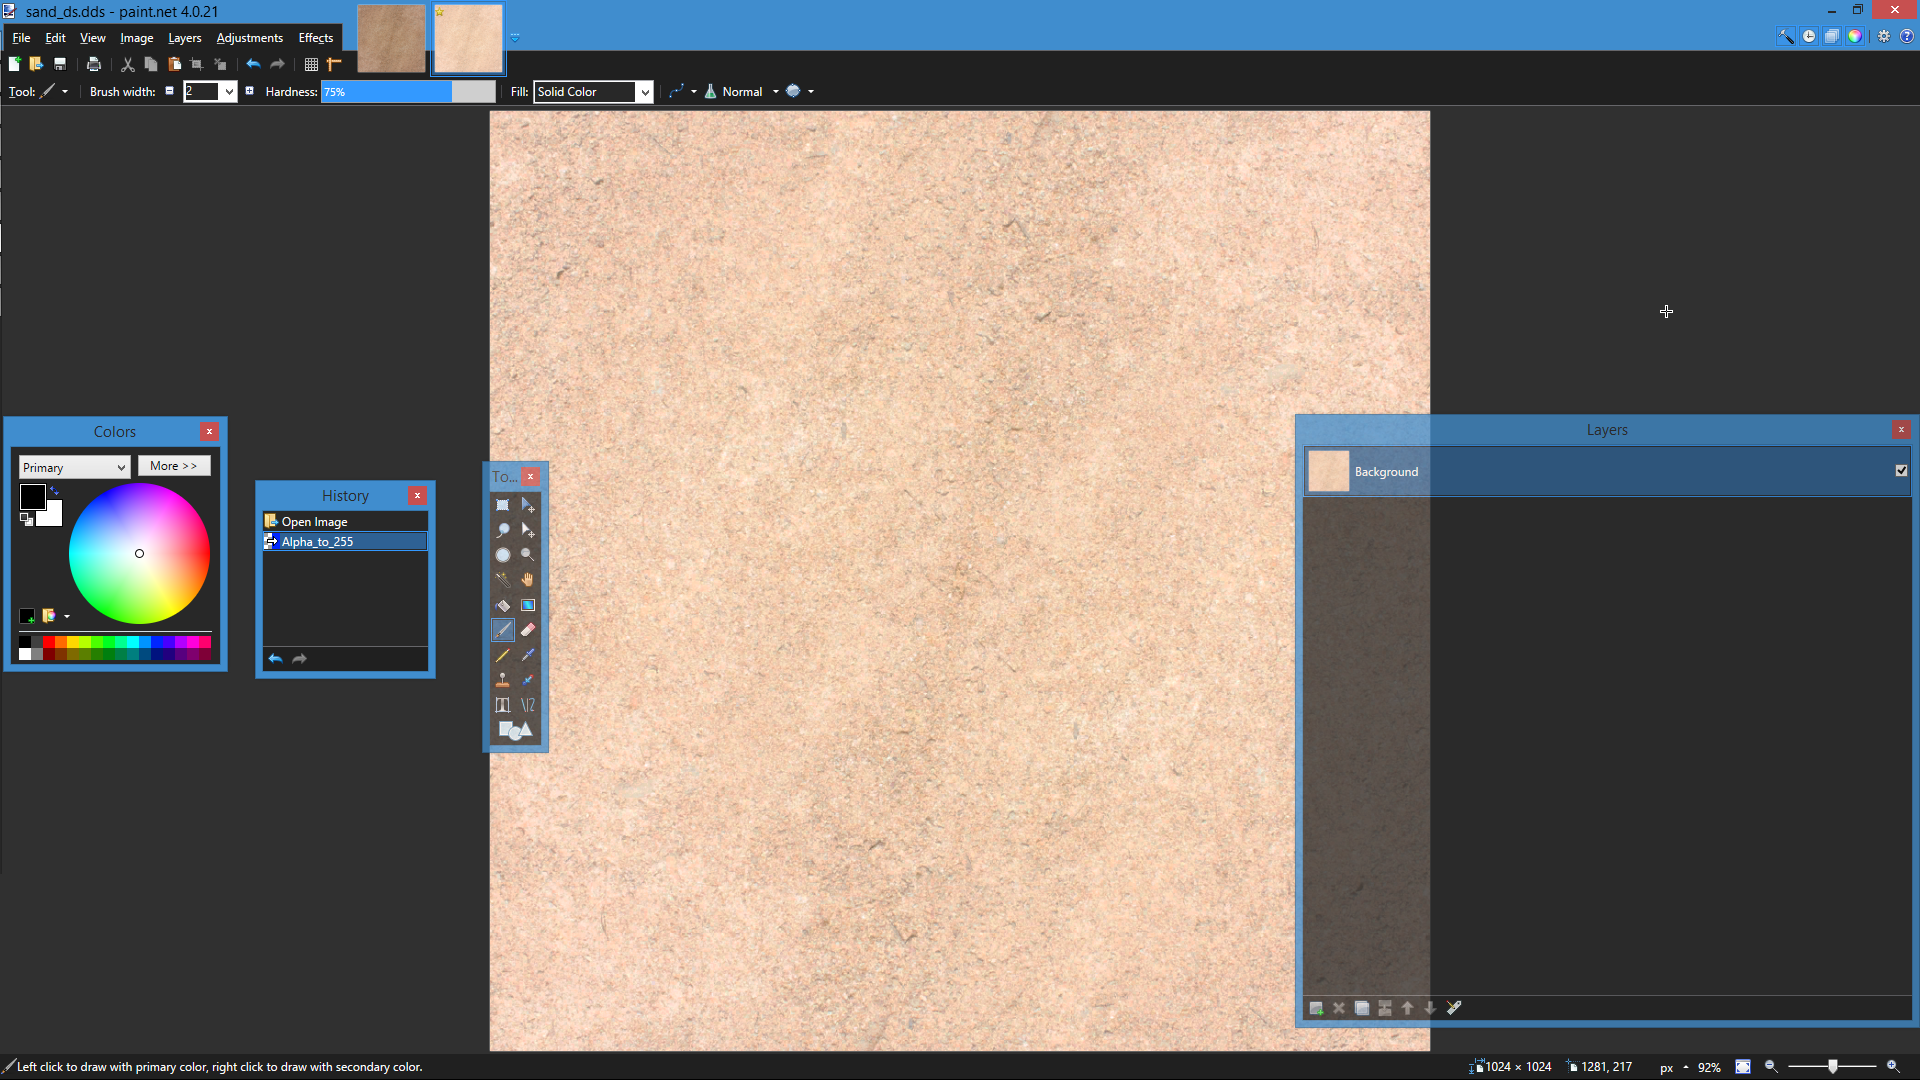
That's it! You can now edit the image and re-apply the alpha mask using the above steps once you're done.