Modding basics: Suspension (lifting, lowering, width, camber)
This page will teach you how to lift or lower, change track/wheel width, and add camber to a vehicle in RoR.
Please read everything thoroughly and don't skip any steps.
Lifting and lowering
Precomp
The simple (and lazy) way of lifting or lowering a vehicle is by simply changing the precomp value in the shocks section.
shocks
19, 23, 210000, 12000, .4, .2, 1, i
22, 1, 210000, 12000, .4, .2, 1, i
8, 26, 320000, 18000, .4, .2, 1, i
27, 10, 320000, 18000, .4, .2, 1, i
It is the last value before options. In this example it is currently at the default of 1. To lift, increase the value and decrease to lower:
;lift

shocks
19, 23, 210000, 12000, .4, .2, 1.3, i
22, 1, 210000, 12000, .4, .2, 1.3, i
8, 26, 320000, 18000, .4, .2, 1.3, i
27, 10, 320000, 18000, .4, .2, 1.3, i

;lower

shocks
19, 23, 210000, 12000, .4, .2, 0.85, i
22, 1, 210000, 12000, .4, .2, 0.85, i
8, 26, 320000, 18000, .4, .2, 0.85, i
27, 10, 320000, 18000, .4, .2, 0.85, i
The effectiveness of this method depends on the suspension geometry. Solid axles work the best, while most independent suspension vehicles can't be lifted with this.
Changing precomp forces the shock to expand or compress. This can cause beams to deform or break on weaker (deformable) N/Bs.

Moving nodes with Blender
The correct way to lift or lower a vehicle is by moving the axle nodes. The easiest way to do this is with Blender.
Prerequisites
We'll be using the latest version (4.0 at the time of writing) but most steps should also apply to older versions.
Install the 2.8+ version of the N/B plugin using these instructions.
We'll be using some Notepad++ features to assist.
Preparing truck file for import
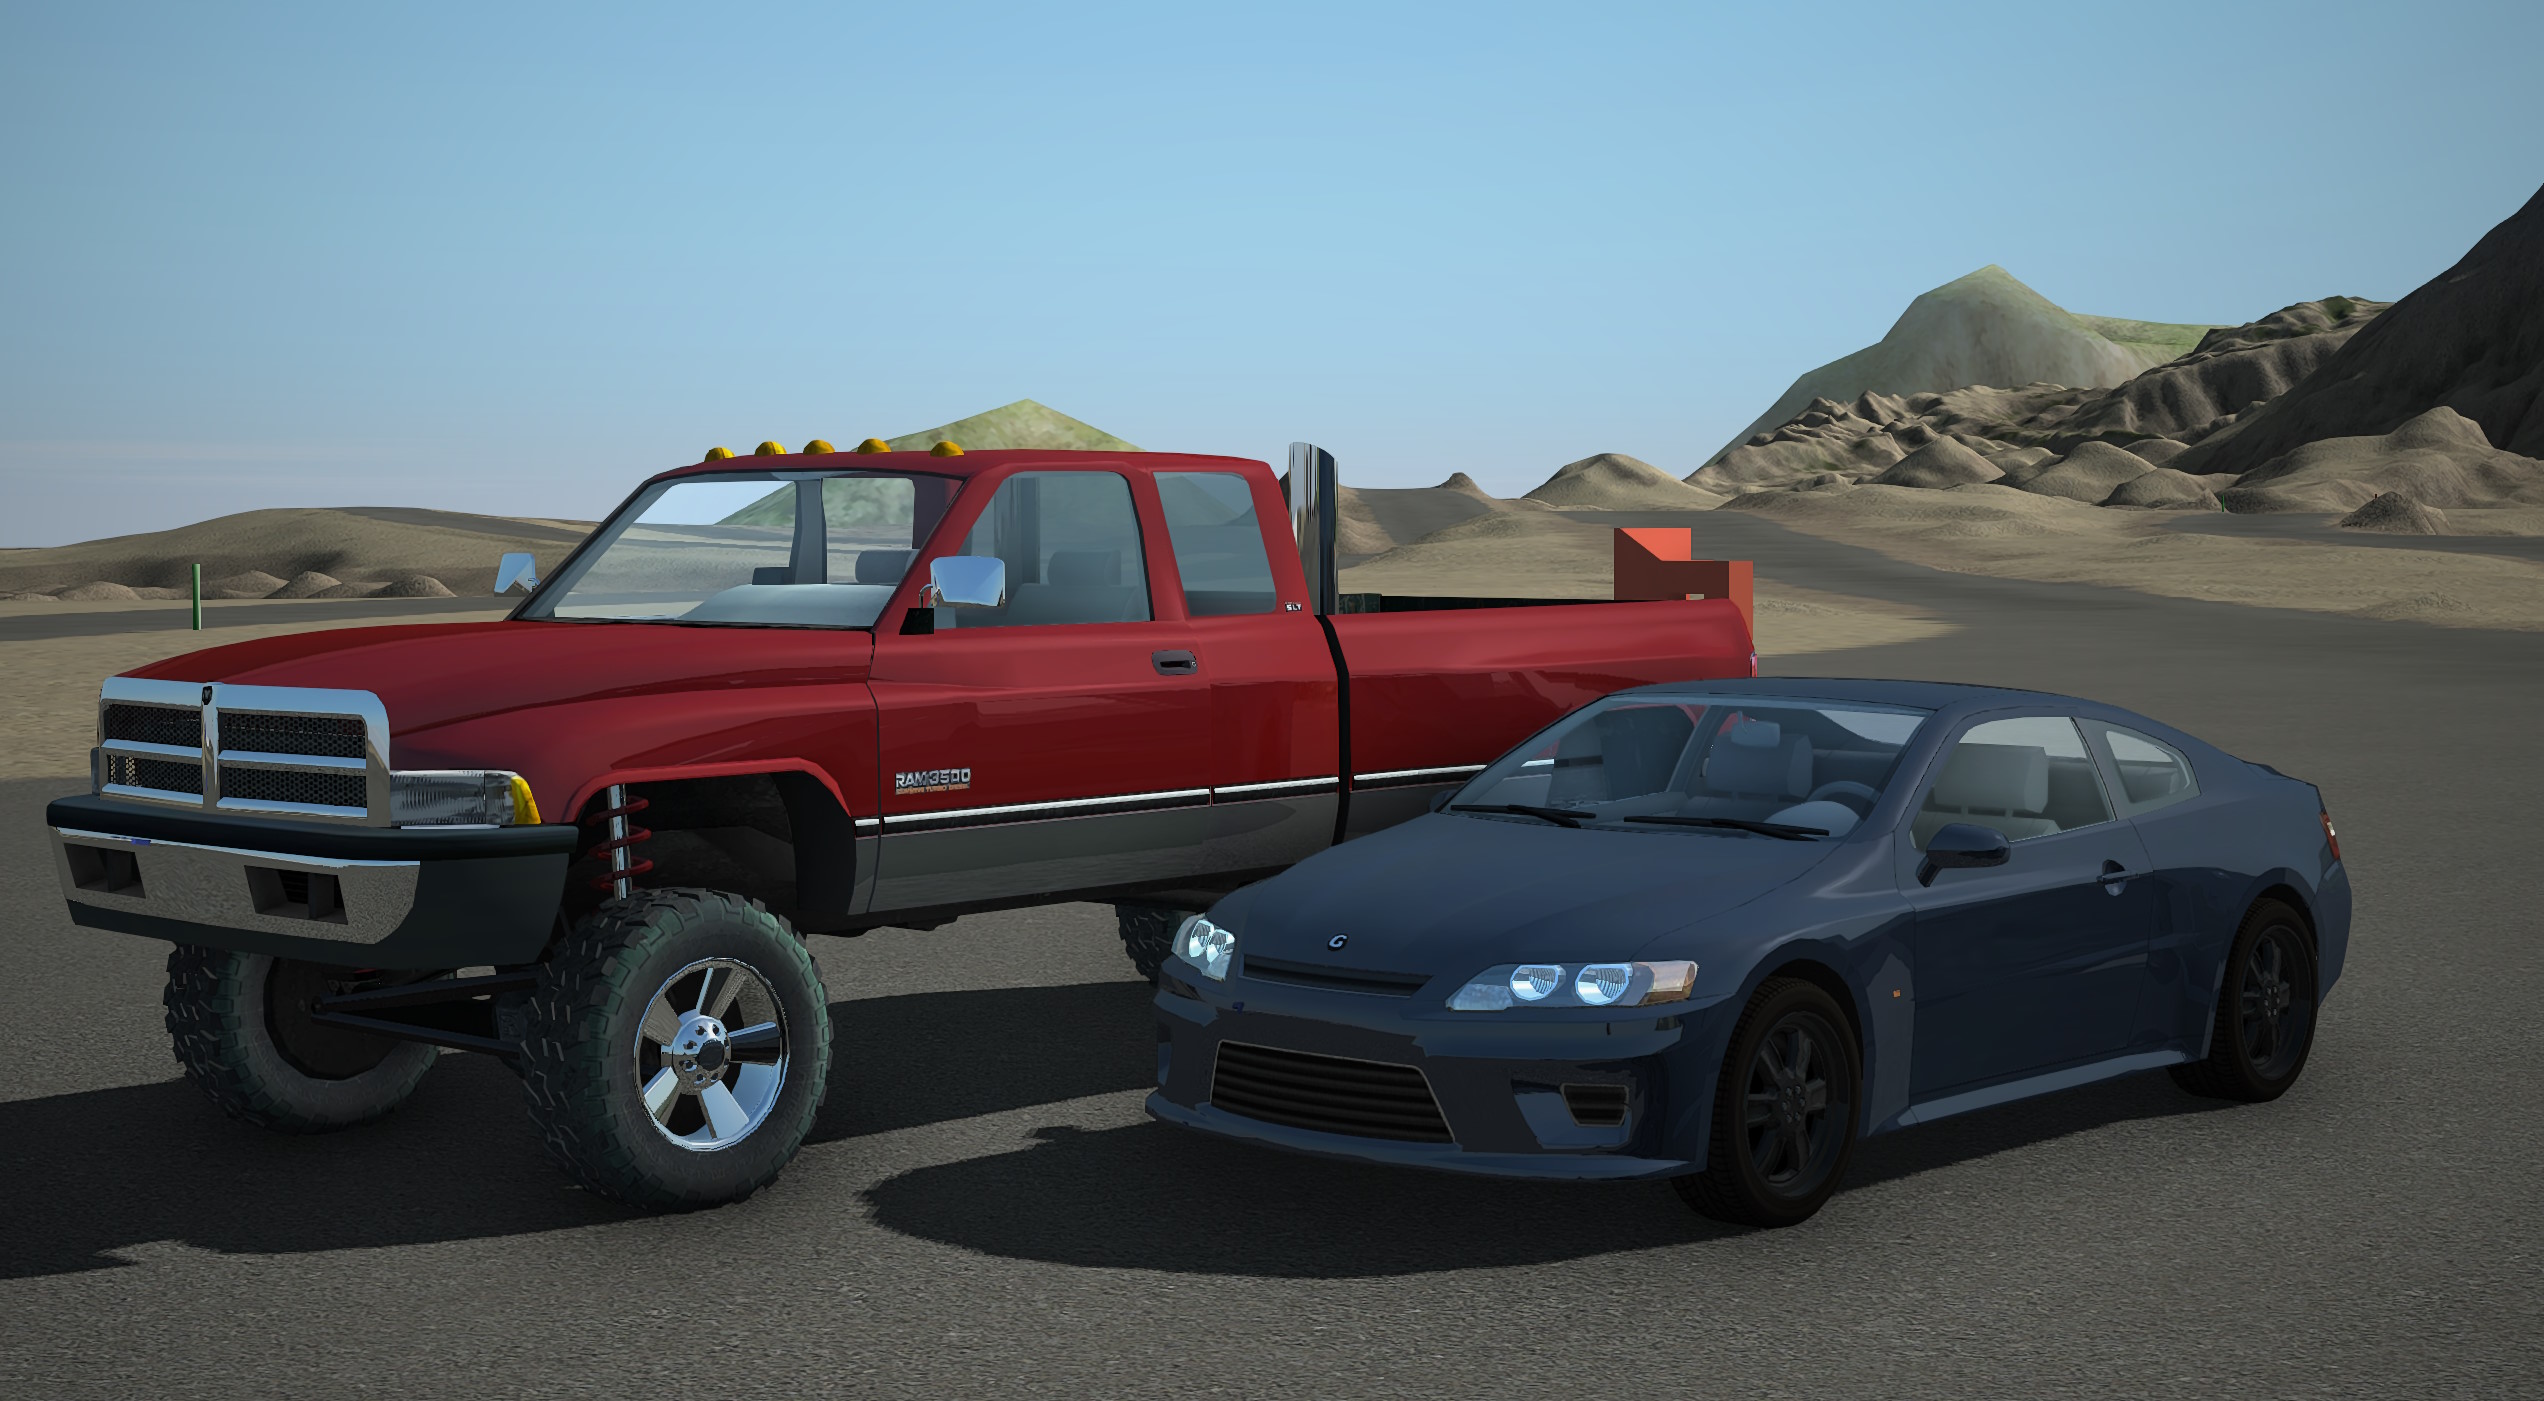
For this tutorial, we'll be lowering the Gavril G2S. and lifting the Box Dodge Ram EXT. These are two very commonly modified vehicles.
We need to prepare the files to be correctly imported into Blender.
Begin by opening the vehicle zip file (gavril23.zip or BoxDodgeRam.zip) and find the truck file (gavril.truck or BoxDodgeRamEXT.truck)
Move the truck file into a new folder. Now create a copy in the folder:

We'll be editing this copy to preserve the original truck file.
Node (vertex) groups
Note
The following two steps can be skipped with the Ram EXT as it doesn't feature any comments or detacher_group lines.
Open the copied truck file in Notepad++ and scroll down to the nodes section:
G2S: 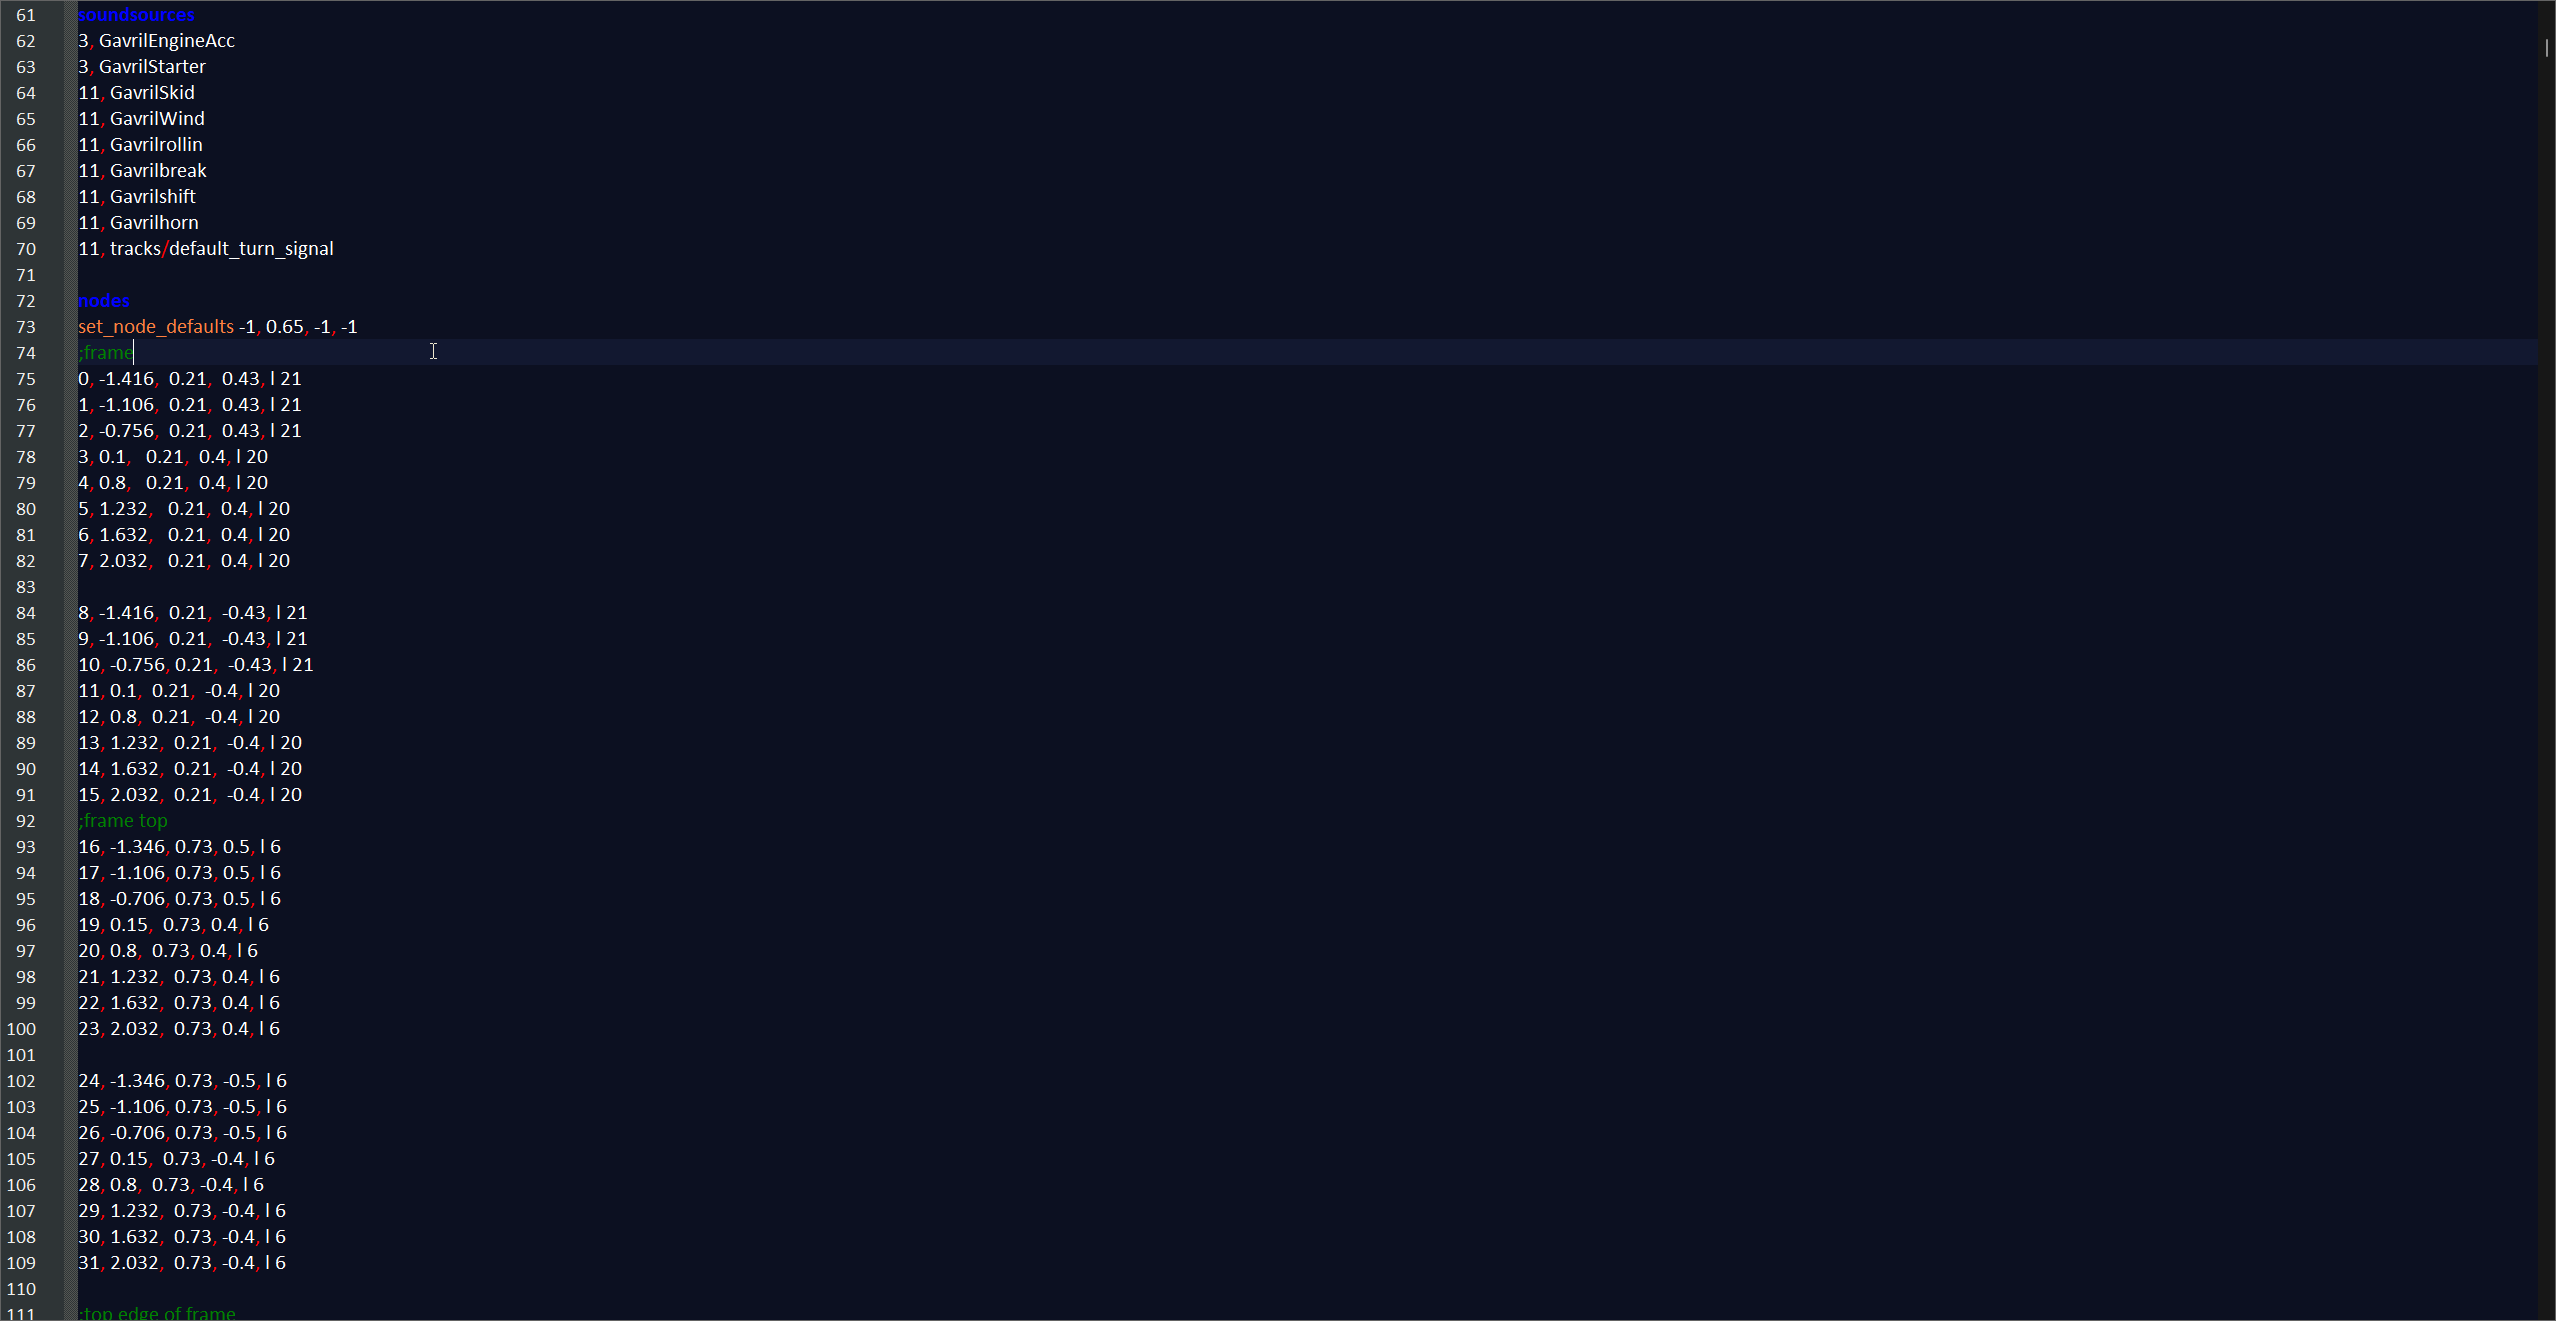
Ram EXT: 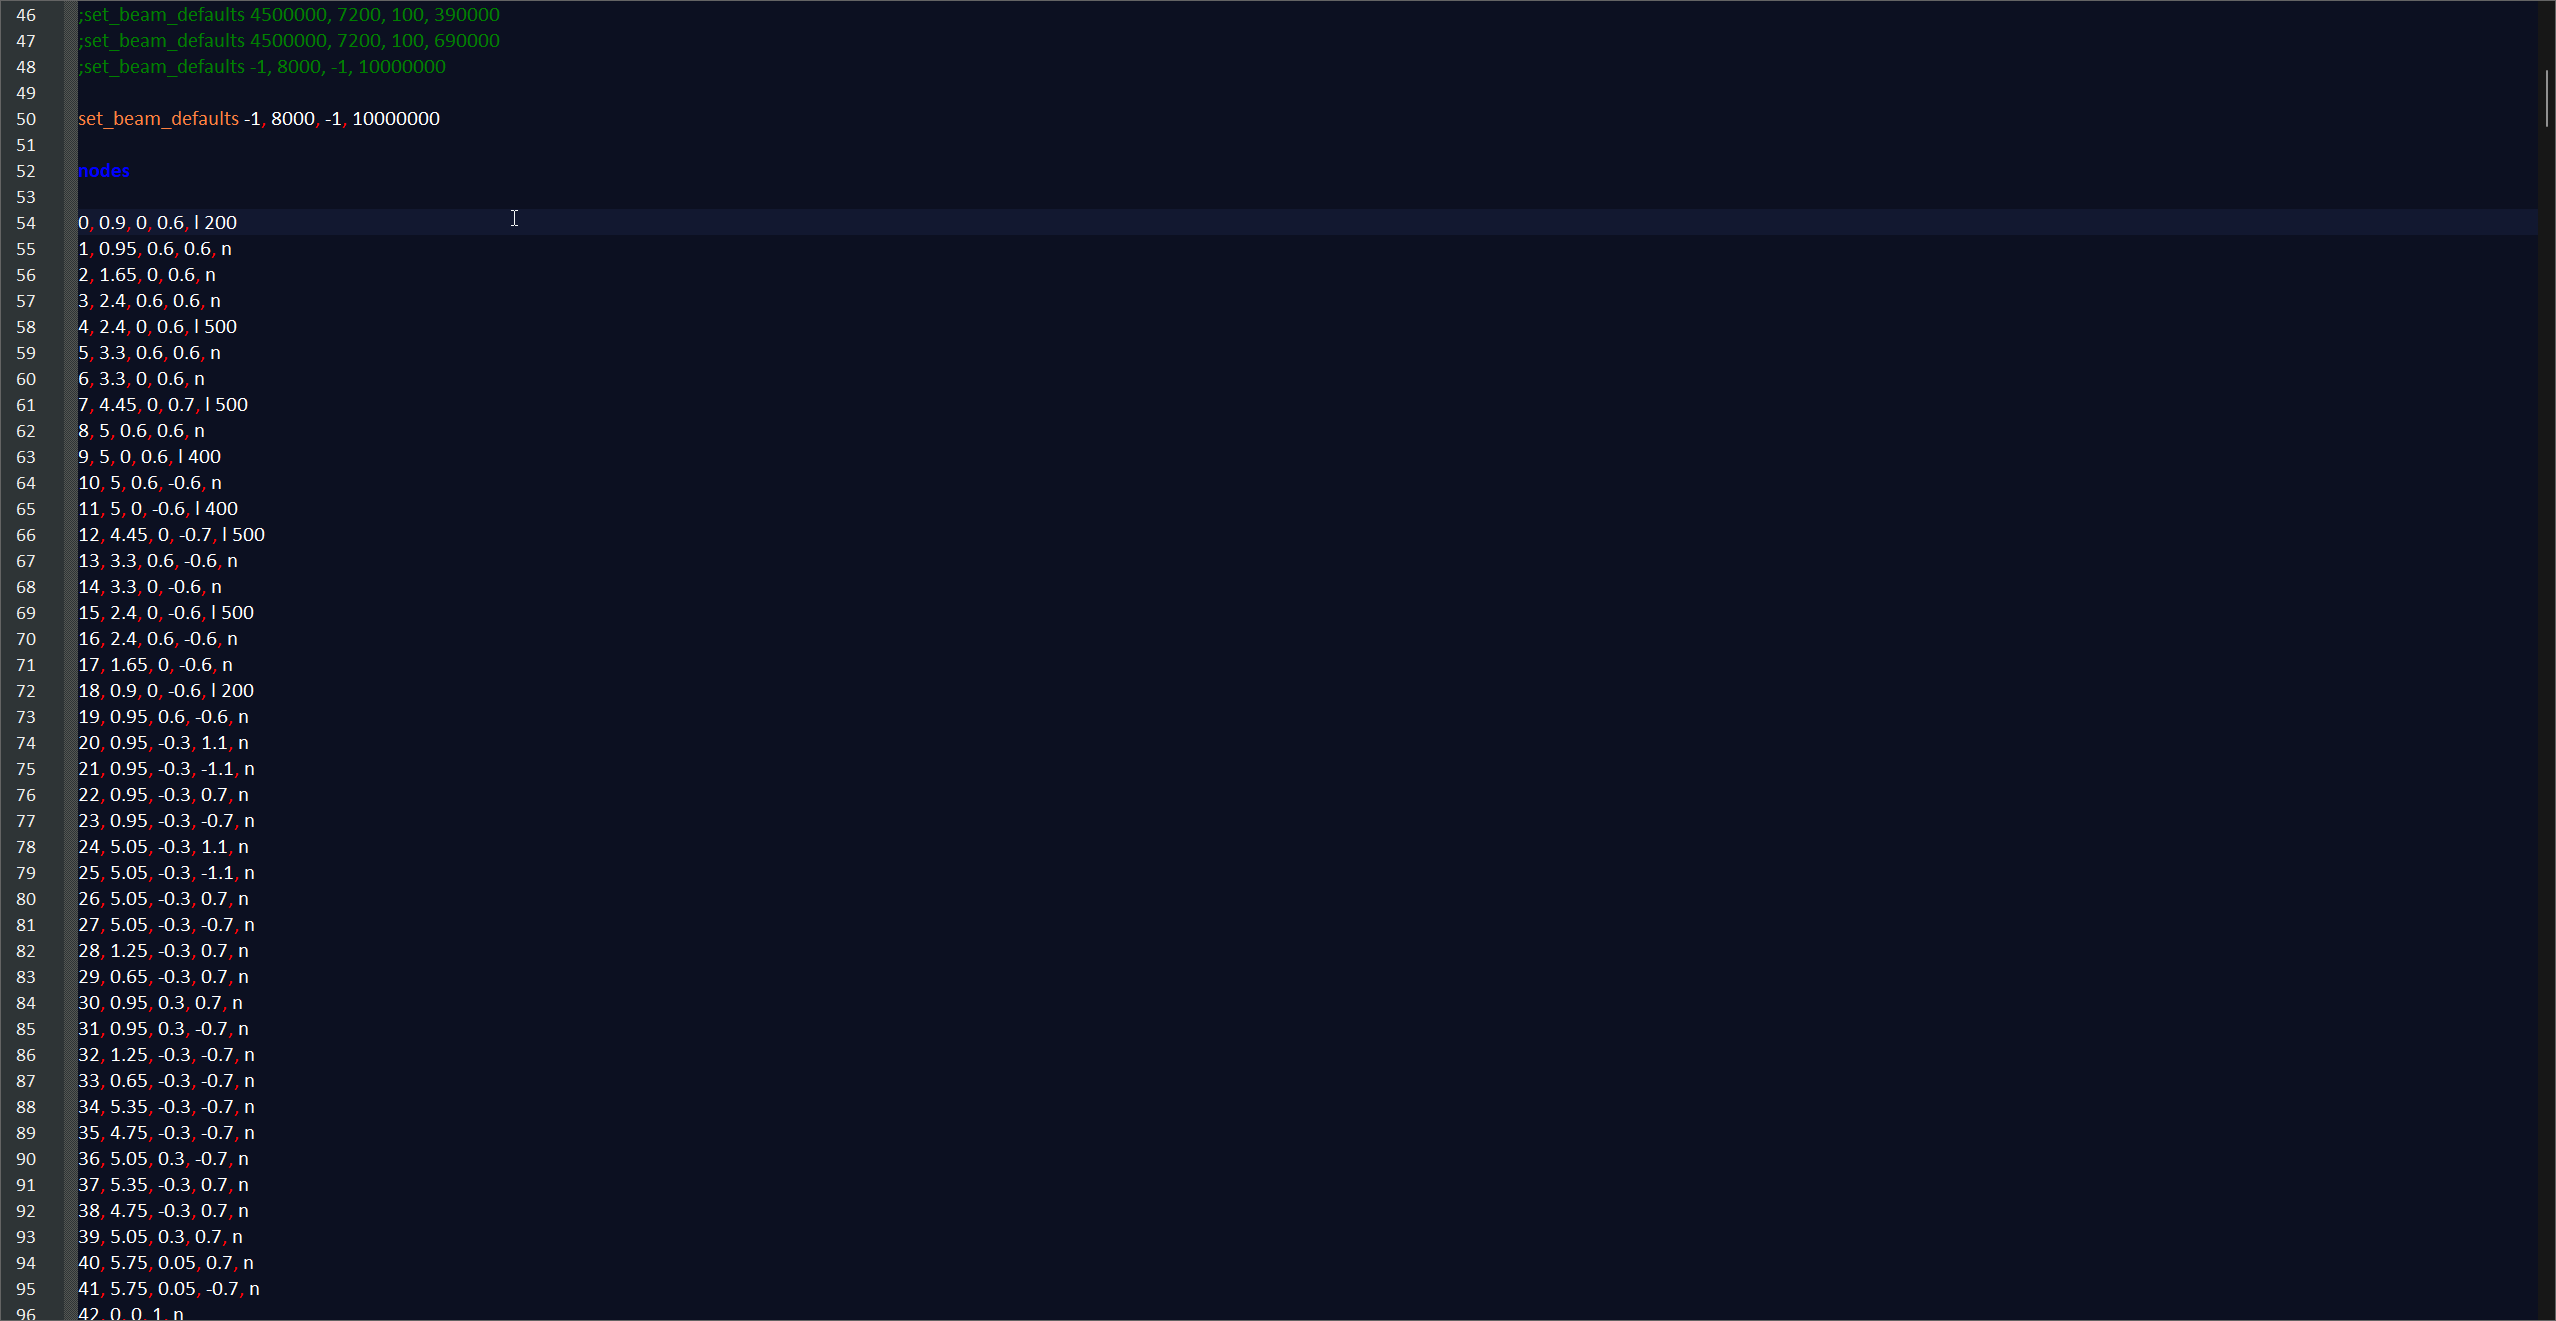
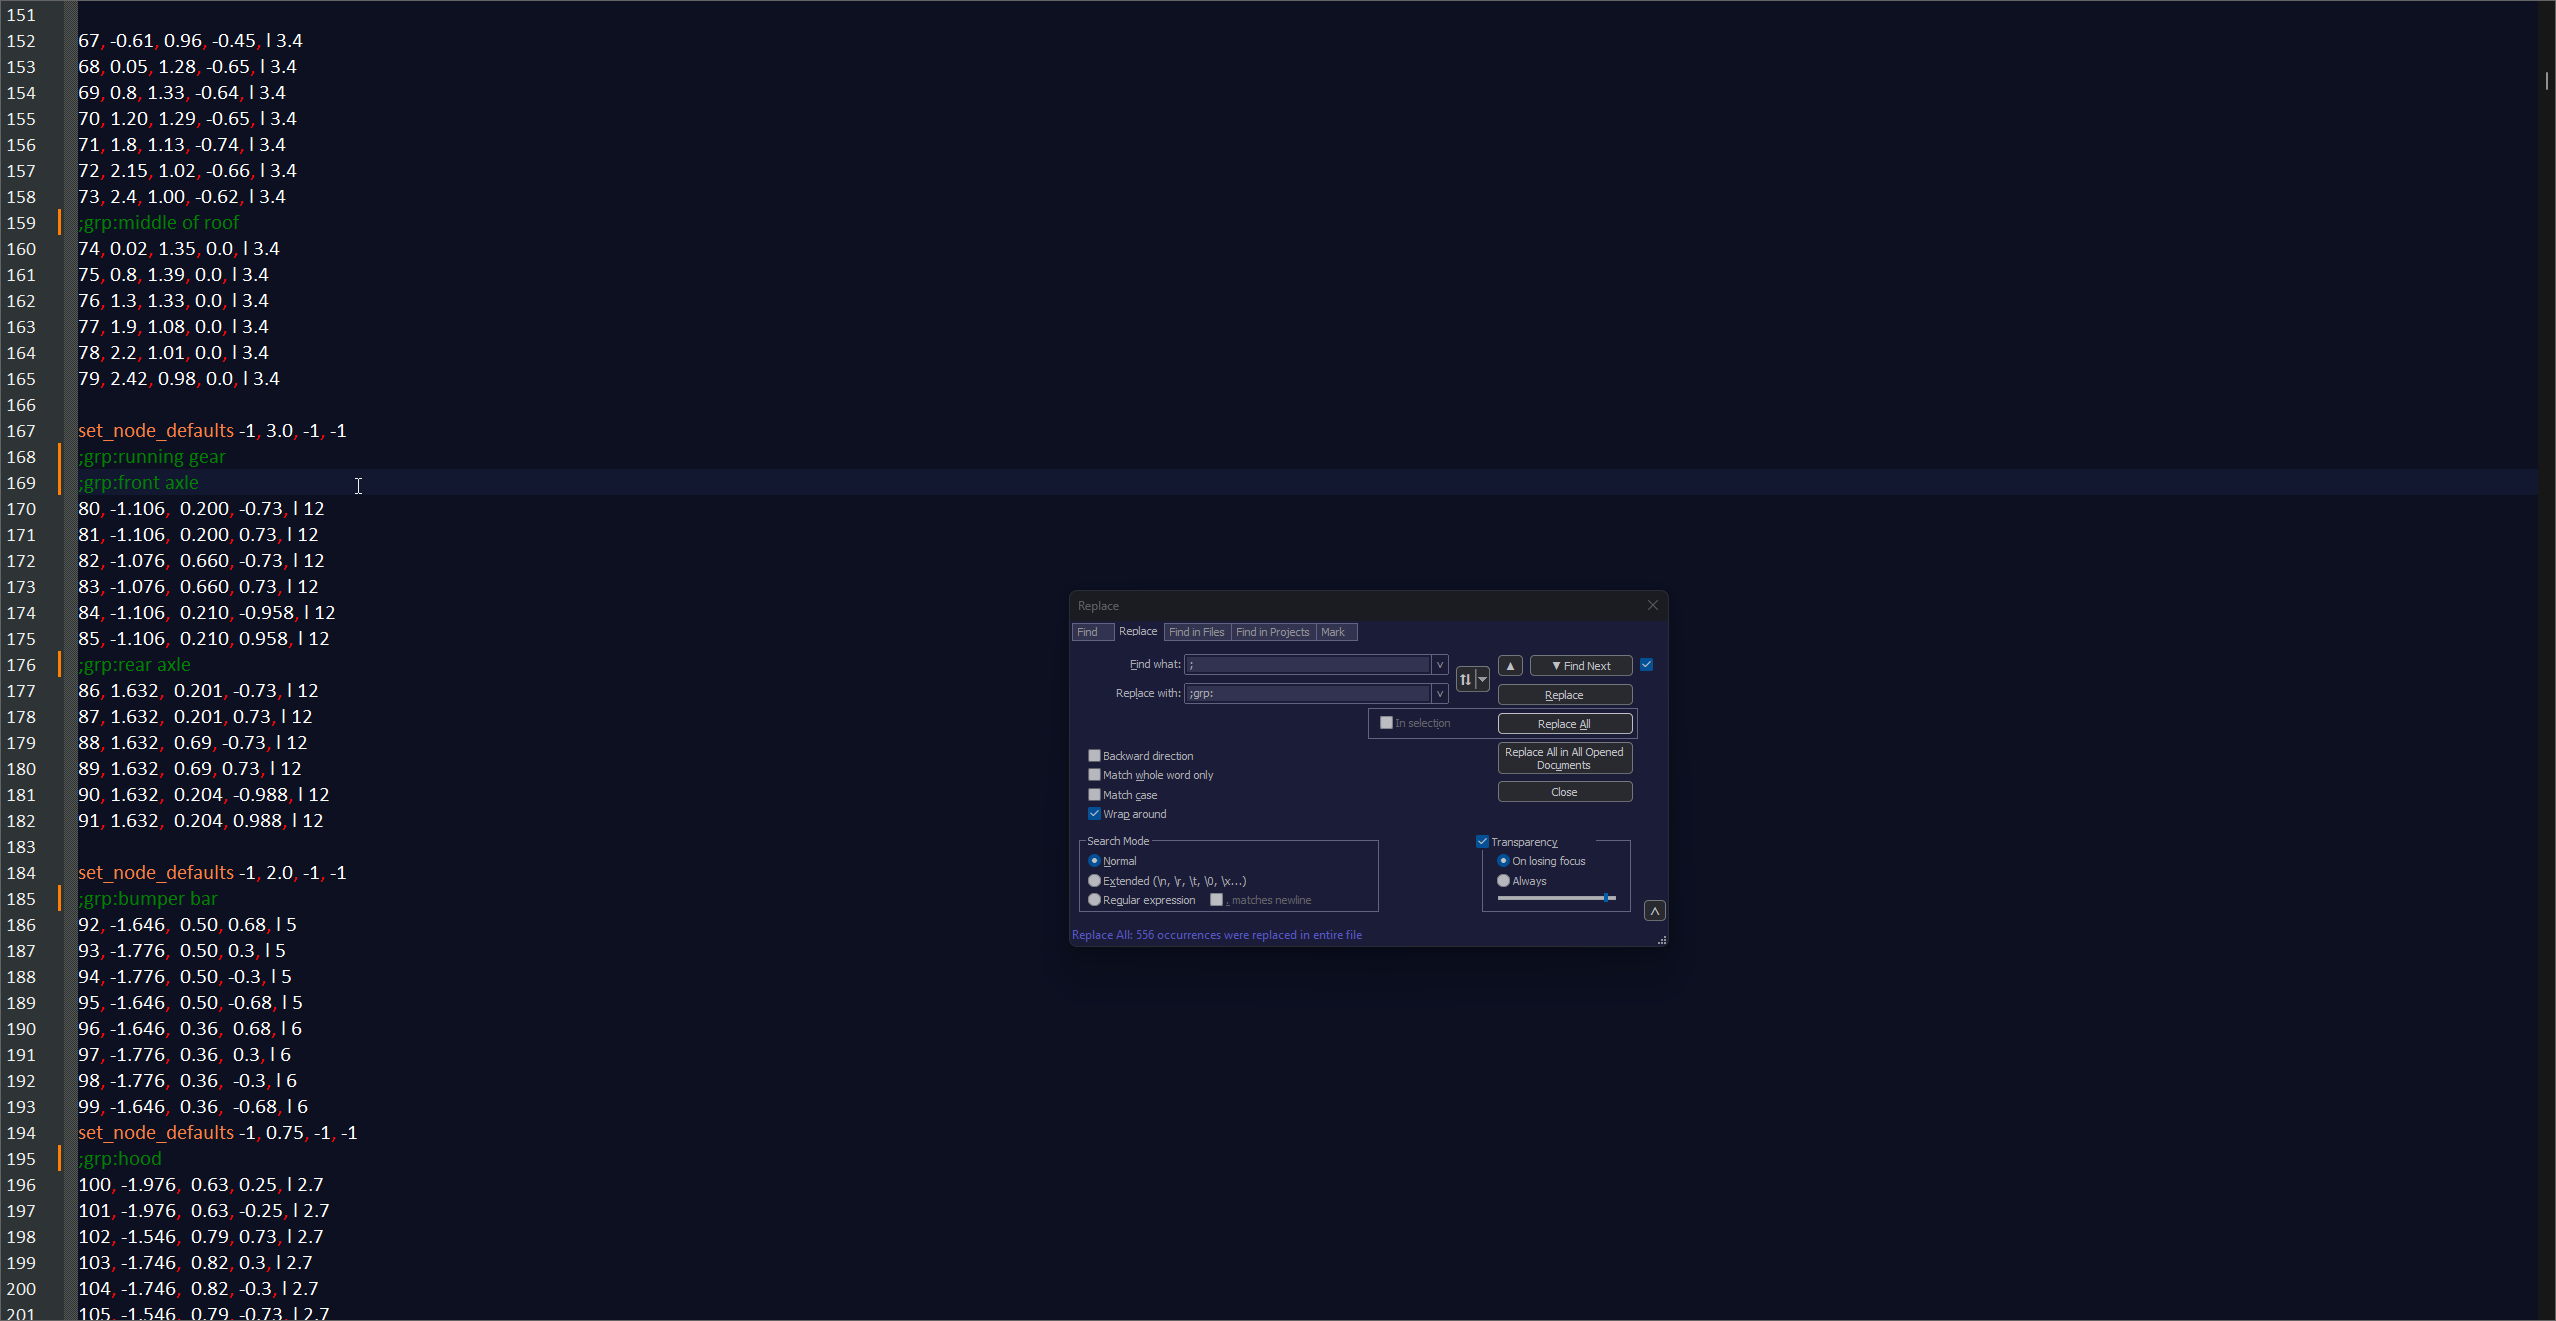
The G2S nodes section is organized with comment lines. We'll convert the comments to groups so they'll become vertex groups when imported into Blender.
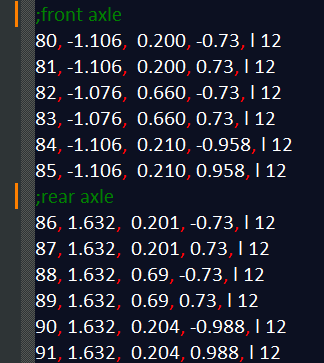
Find the axle nodes, for this vehicle they are found under the running gear section:
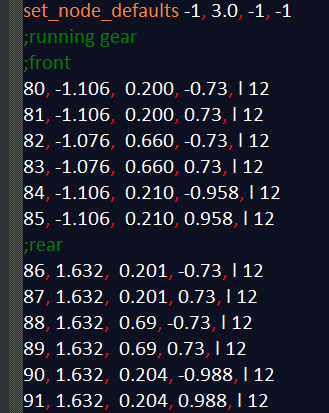
Rename front/rear to front axle/rear axle. Doing this will prevent conflicts with other Blender vertex groups.
Now press CTRL+H to open the Replace window and set the following:
Find what: ;
Replace with: ;grp:
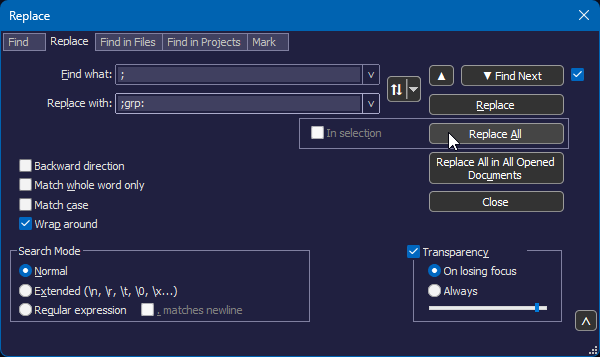
Click Replace All. All comment lines are now a node group.
Detacher group workaround
The G2S features detacher_group sections. Due to a bug with the Blender RoR importer, detacher groups cause beams to be missing on import.
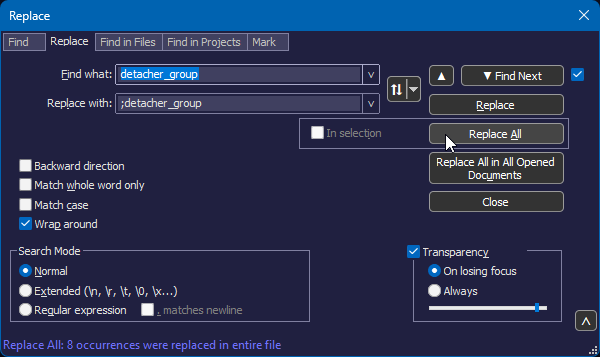
To work around this, we need to comment all detacher_group lines. Do a replace all again, this time use the following:
Find what: detacher_group
Replace with: ;detacher_group
The file is now ready to be imported into Blender.
Blender
Initial Setup
Note
This tutorial assumes your keymap is set to Blender 2.7x. Some keys may be different with the default keymap.
This setup only needs to be performed once.
Open Blender and install the N/B plugin if you haven't already from the prerequisites.
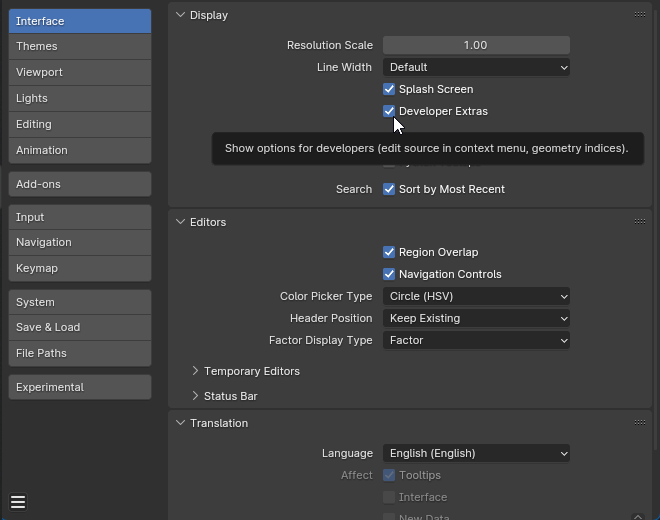
Once the N/B plugin is installed, click Edit -> Preferences -> Interface and enable Developer Extras, this enables the ability to toggle indices (nodes) visualization.
By default indices are a blue color which is difficult to read. It is highly recommended to change the color by going to:
Edit -> Preferences -> Themes -> 3D Viewport:
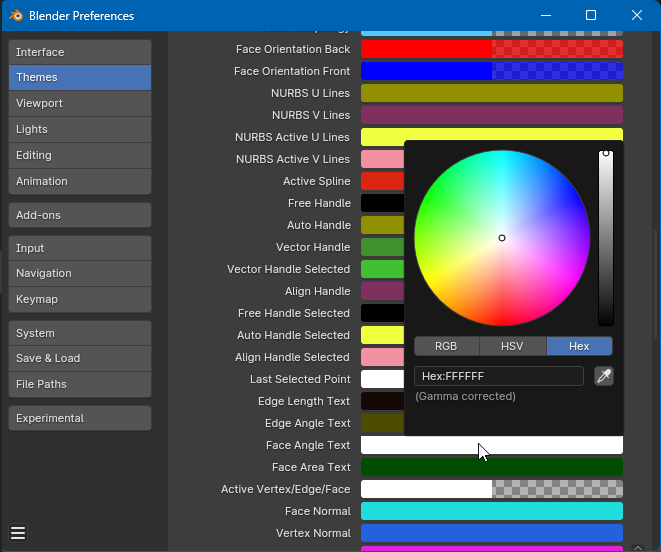
Scroll until you find Face Angle Text. Change it to white or another an easier to see color.
Close Preferences.
Importing
Click File -> Import -> Truck
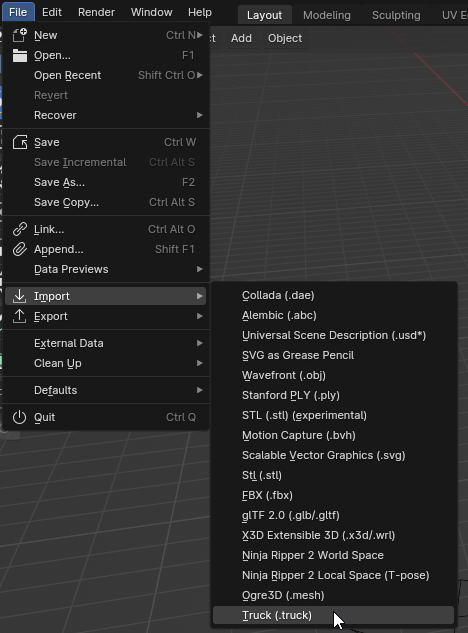
Select the copied truck file, in this case gavril - Copy.truck or BoxDodgeRamEXT - Copy.truck.
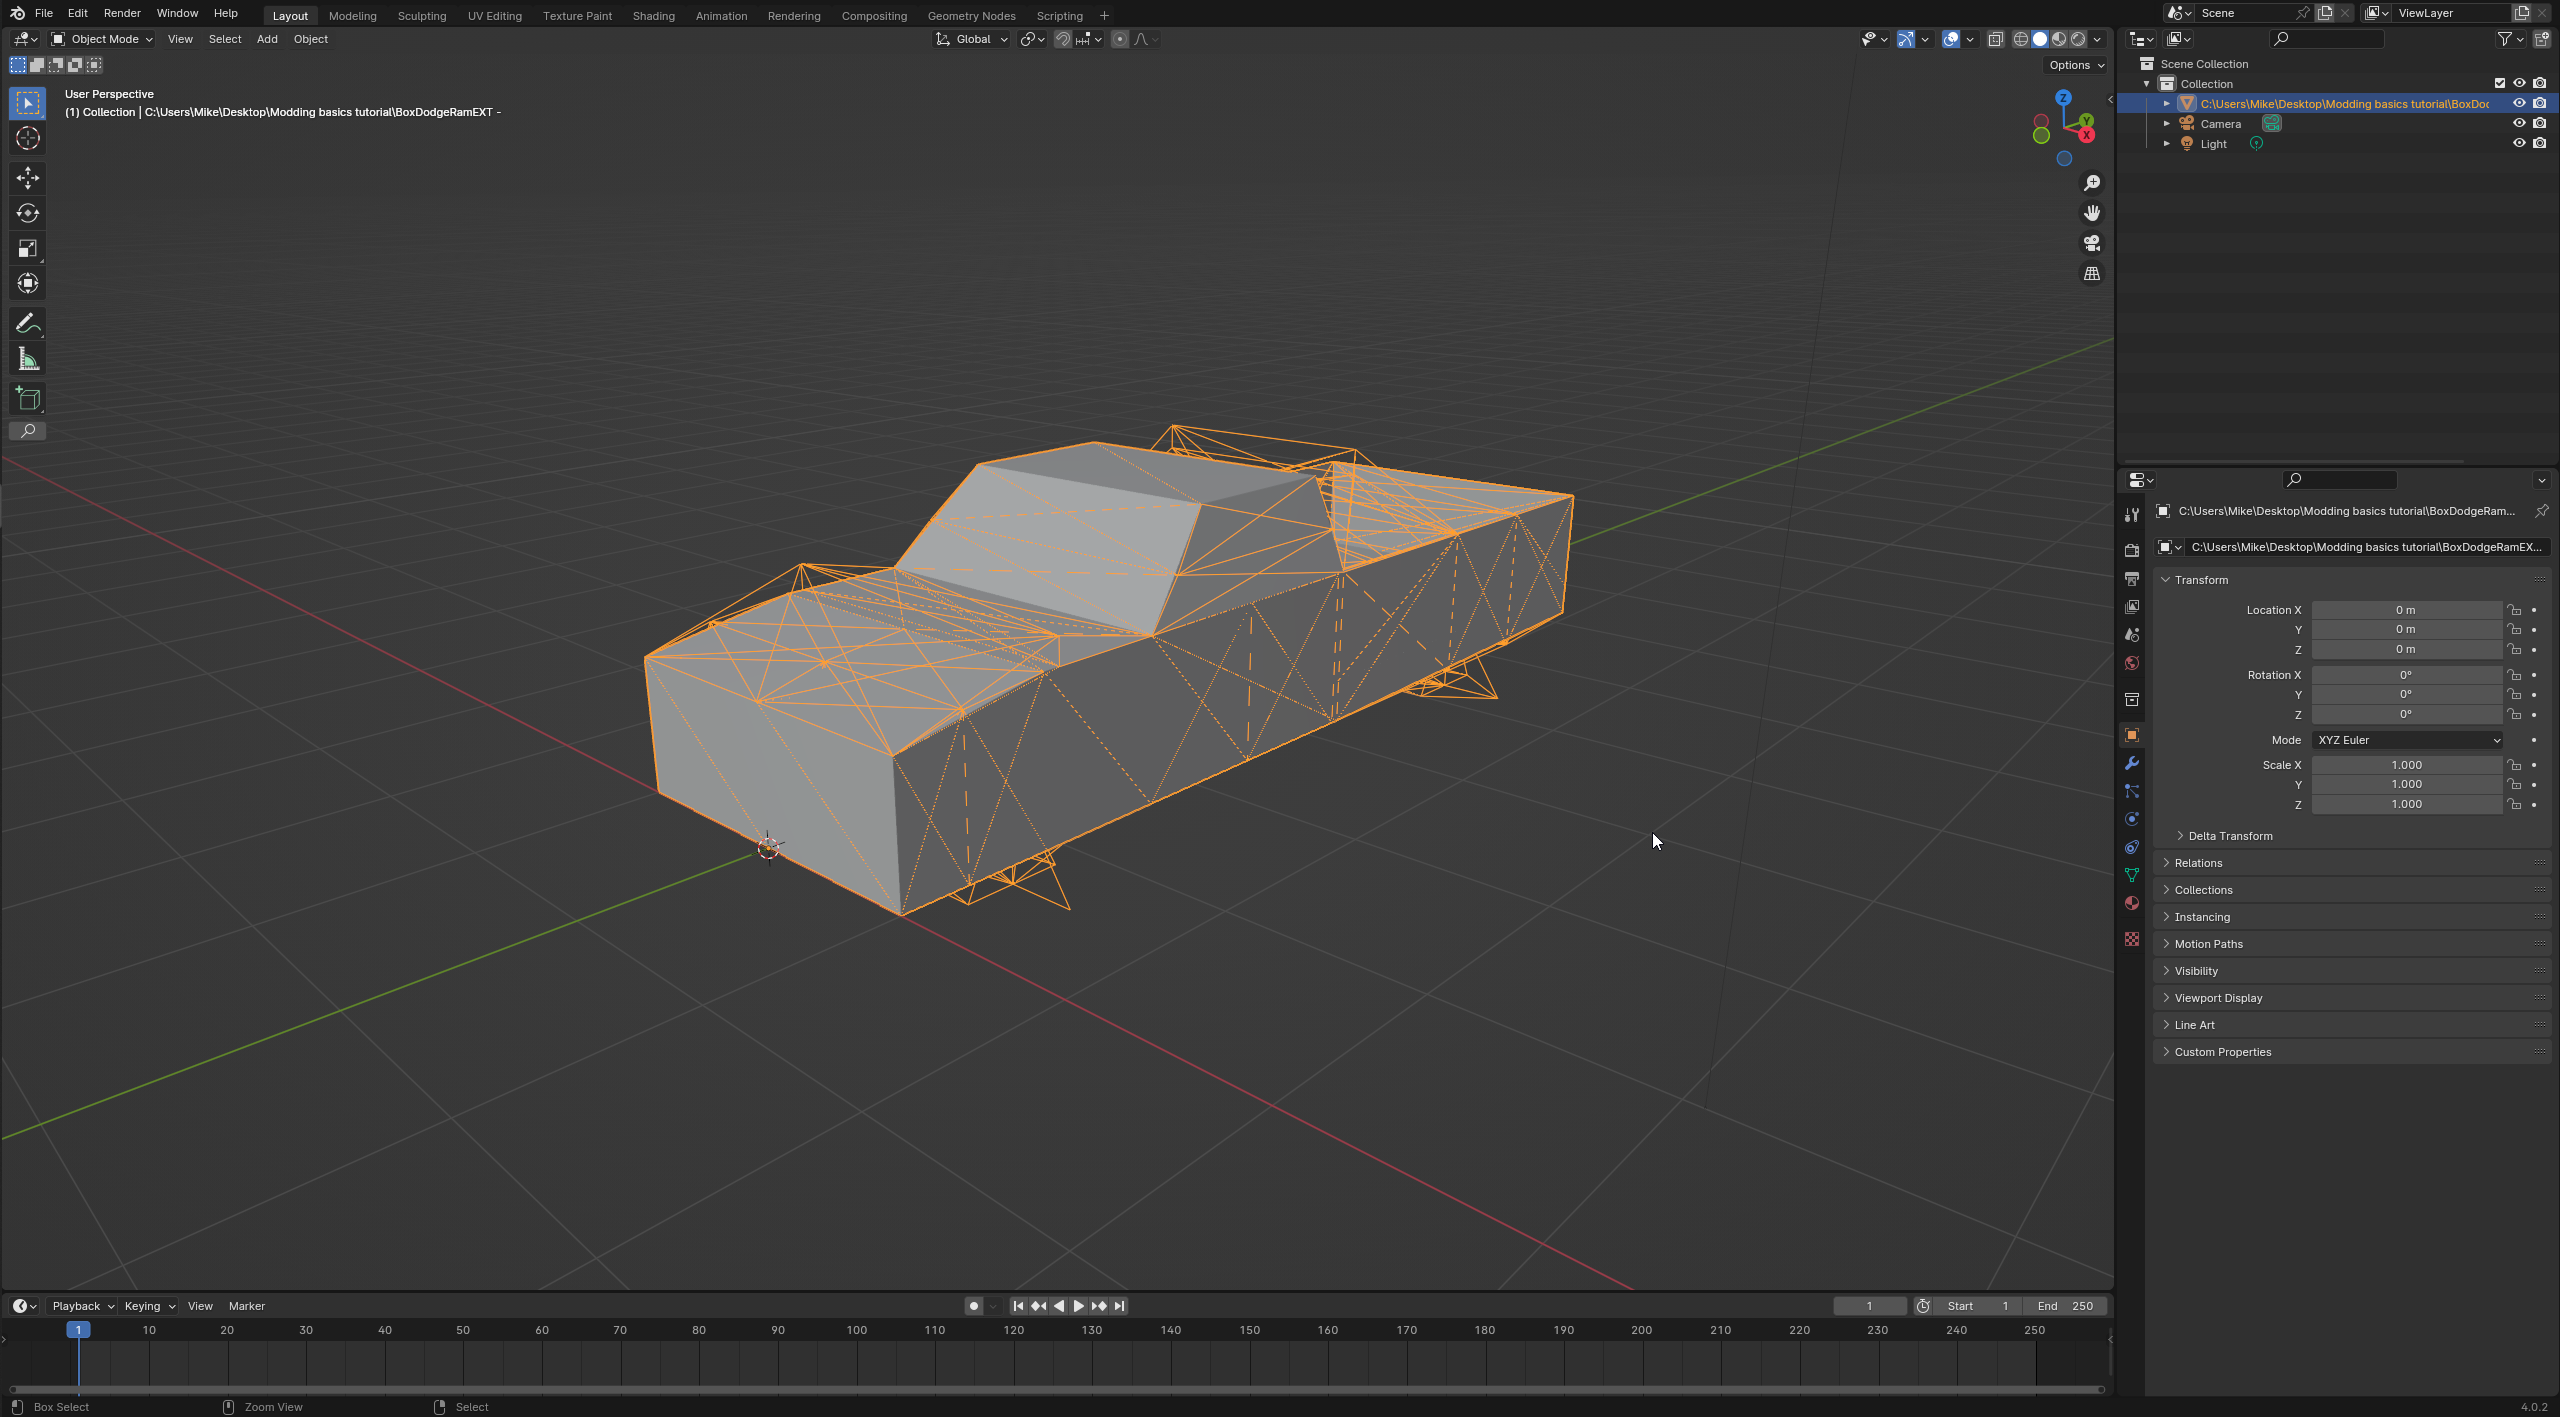
The N/B is now imported:

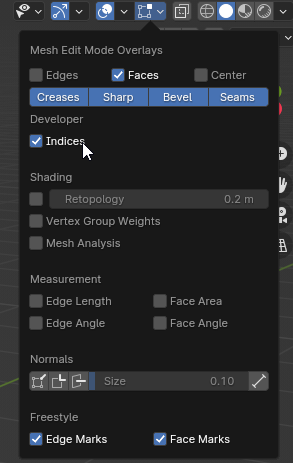
Enter edit mode with Tab, then click Mesh Edit Mode Overlays at the top right and enable Indices:
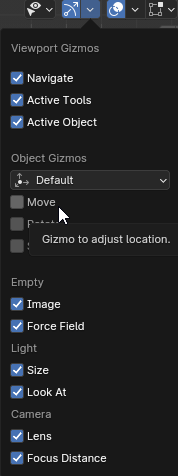
Also click Viewport Gizmos and enable the move object gizmo:
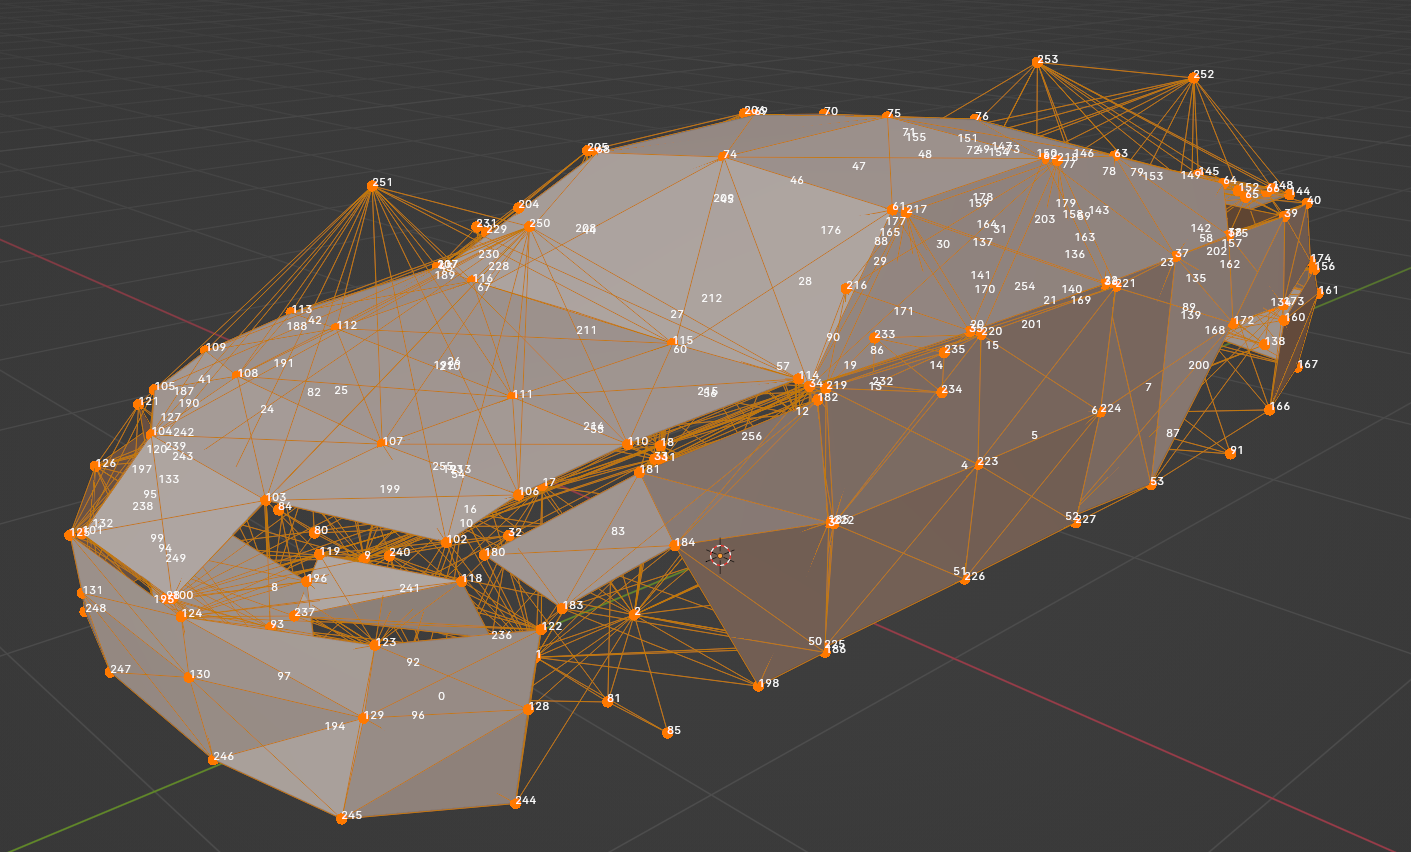
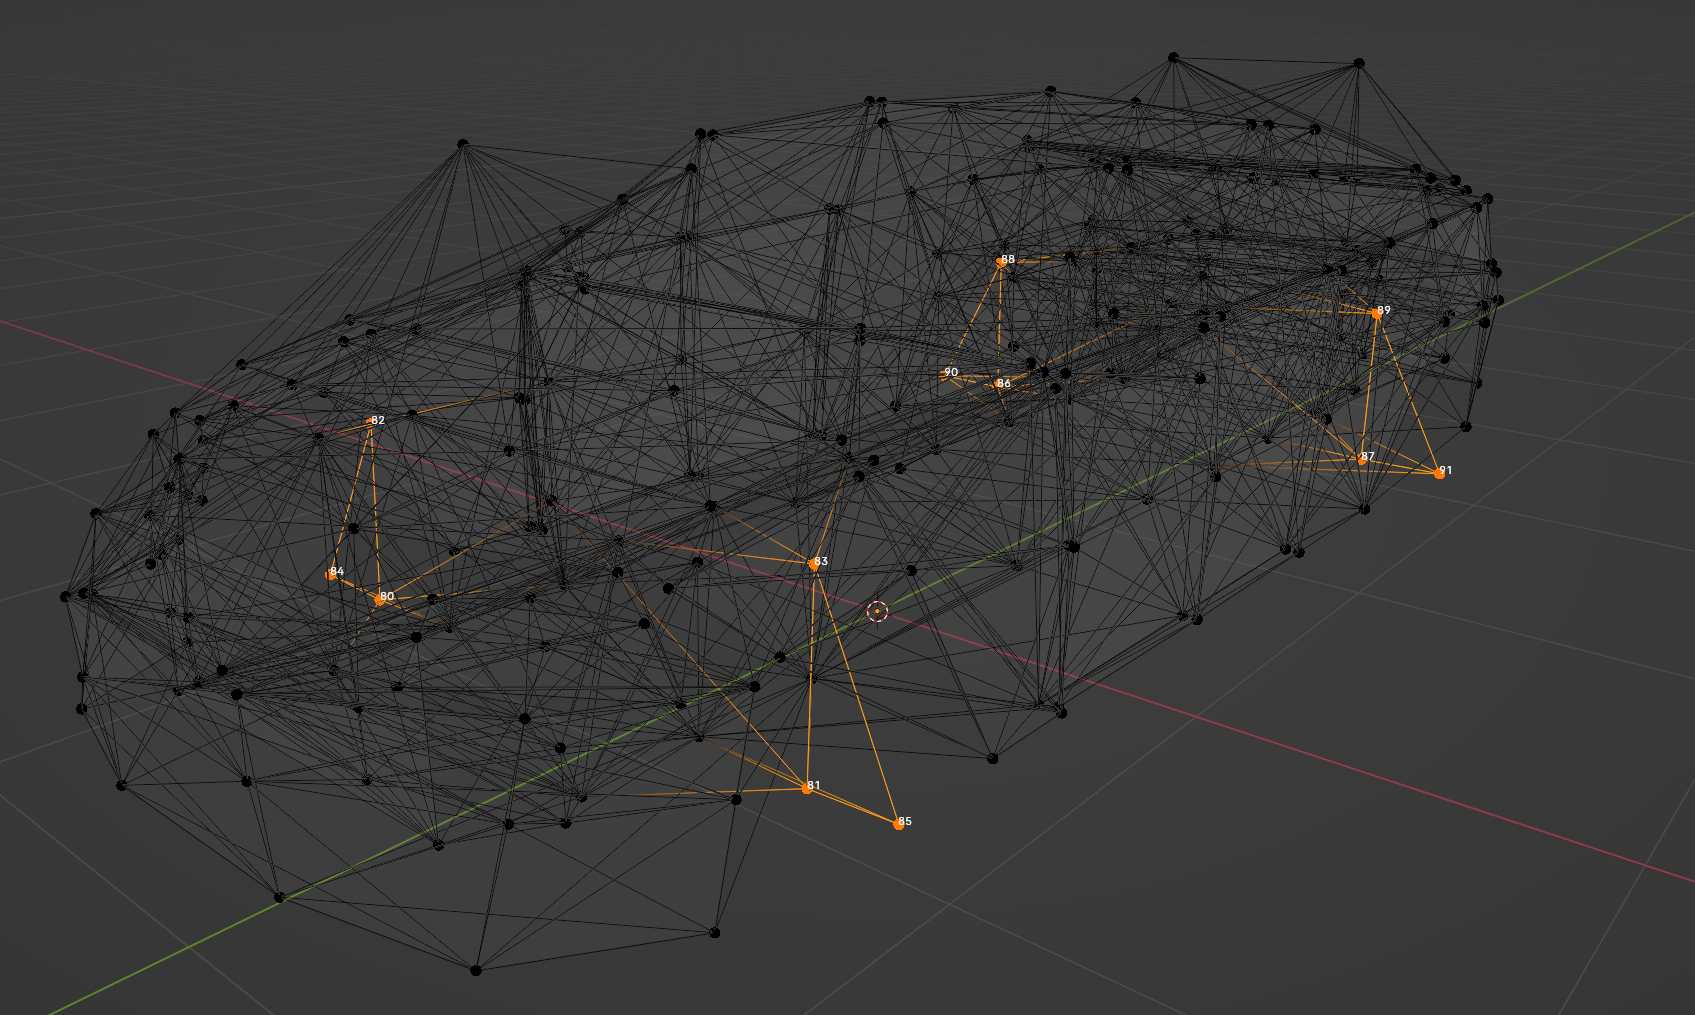
Node IDs should now appear when selecting:
Selecting axle nodes
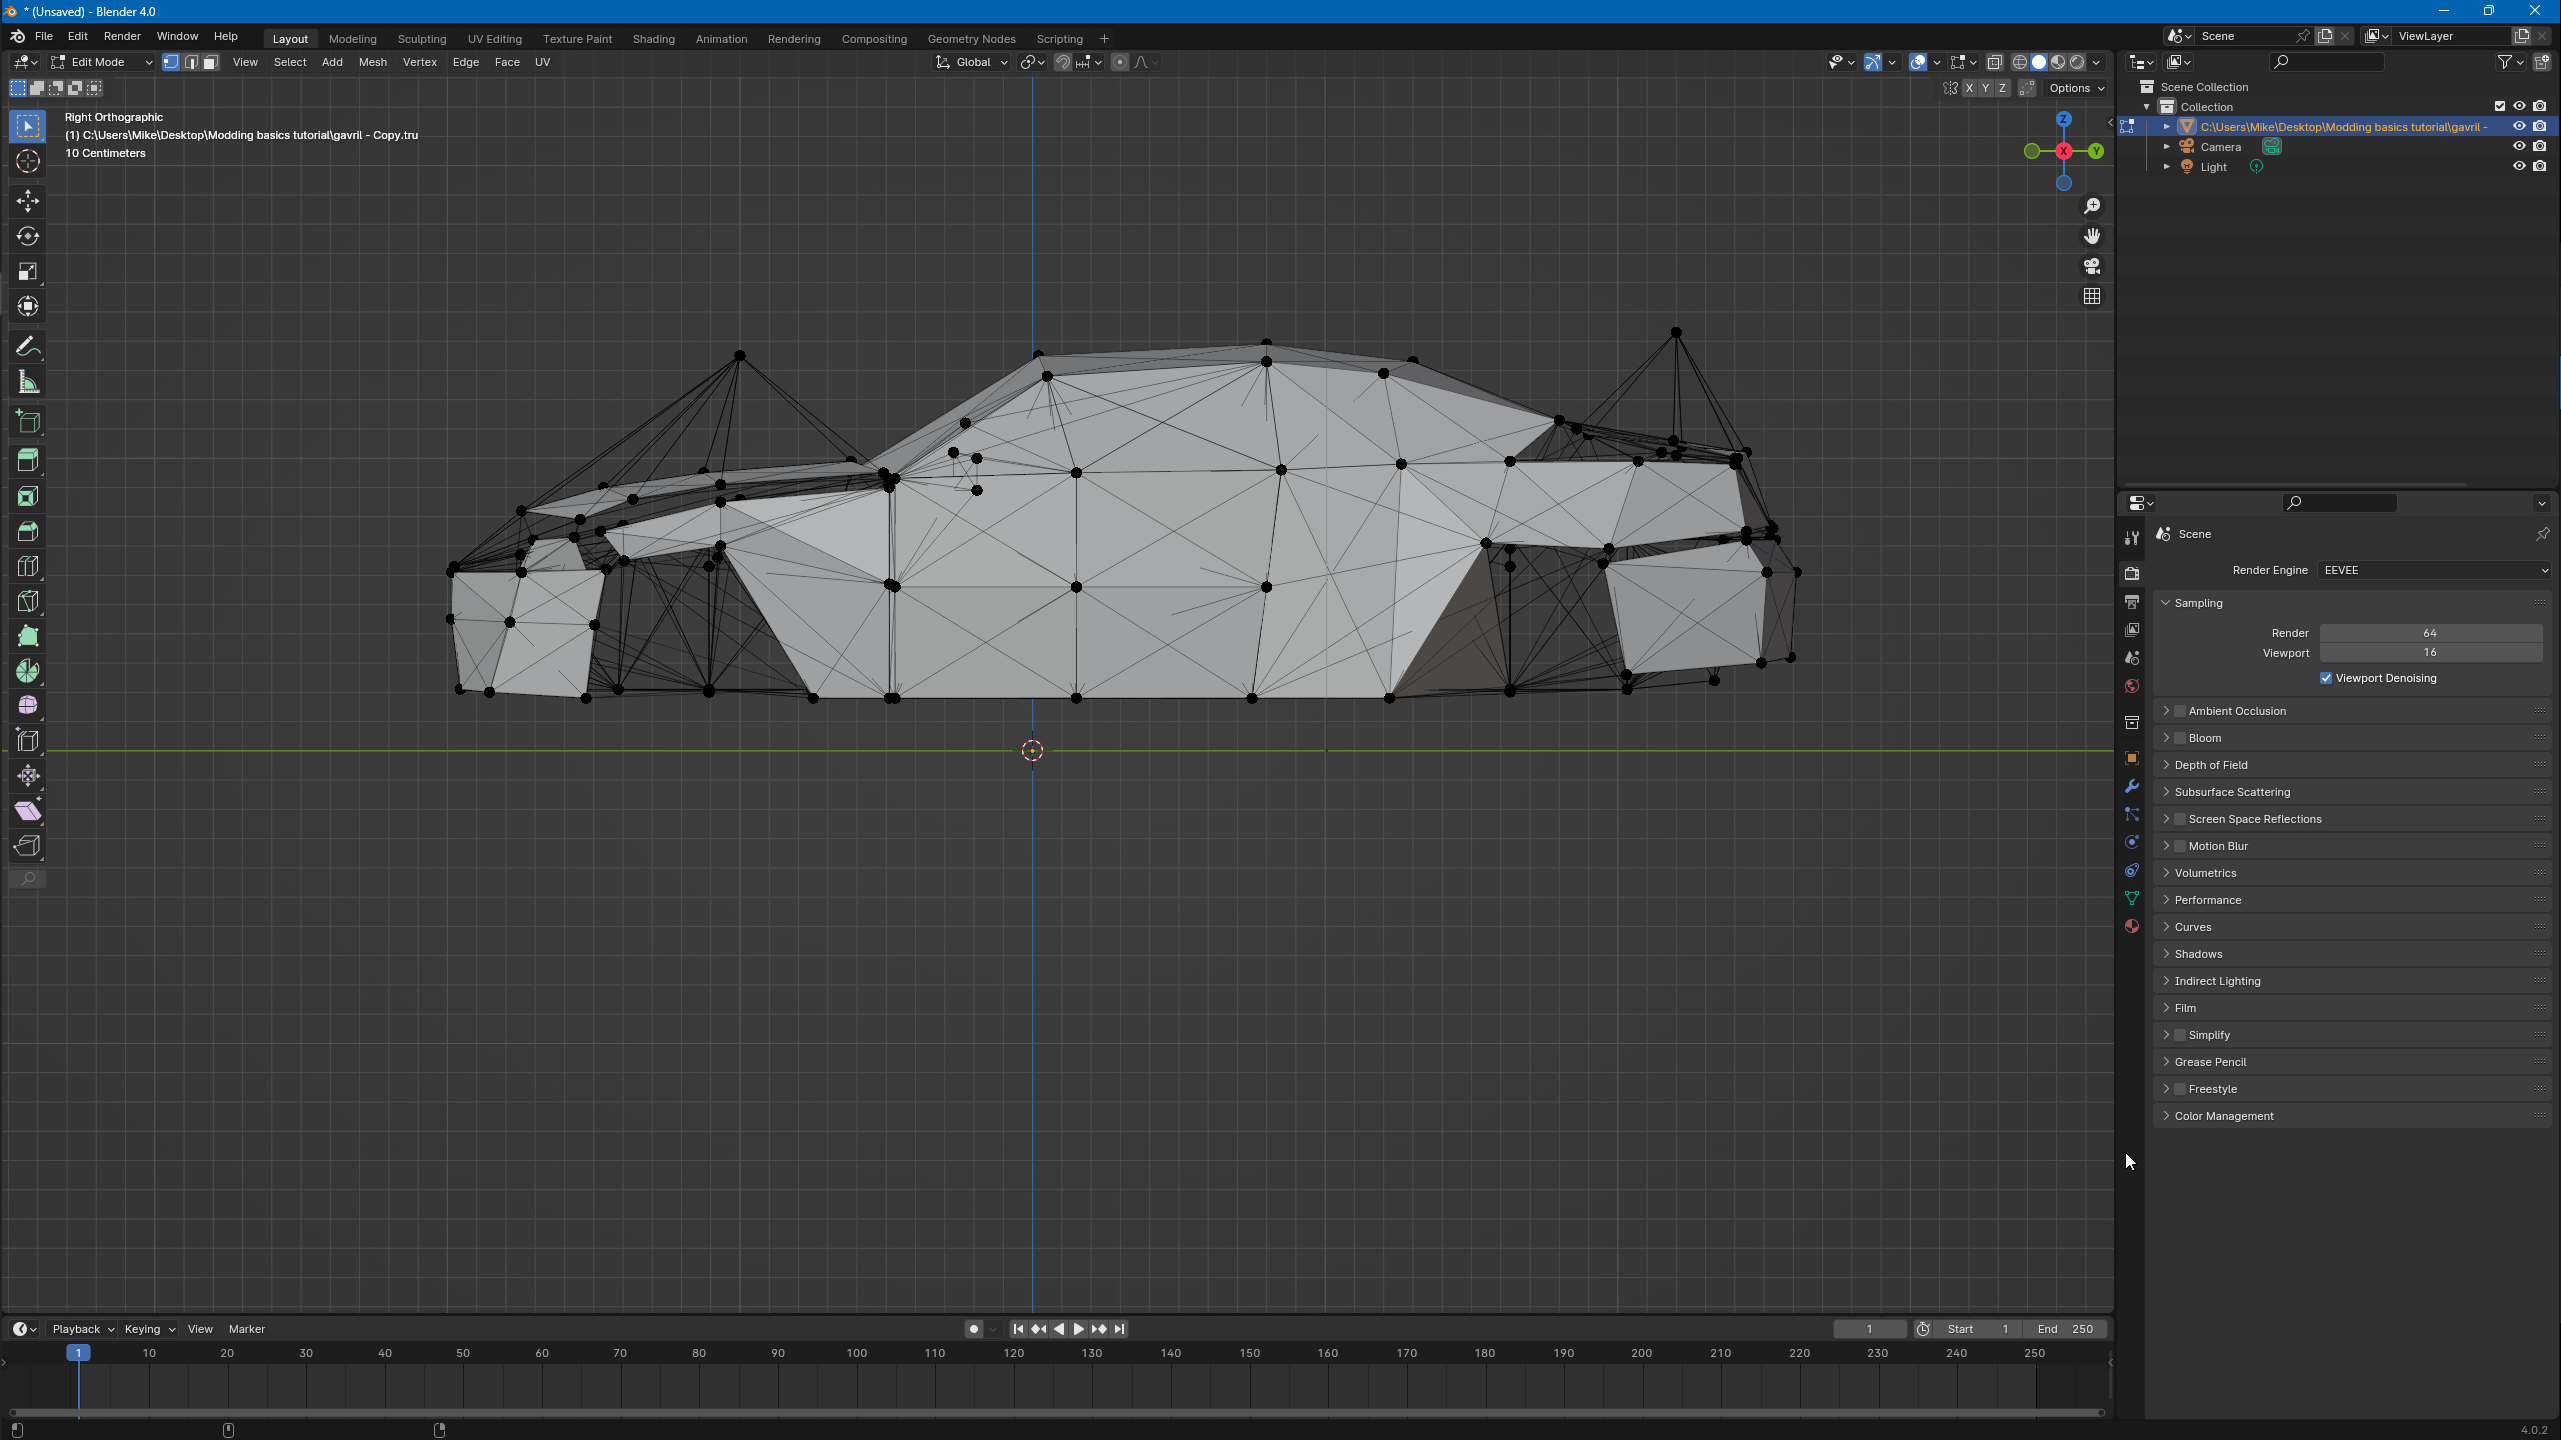
Press Numpad 3 to change view to right orthographic:
Now select the axle nodes. For vehicles without node groups, press C for circle select or B for box select.
For truck files with node groups, click the data properties tab (green triangle icon), you should see a list of vertex groups:
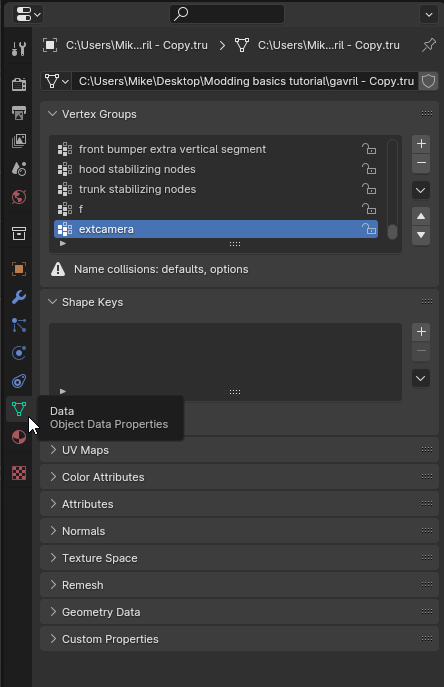
Find the axle groups on the list, click on each axle group then click the Select button:
(Open in new tab to view full size)
The axle nodes are now selected. Enable wireframe mode with Z for a better view:
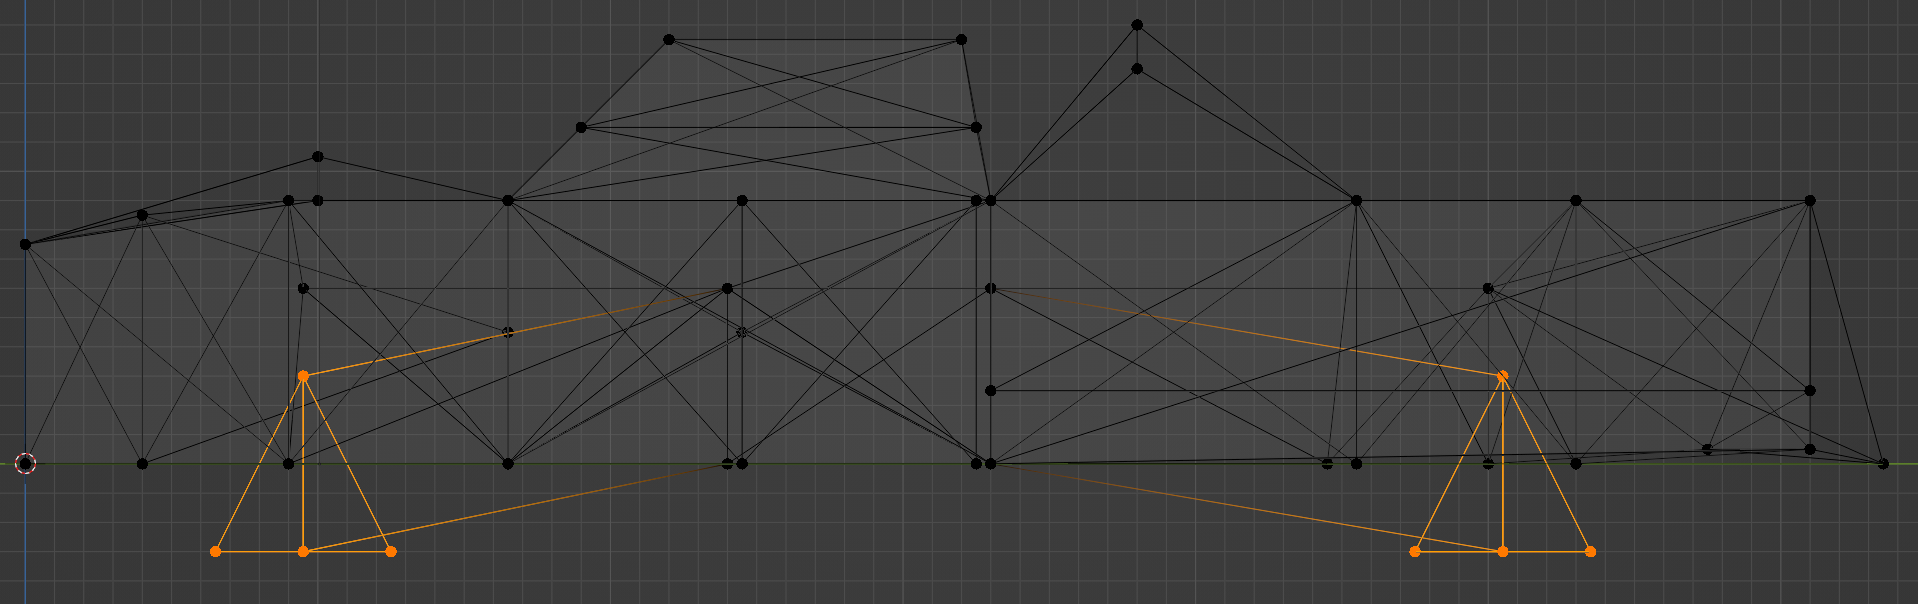
Moving nodes
With the axle nodes selected, click and drag the blue arrow to move the nodes up to lower or down to lift:
Alternatively, press G then Z to move on the Z axis.
Exporting
Once finished, click File -> Export -> Truck
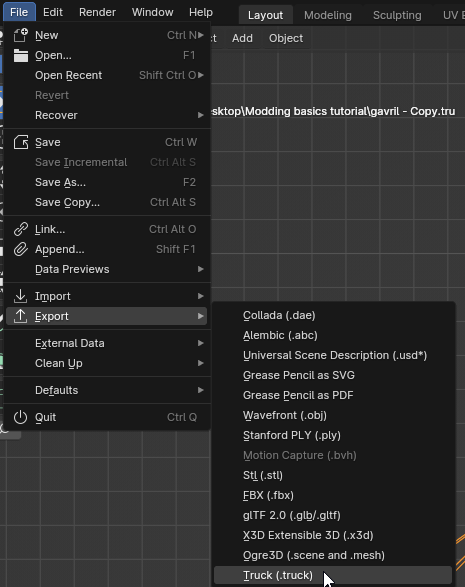
Export to the copied truck file, in this case gavril - Copy.truck or BoxDodgeRamEXT - Copy.truck.
Truck file
Due to a bug with the 2.8+ plugin, you will find it exported to a blank file. Right click -> Edit with Notepad++

Open the original truck file (gavril.truck, BoxDodgeRamEXT.truck) as well. Both files should now be open in tabs.
Now right click the original truck file tab and click Move Document -> Move to Other View:
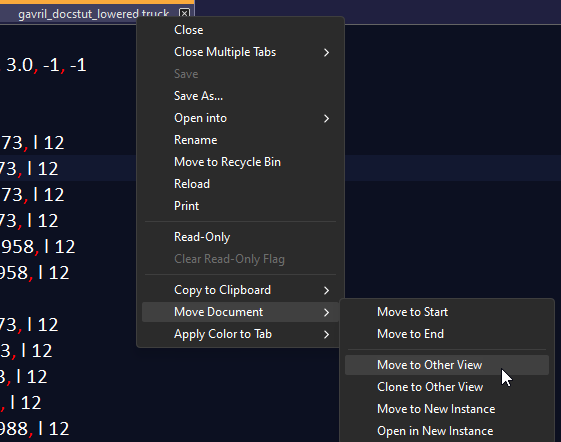
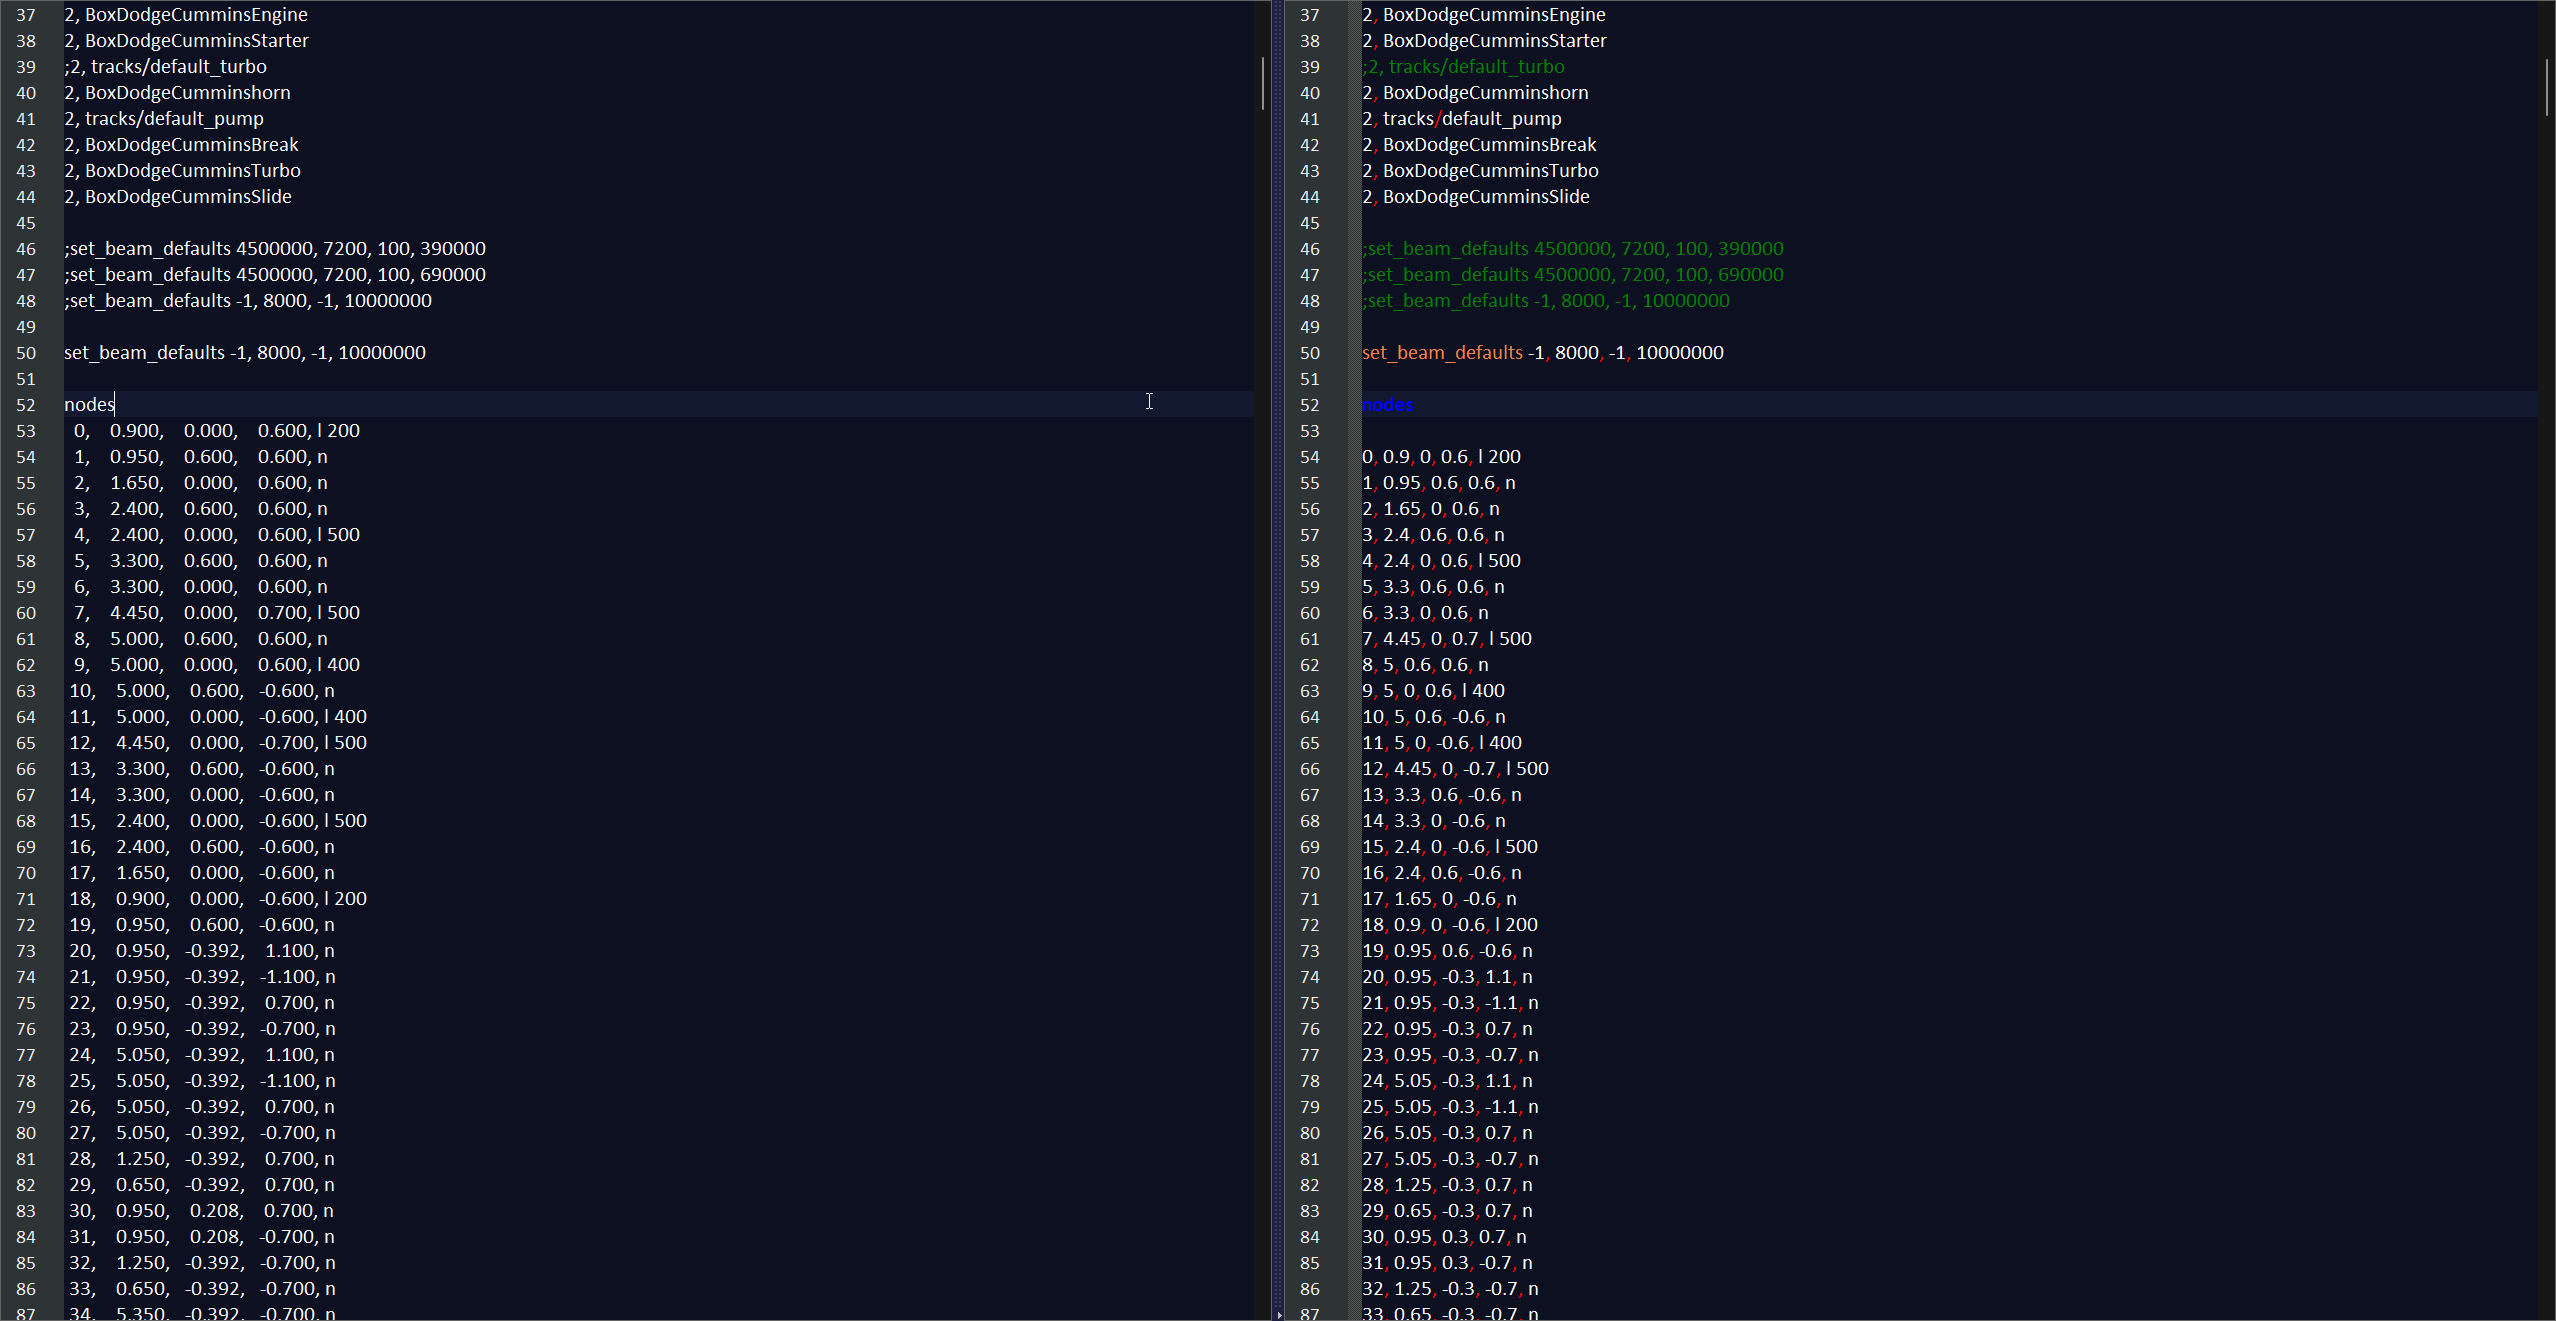
The original and exported files should now be displayed in split view:
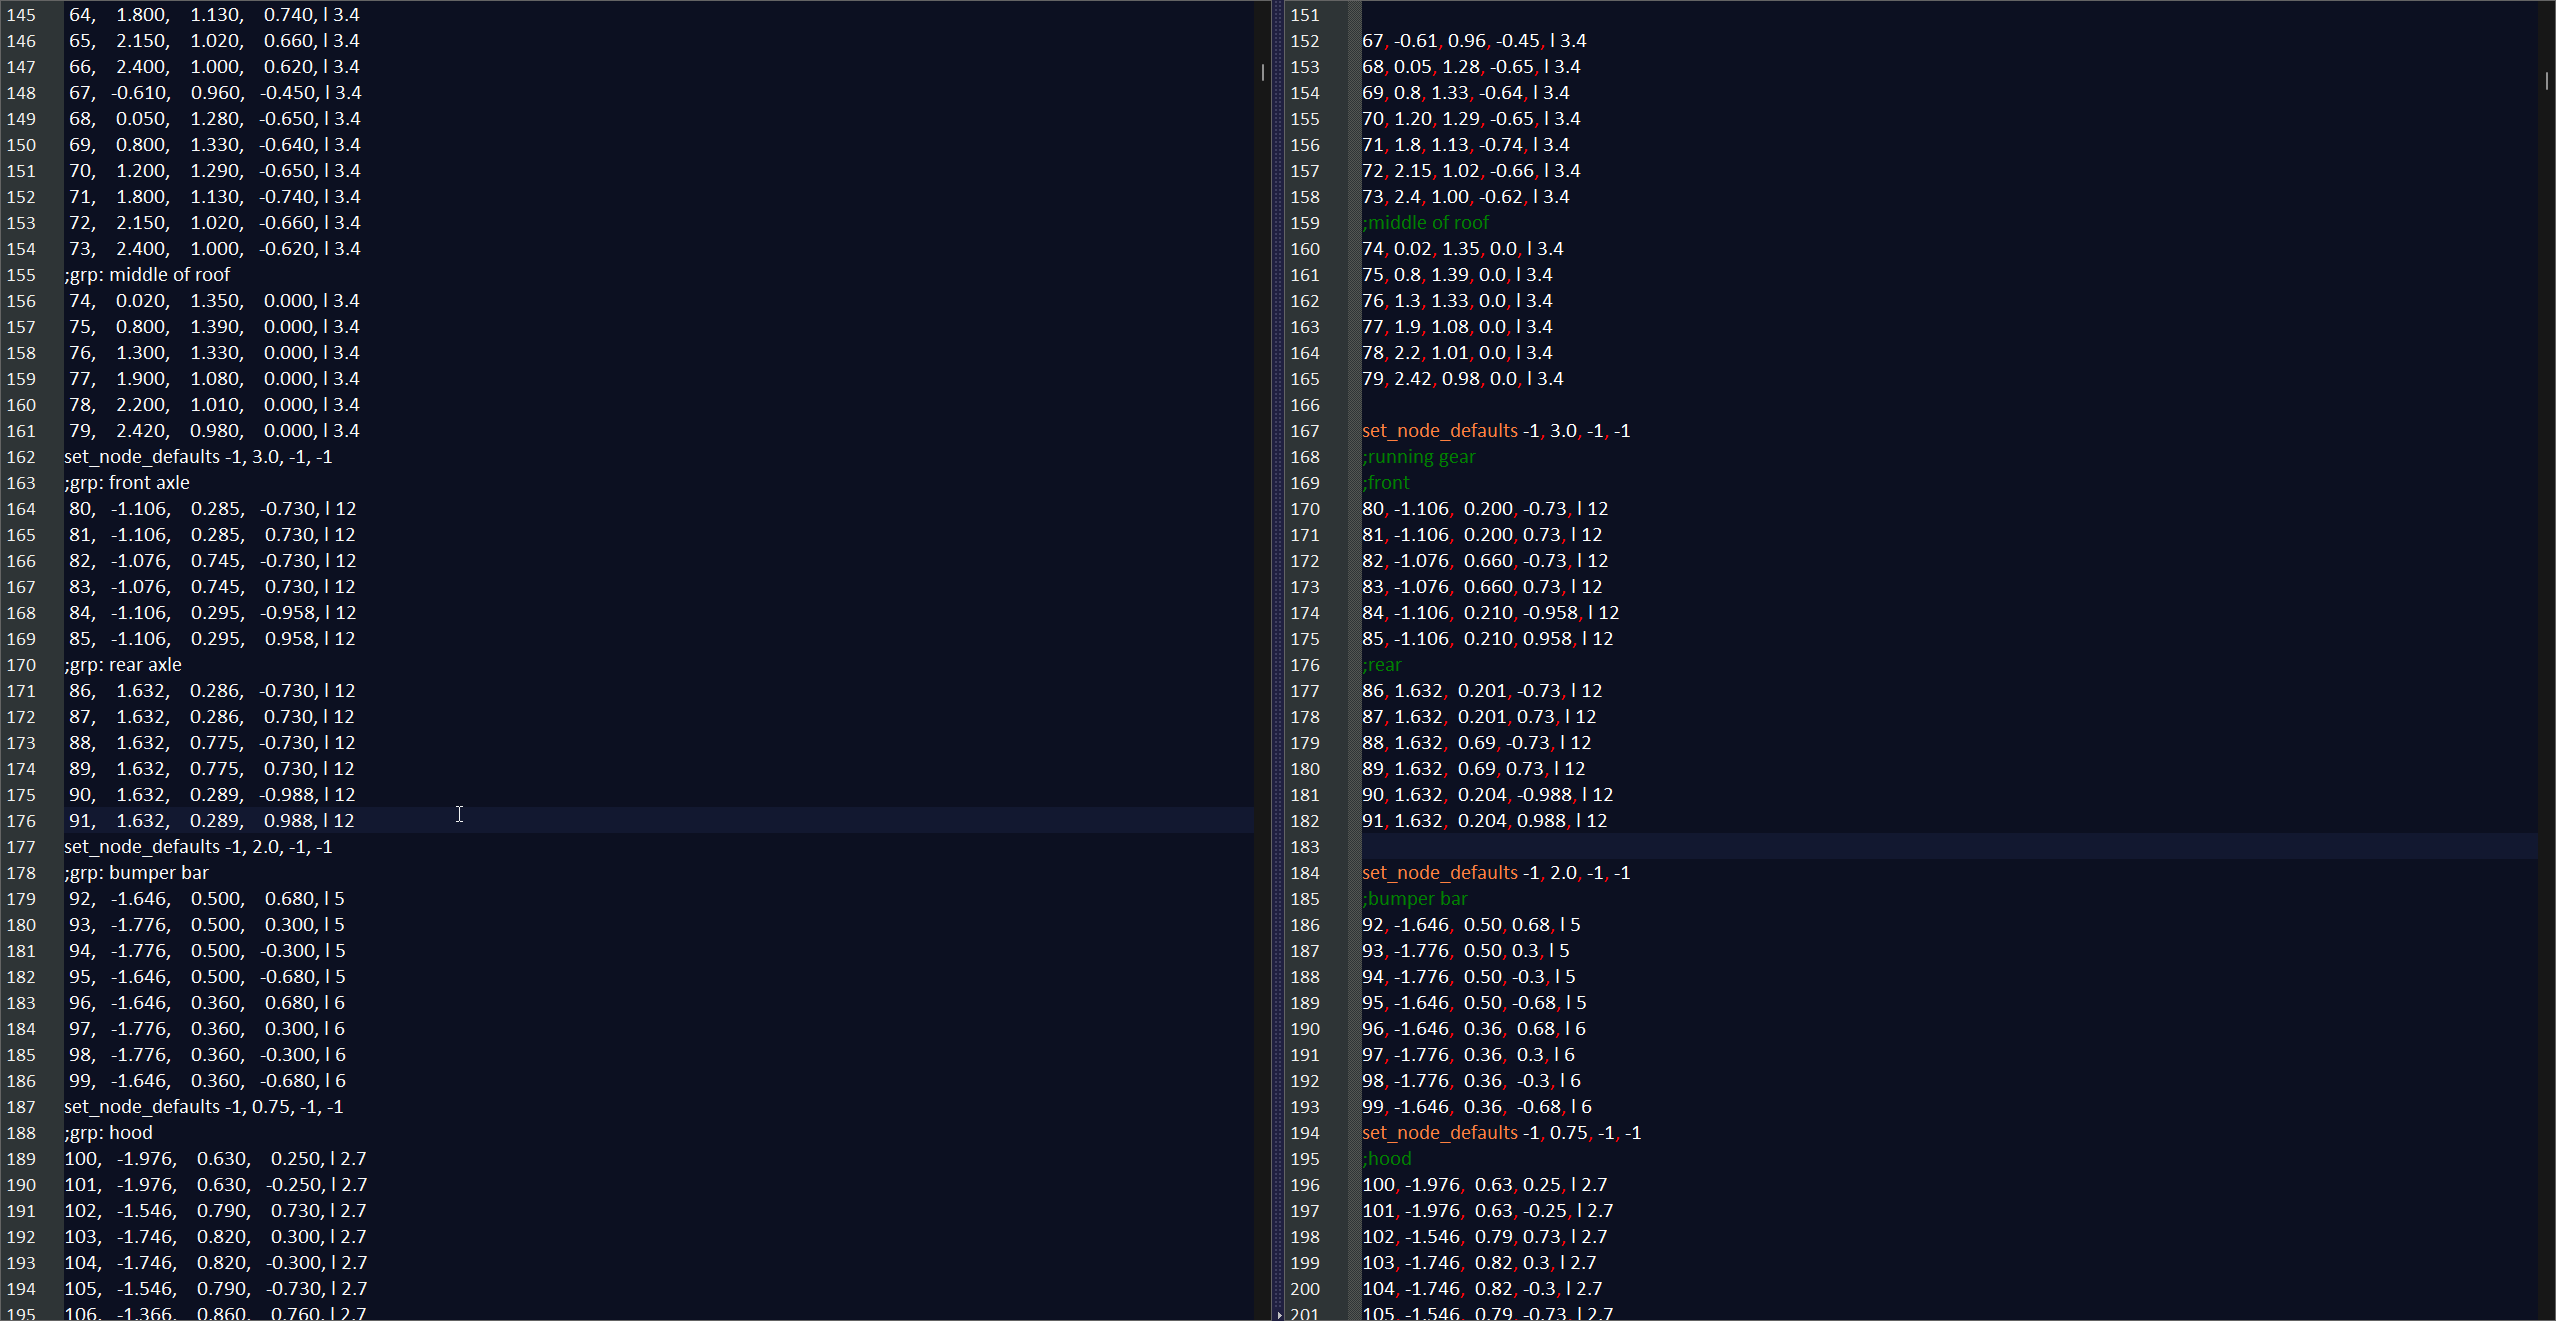
Find the axle node groups, then copy and paste the new node positions into the original truck file like so:
For the Ram EXT, copy and paste the entire nodes section. You can use Begin/End Select for this:
Finally, save the truck file and drag it back into the zip file.
If successful, your vehicle should now be lowered or lifted!
You may need to go back to Blender for further adjustments. Repeat the above exporting steps.
Track width
To change a vehicle's track width:
In edit mode, click Mesh -> Transform -> Push/Pull
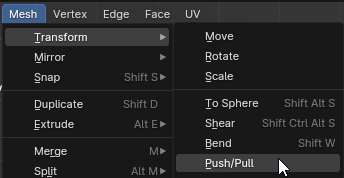
Press X to enable X axis, then move the mouse left or right:
Export and test in-game:
Camber and wheel width
Changing camber and wheel width can be done without Blender.
Press K to enable skeleton view in-game, then go to top Tools menu and click Node details. Optionally enable Hide wheels.
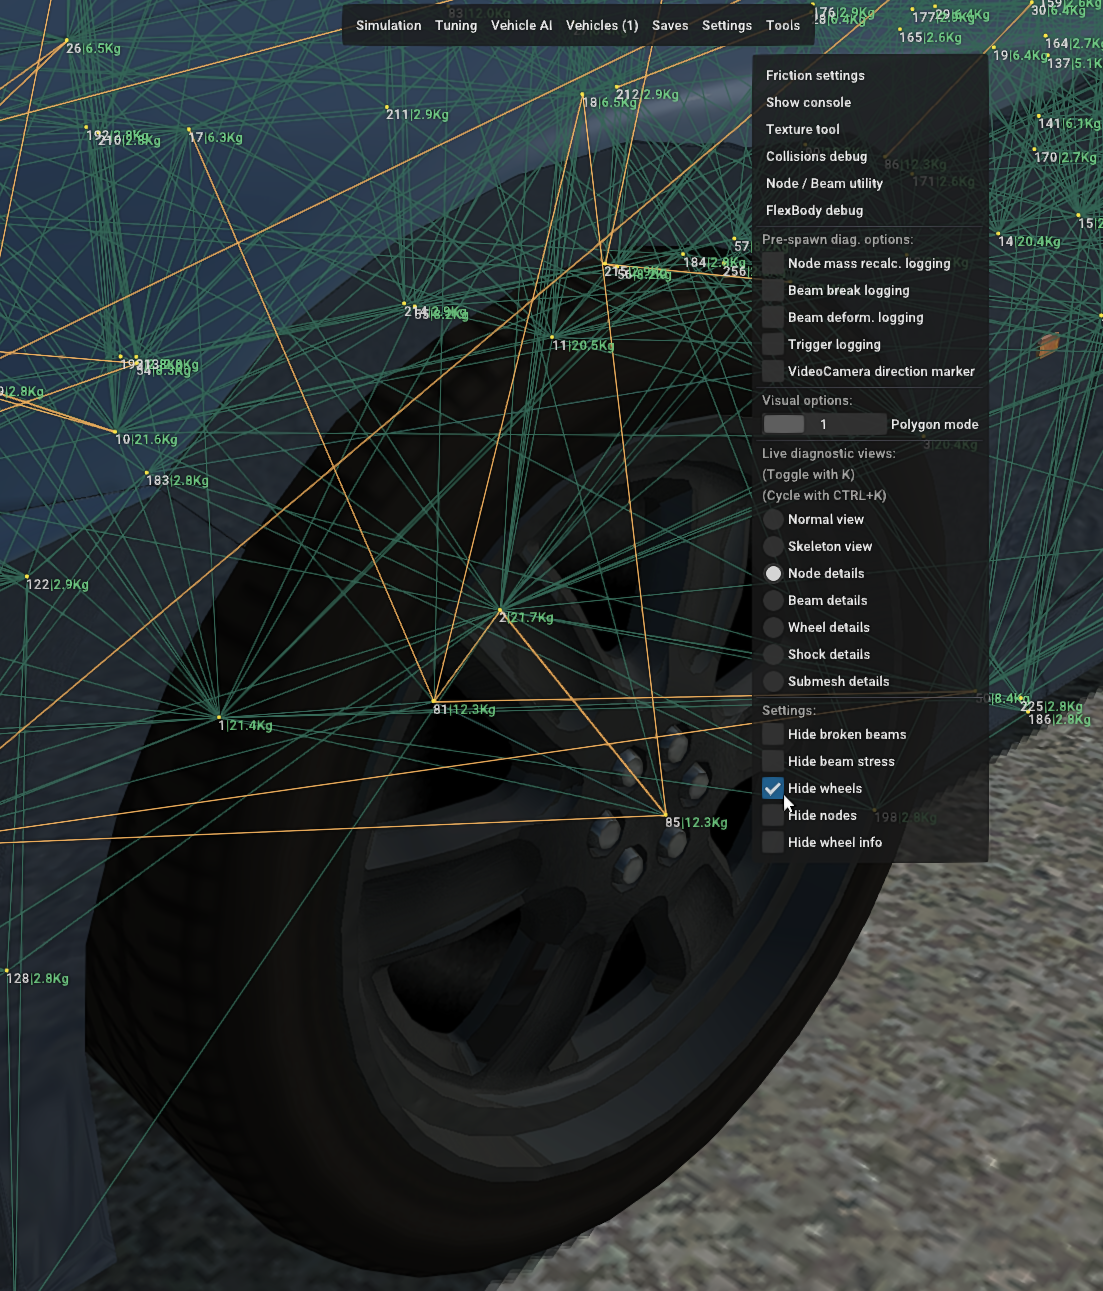
Now find the outer wheel nodes. For the G2S:
Front left: 85
Front right: 84
Rear left: 91
Rear right: 90
Open the truck file and find the nodes:
84,   -1.106,    0.295,   -1.007, l 12
85,   -1.106,    0.295,    1.007, l 12

...

90,    1.632,    0.289,   -1.037, l 12
91,    1.632,    0.289,    1.037, l 12
The first value is front-back, second is up-down, and third is side to side.
Increase the second value to add camber, and the third to increase wheel width.
Make sure to keep the opposite side value negative!
Camber example:
84,   -1.106,    0.315,   -1.007, l 12
85,   -1.106,    0.315,    1.007, l 12

...

90,    1.632,    0.309,   -1.037, l 12
91,    1.632,    0.309,    1.037, l 12
Wheel width example:
84,   -1.106,    0.295,   -1.027, l 12
85,   -1.106,    0.295,    1.027, l 12

...

90,    1.632,    0.289,   -1.057, l 12
91,    1.632,    0.289,    1.057, l 12
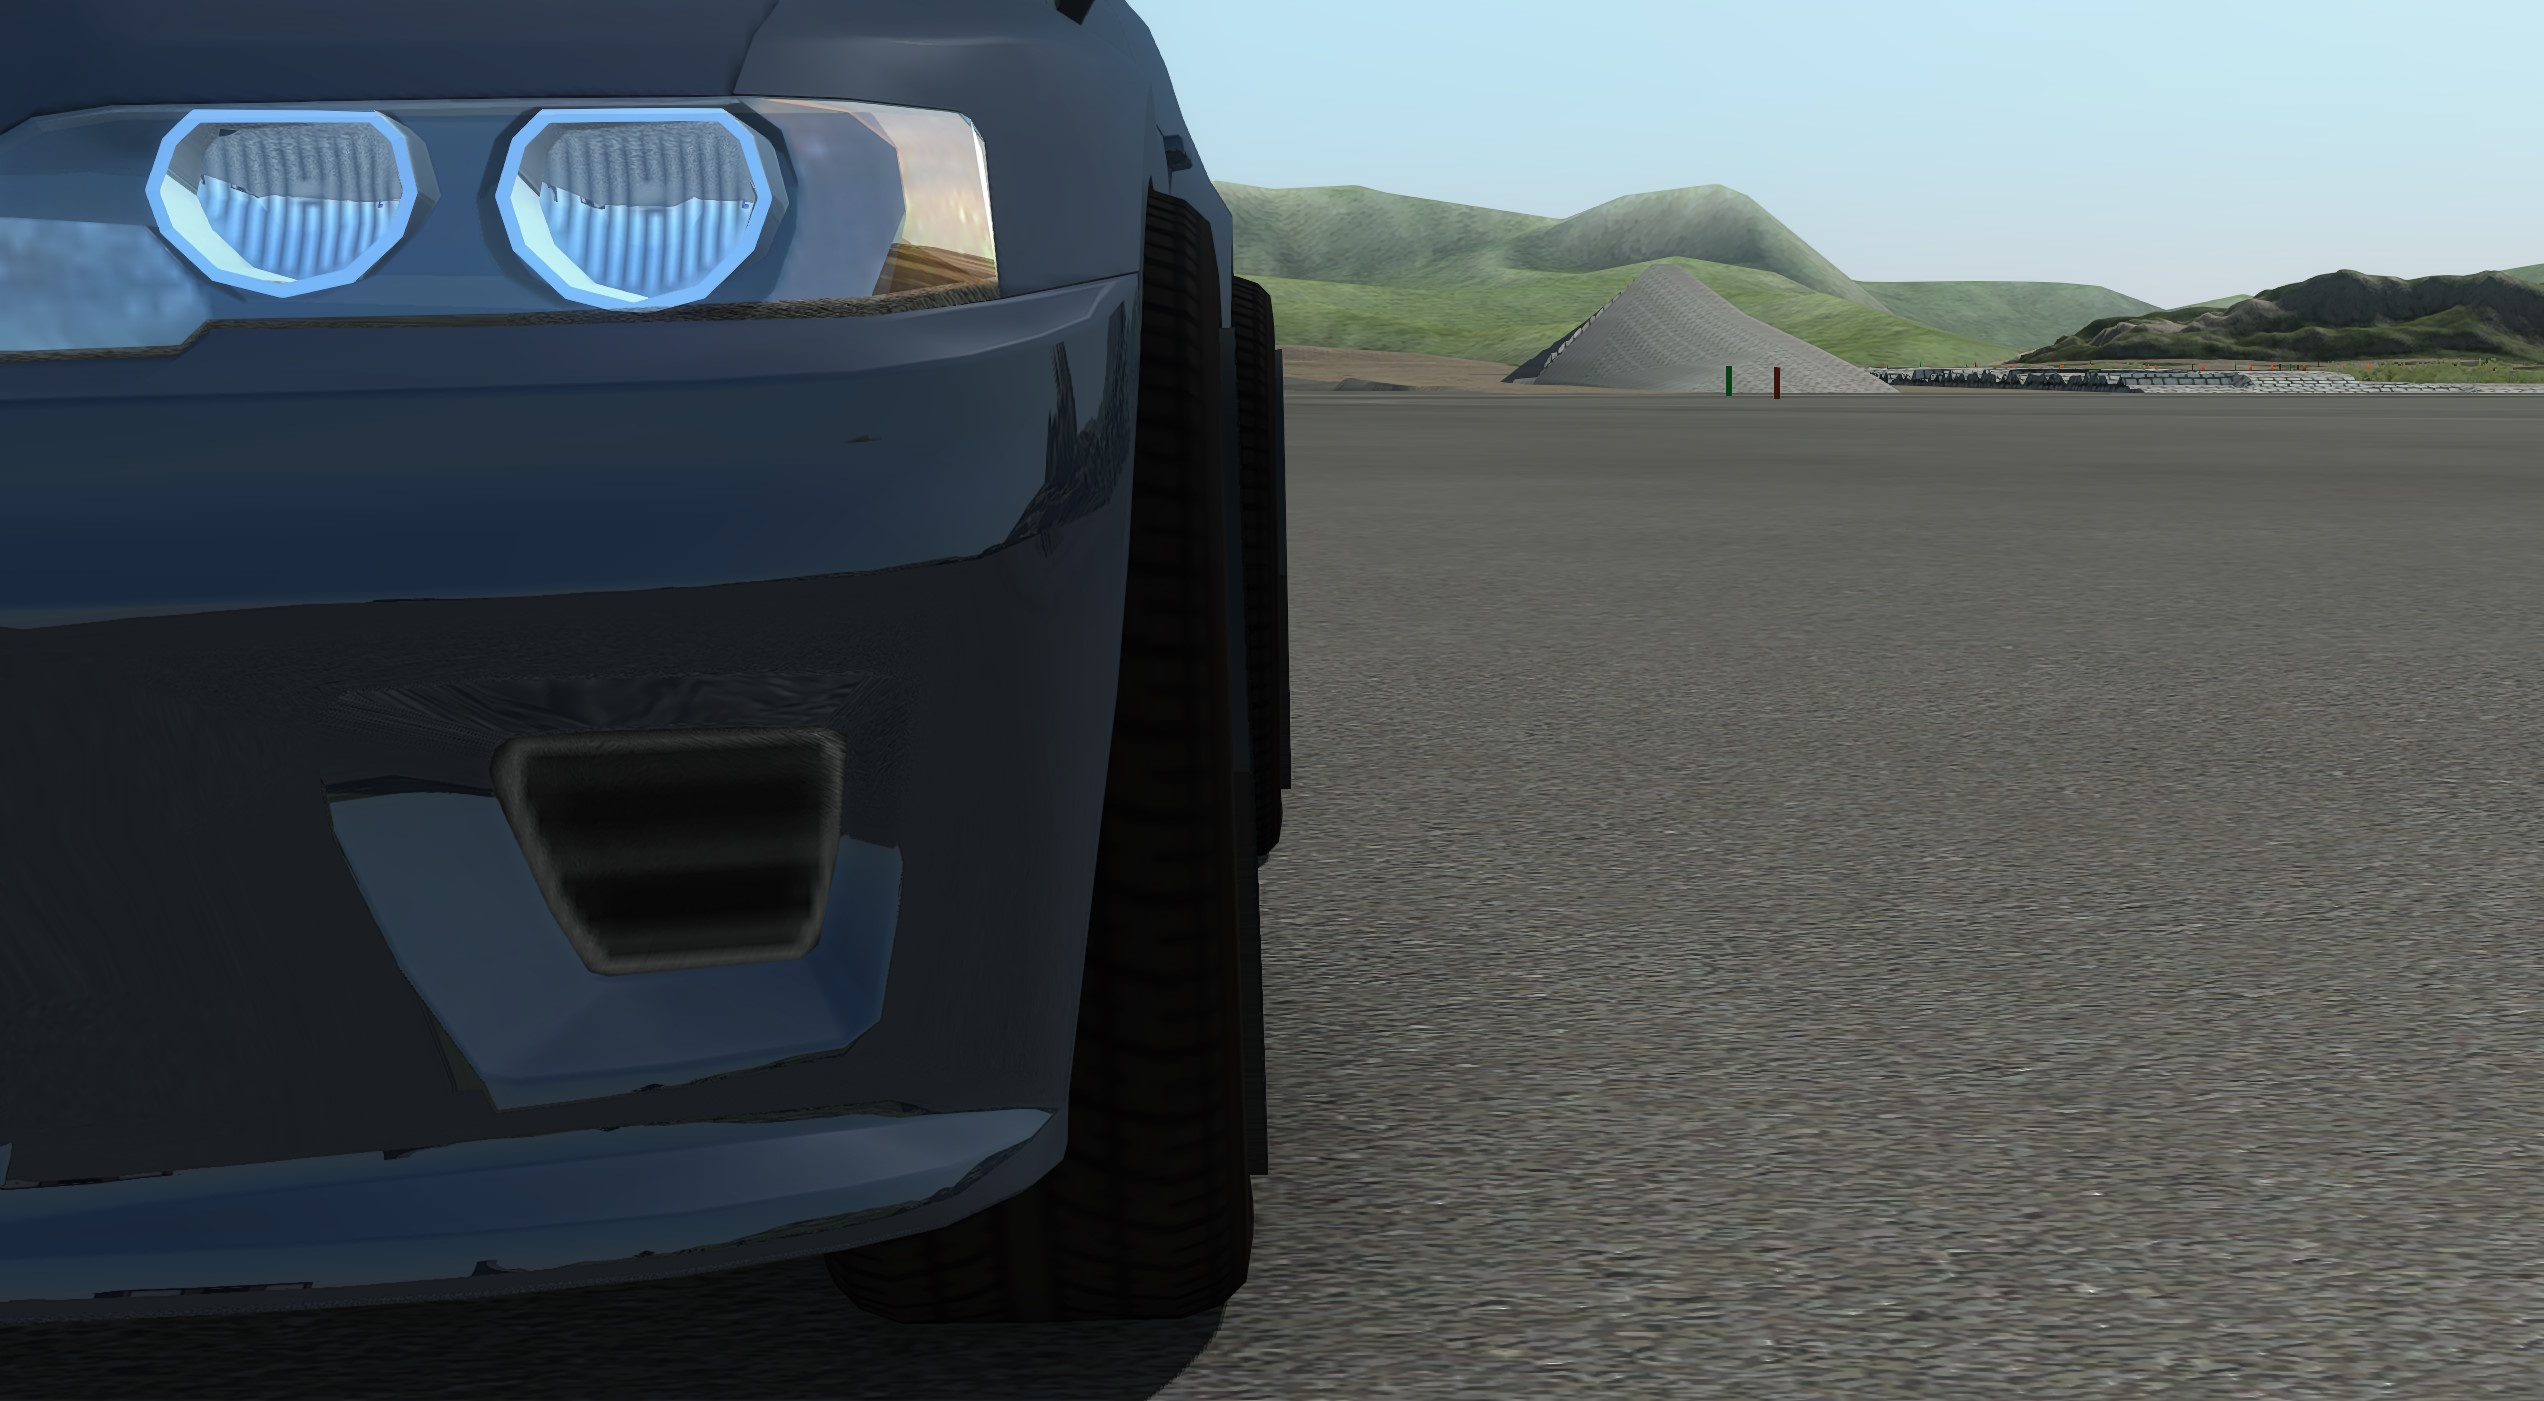
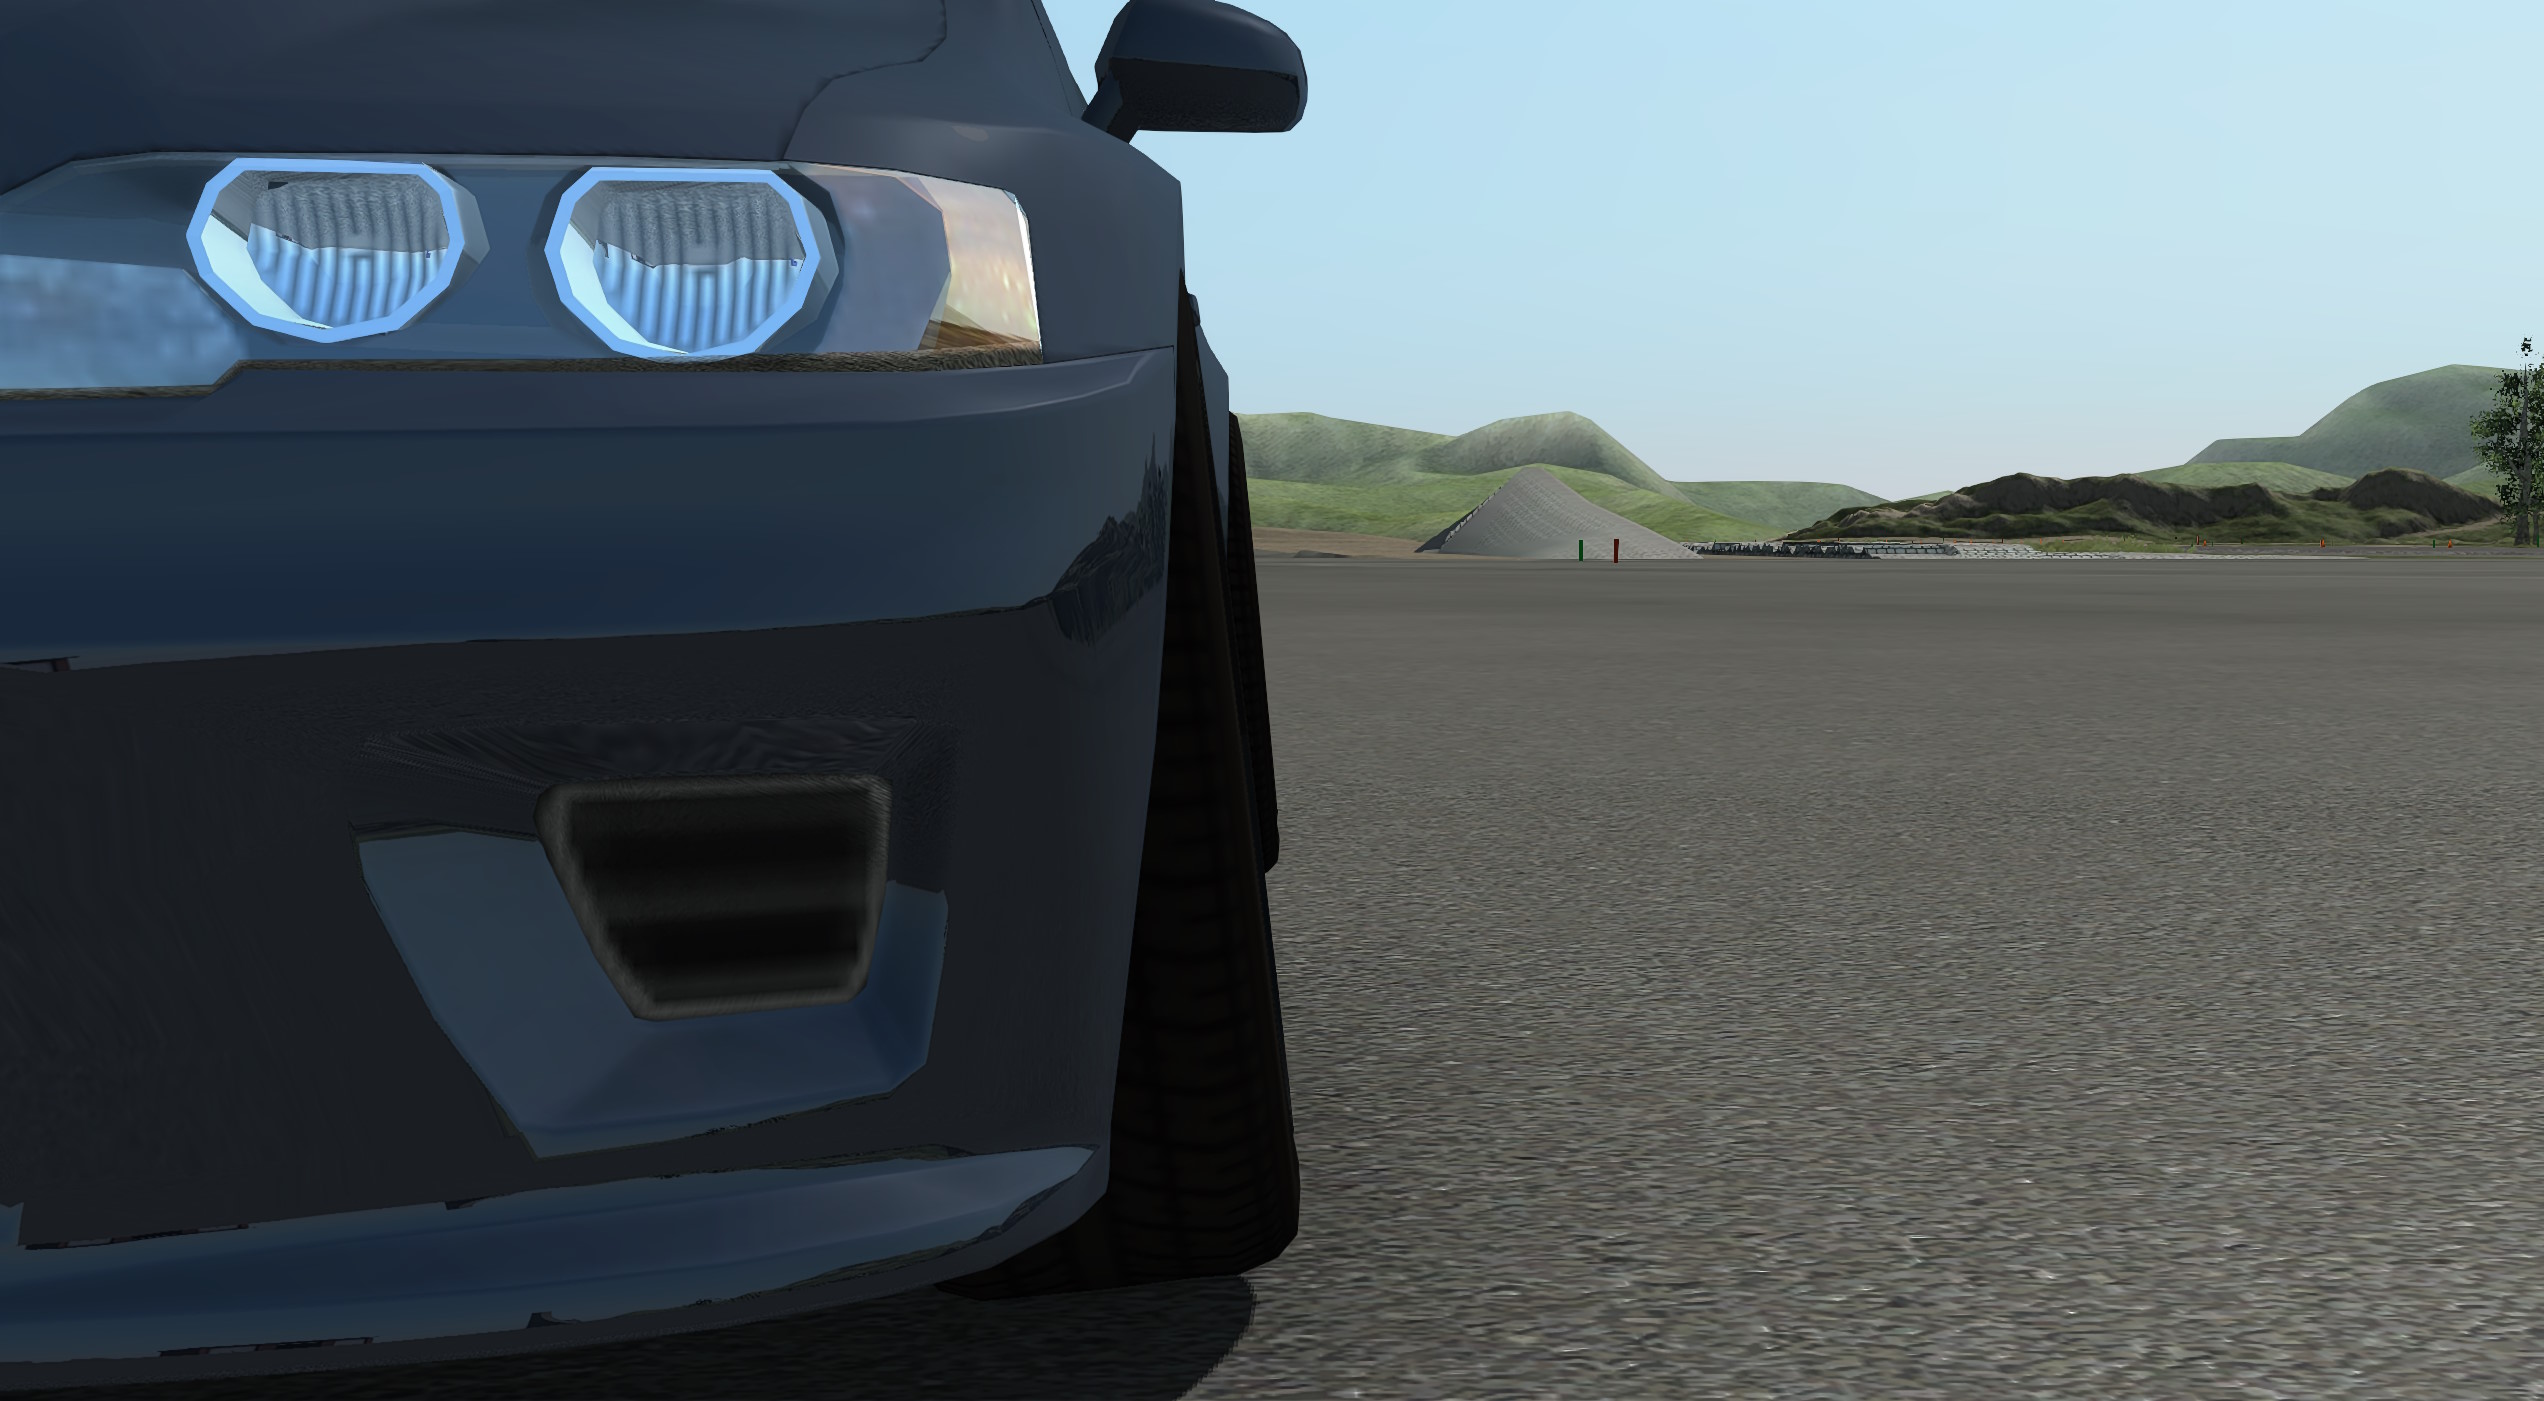
The wheel no longer fits the tire due to the increased width.
Conclusion
This tutorial was very long overdue. Hopefully this helps those interested in modding.