L3DT Map Making
Introduction
L3DT is a Windows application for generating terrain maps and textures. It is intended to help game developers and digital artists create vast high-quality 3D worlds.
This page will teach you how to export an L3DT terrain into Rigs of Rods version 2020.01+.
Please read everything carefully and do not skip any steps.
Required applications
Note
L3DT is now freeware as of December 11th, 2018. As the transition isn't complete yet, it is highly recommended you sign up for the 6-month "free trial" here. Doing so gives you access to the work-in-progress "L3DT Unlimited" version, which doesn't require a license.
- L3DT Standard or Professional
- GIMP 2.10.10 or higher
- Notepad++
- A brain, some basic computer knowledge, and some patience
For this tutorial, I will assume you already have a ready-to-export terrain in L3DT.
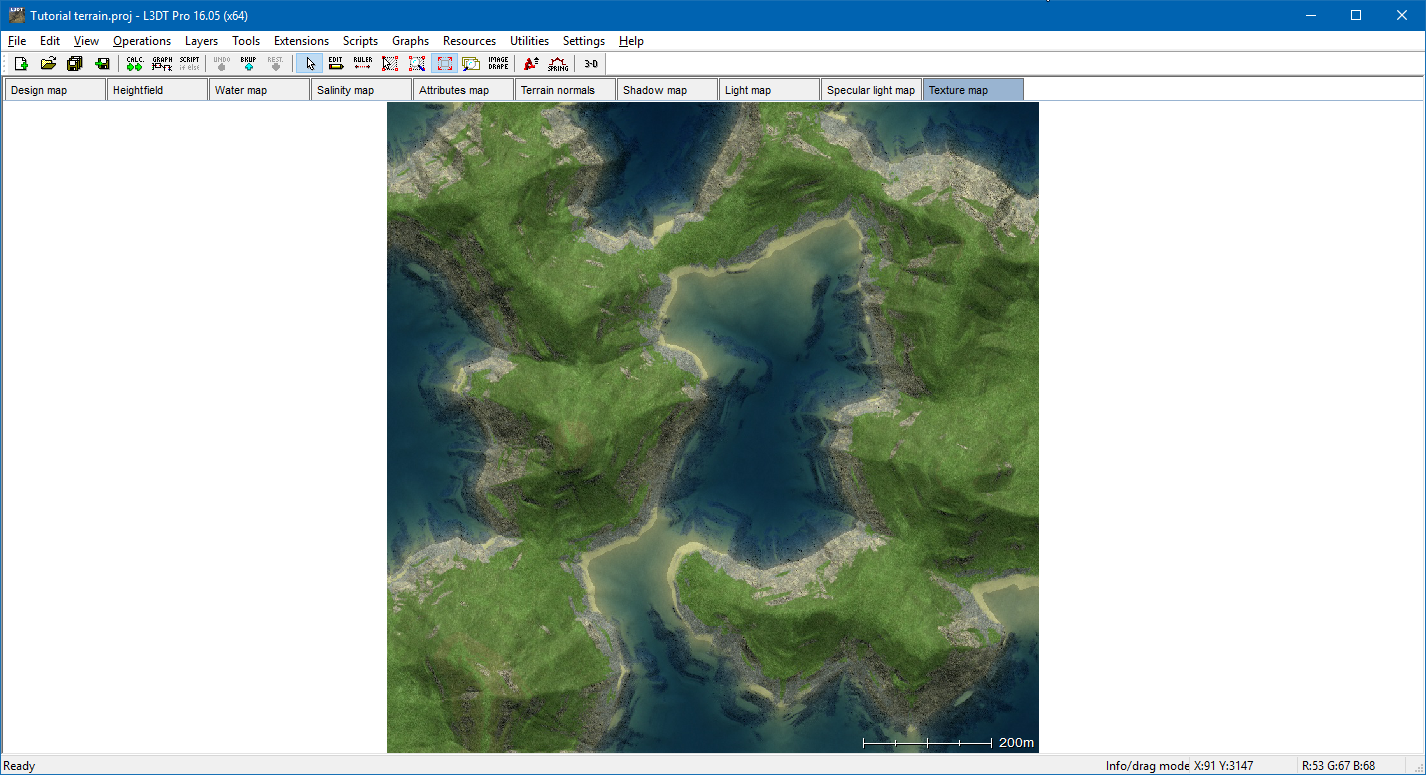
This is a simple 1024x1024 terrain generated by L3DT's "Design Map" feature.
I've uploaded the project files here for reference.
Note: You may only be able to open the project file in the Pro version due to it using 4096x4096 textures.
Setting up
Start by downloading a template terrain. For simplicity sake, choose the template_04_raw.zip version.
Once downloaded, extract the zip into any folder.
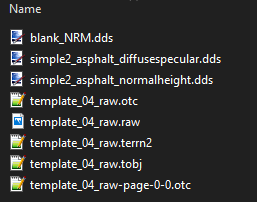
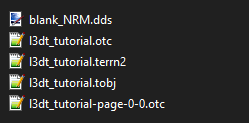
Delete template_04_raw.raw, simple2_asphalt_diffusespecular.dds, and simple2_asphalt_normalheight.dds as you will not be needing them.
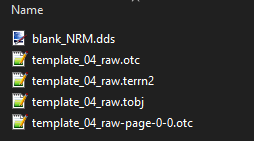
Rename the files to what you'd like your terrain to be named (for this tutorial I will just name it l3dt_tutorial).
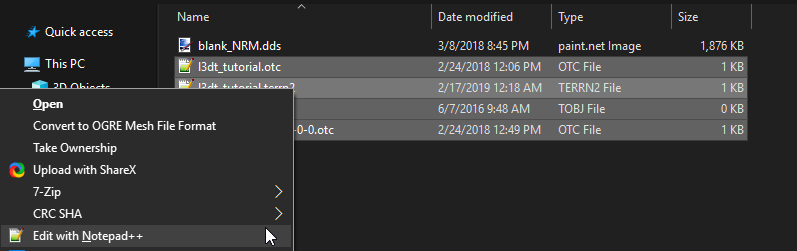
Now open all the files in Notepad++ by selecting them then right click -> Edit with Notepad++
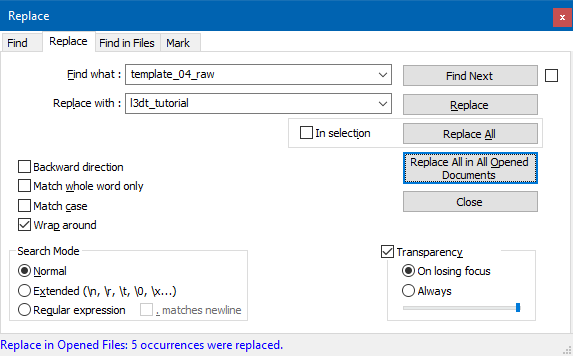
Press CTRL+F to open the Find menu, then switch to the Replace tab.
Set "Find what" to template_04_raw and "Replace with" with your terrain name, then click Replace All in All Opened Documents.
If successful, you should see something similar to Replace in Opened Files: 5 occurrences were replaced.
Now click File -> Save All to save your current files.
We're ready to export the heightmap now.
Exporting the heightmap
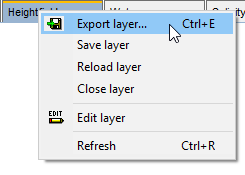
In L3DT, right click the Heightfield layer -> Export layer...
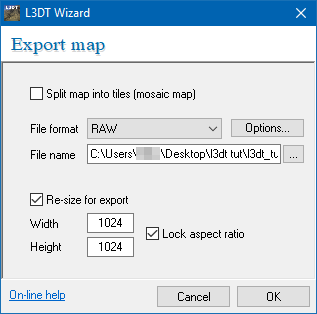
Set the "File format" to RAW.
Click the ... button to browse to where your terrain files are located. Name the file the same as you did previously (i.e. l3dt_tutorial.raw).
Now check the Re-size for export box and set the Width and Height to the same values as you did when you generated the terrain (i.e. 1024x1024).
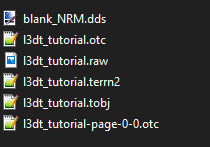
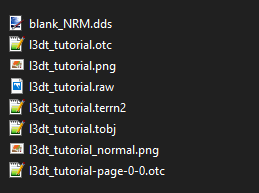
You should now have a .raw file in your working directory.
The OTC file
Now go back to Notepad++ and open l3dt_tutorial.otc. The file will look similar to this:
Heightmap.0.0.raw.size=5
Heightmap.0.0.raw.bpp=2
Heightmap.0.0.flipX=0

WorldSizeX=3000
WorldSizeZ=3000
WorldSizeY=0


disableCaching=1

PageFileFormat=l3dt_tutorial-page-0-0.otc

MaxPixelError=0
LightmapEnabled=0
SpecularMappingEnabled=1
NormalMappingEnabled=1
Heightmap.0.0.raw.size=5
Size of your heightmap. For this terrain, it is 1024.
Heightmap.0.0.raw.bpp=2
Bytes per pixel (1 = 8bit, 2=16bit). Leave this at 2.
Heightmap.0.0.flipX=0
If the terrain heightmap needs to be flipped. since L3DT doesn't export the heightmap upside down leave this at 0.
WorldSizeX=3000
WorldSizeZ=3000
Size of the terrain. Since this is a 1024x1024 terrain, set both to 1024.
WorldSizeY=0
Maximum height of the terrain. To get this value, in L3DT go to Operations -> Heightfield -> Change vertical range....
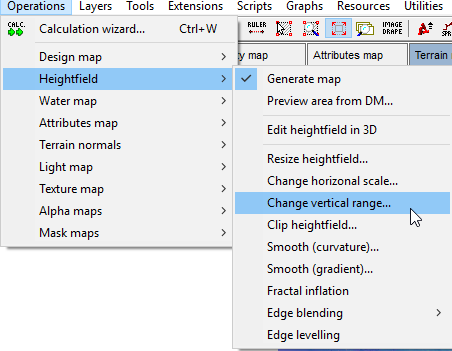
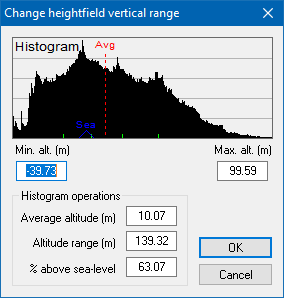
Add the non-negative minimum value to the maximum value.
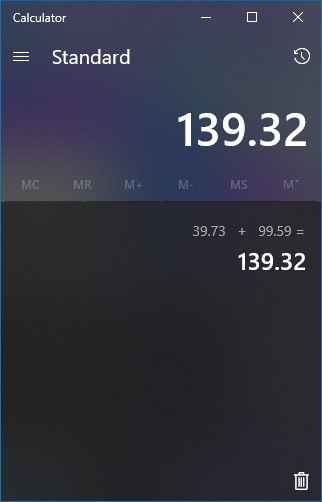
If you get a decimal, you should be safe to round it (i.e. 139).
disableCaching=1
This prevents the game from caching the heightmap. For testing purposes, leave it at 1.
PageFileFormat=l3dt_tutorial-page-0-0.otc
Name of the file that defines the terrain textures. Since we already renamed it earlier, there's no need to change this.
MaxPixelError=0
LightmapEnabled=0
SpecularMappingEnabled=1
NormalMappingEnabled=1
Advanced heightmap/texture settings, it's best to leave these at their current values.
The finished file:
Heightmap.0.0.raw.size=1024
Heightmap.0.0.raw.bpp=2
Heightmap.0.0.flipX=0

WorldSizeX=1024
WorldSizeZ=1024
WorldSizeY=139


disableCaching=1

PageFileFormat=l3dt_tutorial-page-0-0.otc

MaxPixelError=0
LightmapEnabled=0
SpecularMappingEnabled=1
NormalMappingEnabled=1
We're ready to export the textures now.
Exporting textures
Texture map
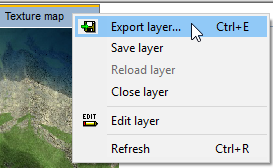
Right click Texture map -> Export layer...
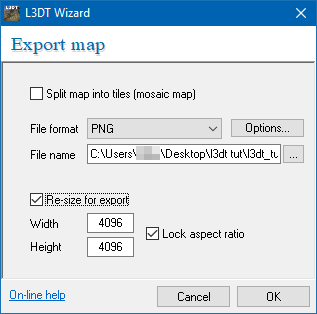
Set the "File format" to PNG.
Just as you did previously, browse to your terrain directory and set the file name (i.e. l3dt_tutorial.png).
Check the Re-size for export box and set your texture size (in this case, 4096x4096)
Normal map
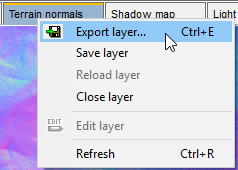
Now right click Terrain normals -> Export layer... and repeat the same steps as last time.
You should now have two textures in your working directory.
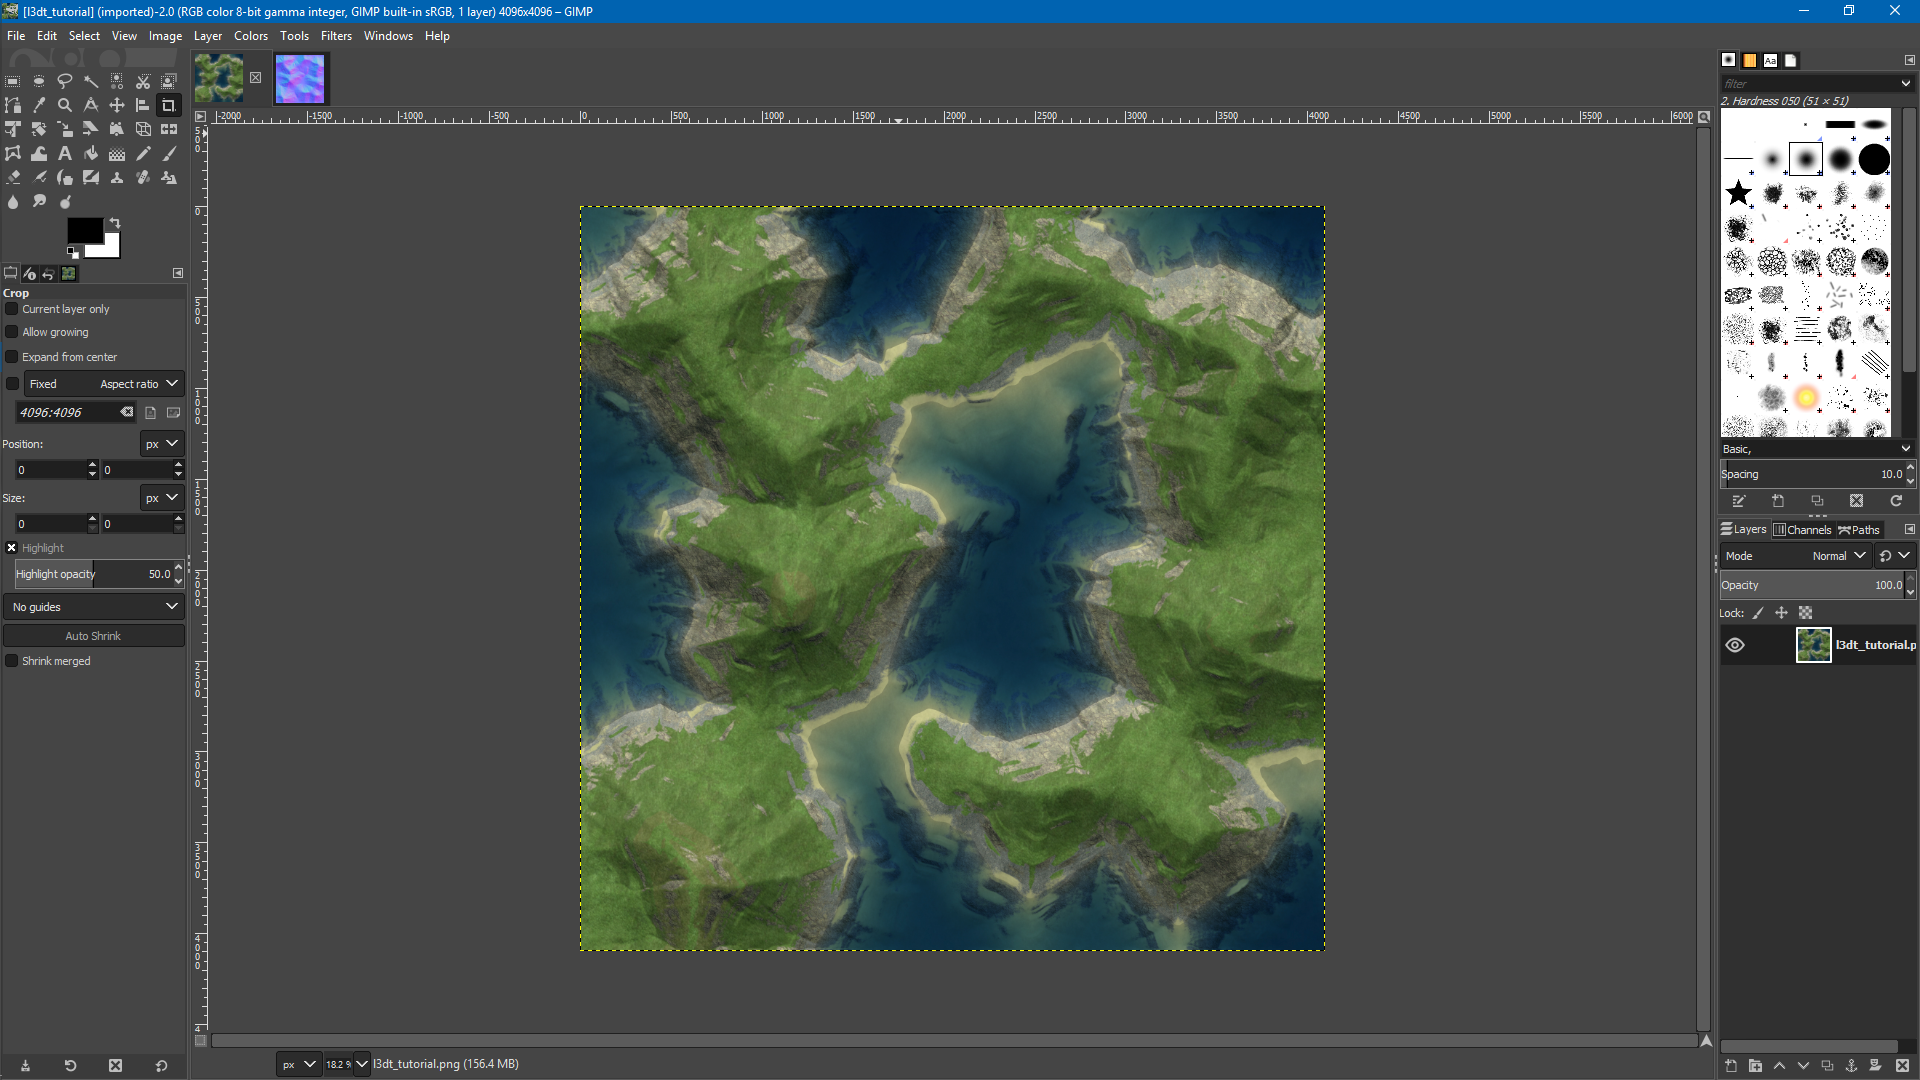
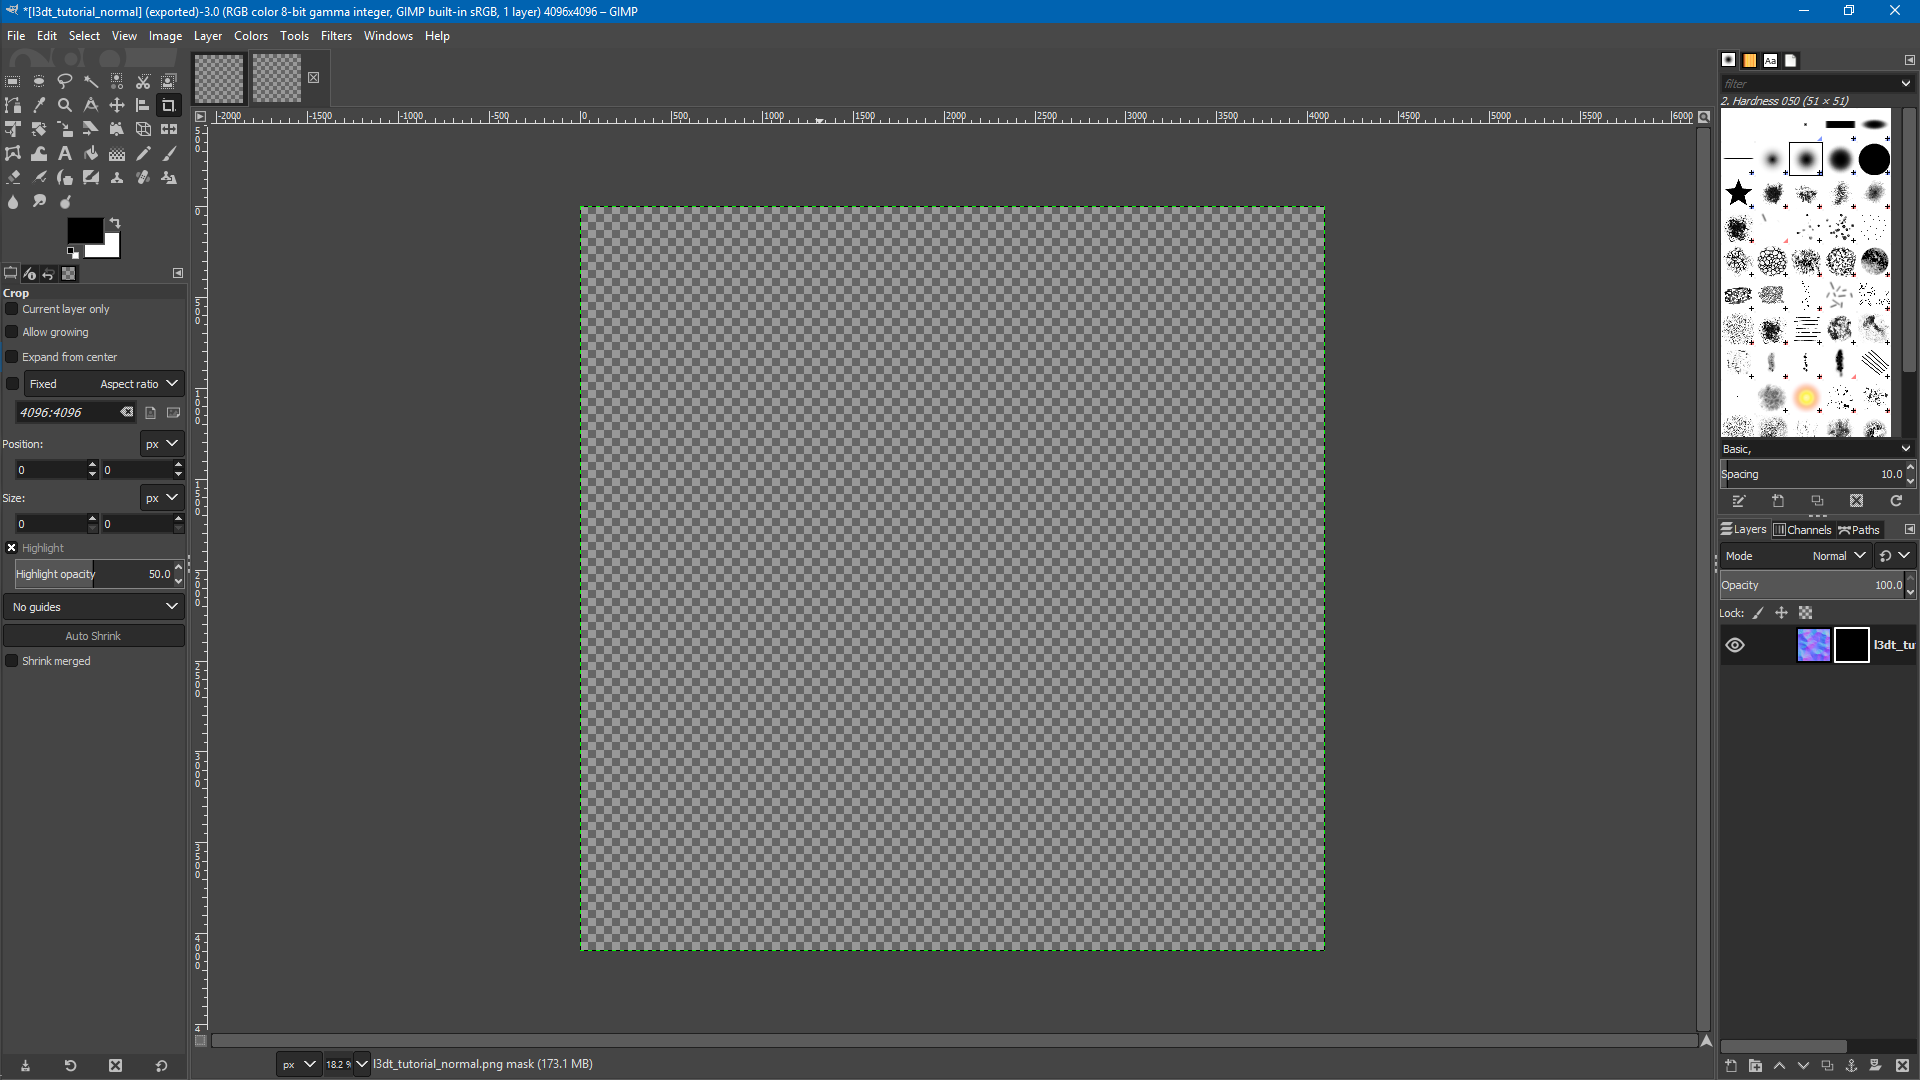
Applying alpha mask
To prevent the terrain texture from being overly shiny in-game, you will have to apply an alpha mask to both the texture map and the normal map. To do this, open both textures in GIMP.
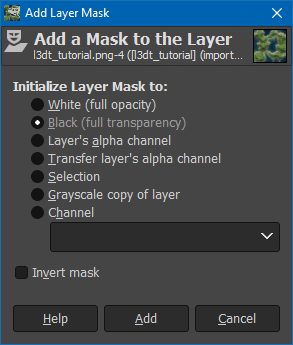
Go to Layer -> Mask -> Add Layer Mask...
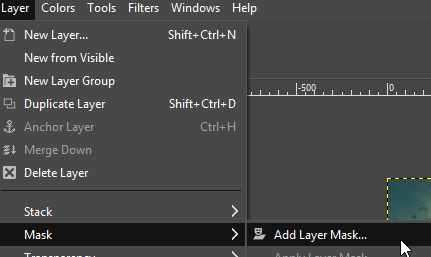
Select Black (full transparency) then click Add.
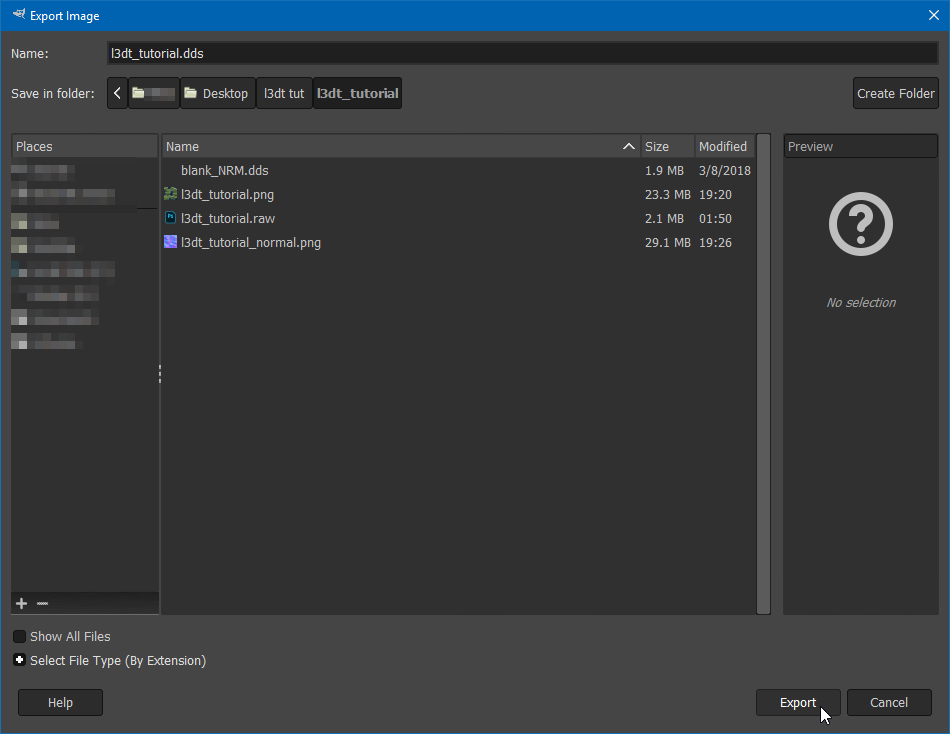
Now go to File -> Export As...
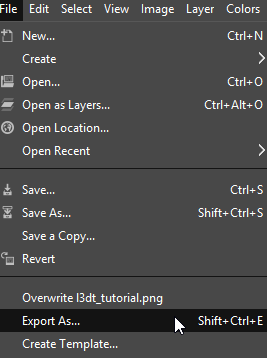
Change the file extension to .dds then click Export.
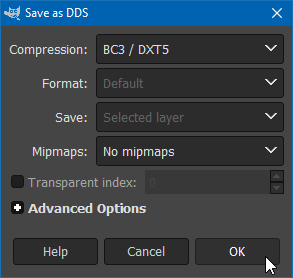
If you installed the DDS plugin correctly, you should now have a Save as DDS dialog.
Set the Compression to BC3 / DXT5 then click OK to export.
Repeat the same steps for the normal map texture.
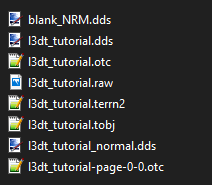
Once you're done, you should have two new DDS files in your working directory.
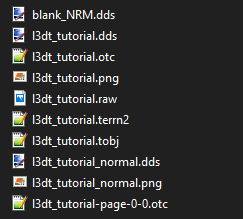
You can now delete the two PNG textures we exported earlier as they're no longer needed.
The page file
Now open l3dt_tutorial-page-0-0.otc. The file will look similar to this:
l3dt_tutorial.raw
1
; worldSize, diffusespecular, normalheight, blendmap, blendmapmode, alpha
4, simple2_asphalt_diffusespecular.dds, simple2_asphalt_diffusespecular.dds
l3dt_tutorial.raw
The name of your heightmap RAW file. Since we already renamed it earlier, there's no need to change this.
1
The number of texture layers. Since we only have 1 layer, leave it at 1.
4, simple2_asphalt_diffusespecular.dds, simple2_asphalt_diffusespecular.dds
4
The size of your terrain. It typically is the same as the WorldSizeX/WorldSizeZ values. So in this case, 1024.
simple2_asphalt_diffusespecular.dds, simple2_asphalt_diffusespecular.dds
The names of your texture map and normal map. For this terrain, they are named l3dt_tutorial.dds and l3dt_tutorial_normal.dds.
The finished file:
l3dt_tutorial.raw
1
; worldSize, diffusespecular, normalheight, blendmap, blendmapmode, alpha
1024, l3dt_tutorial.dds, l3dt_tutorial_normal.dds
The Terrn2 file
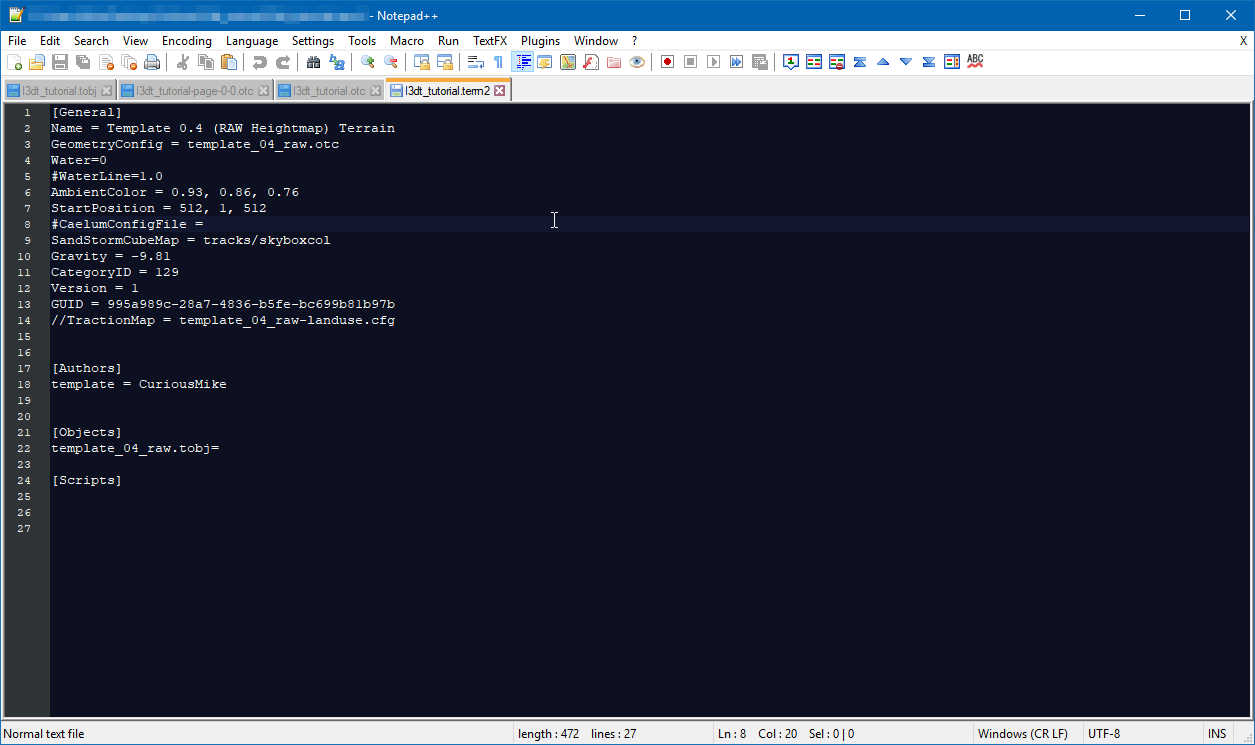
The last file we need to edit is the l3dt_tutorial.terrn2 file. It will look similar to this:
[General]
Name = Template 0.4 (RAW Heightmap) Terrain
GeometryConfig = l3dt_tutorial.otc
Water=0
#WaterLine=1.0
AmbientColor = 0.93, 0.86, 0.76
StartPosition = 512, 1, 512
#CaelumConfigFile =
SandStormCubeMap = tracks/skyboxcol
Gravity = -9.81
CategoryID = 129
Version = 1
GUID = 995a989c-28a7-4836-b5fe-bc699b81b97b
//TractionMap = l3dt_tutorial-landuse.cfg


[Authors]
template = CuriousMike


[Objects]
l3dt_tutorial.tobj=

[Scripts]
Name = Template 0.4 (RAW Heightmap) Terrain
The name of your terrain. In this example, I will name it L3DT Tutorial Terrain V2.
GeometryConfig = l3dt_tutorial.otc
The filename of your terrain's main OTC file. Since we already renamed it earlier, there's no need to change this.
Water=0
If your map has water, set this to 1. Otherwise, leave it at 0.
#WaterLine=1.0
If your terrain doesn't have water, skip this step. Otherwise, remove the # from the beginning of the line.
To get this value, go back to the Change vertical range... dialog you got the minimum/maximum height values from earlier.
The non-negative minimum value is your WaterLine value. For this terrain, it is 40.
Again, you should be safe to round it.
AmbientColor = 0.93, 0.86, 0.76
StartPosition = 512, 1, 512
#CaelumConfigFile =
SandStormCubeMap = tracks/skyboxcol
Gravity = -9.81
CategoryID = 129
Version = 1
These values can currently be left as is.
GUID = 995a989c-28a7-4836-b5fe-bc699b81b97b
The ID that uniquely identifies your terrain. You can generate one here.
//TractionMap = l3dt_tutorial-landuse.cfg
The file that defines the different ground types. Since we don't currently have one, leave it commented out.
[Authors]
template = CuriousMike
The authors of the terrain. Just set your username. For example terrain = CuriousMike.
[Objects]
l3dt_tutorial.tobj=
The name of your objects file. Since we already renamed it earlier, there's no need to change this.
[Scripts]
The AngelScript filename. Since we don't have one, just ignore this.
In-Game
And finally, zip all your files up and place them into your packs/mods folder.
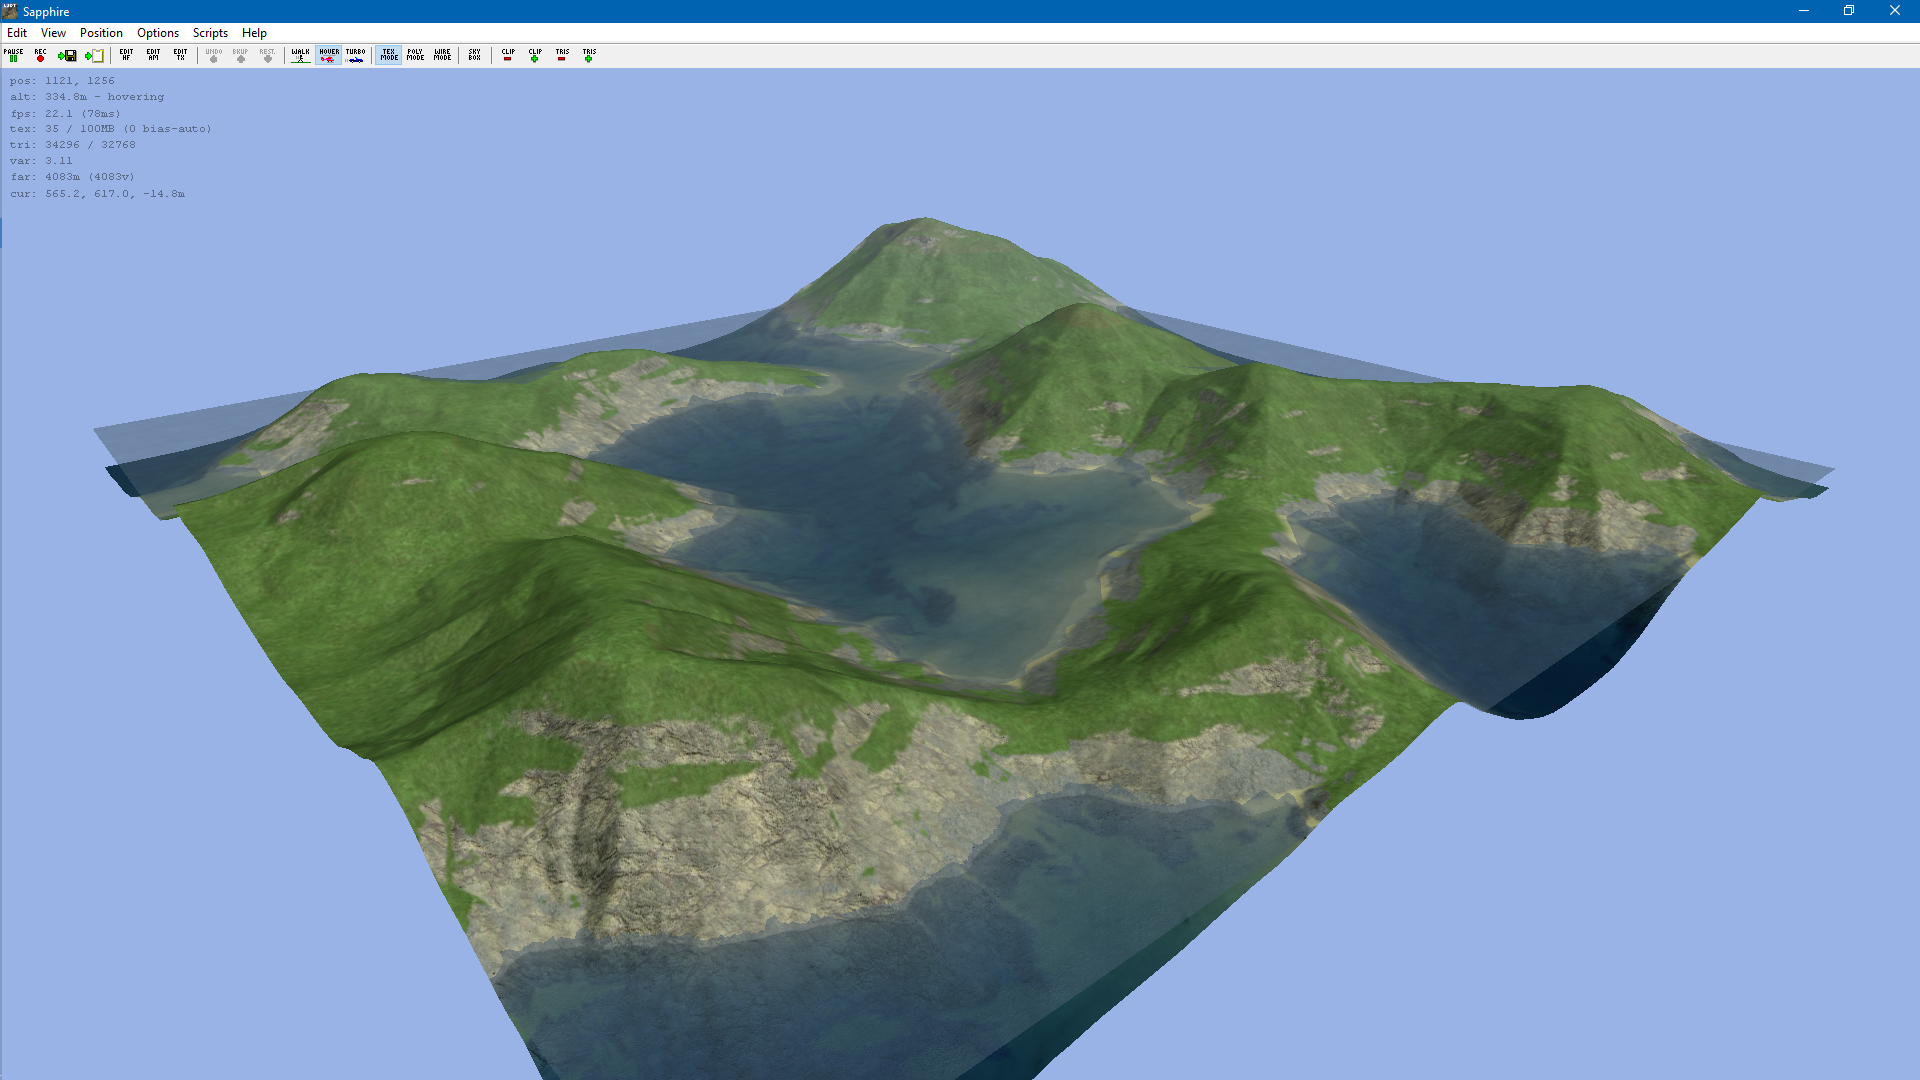
Now launch RoR and load your terrain!
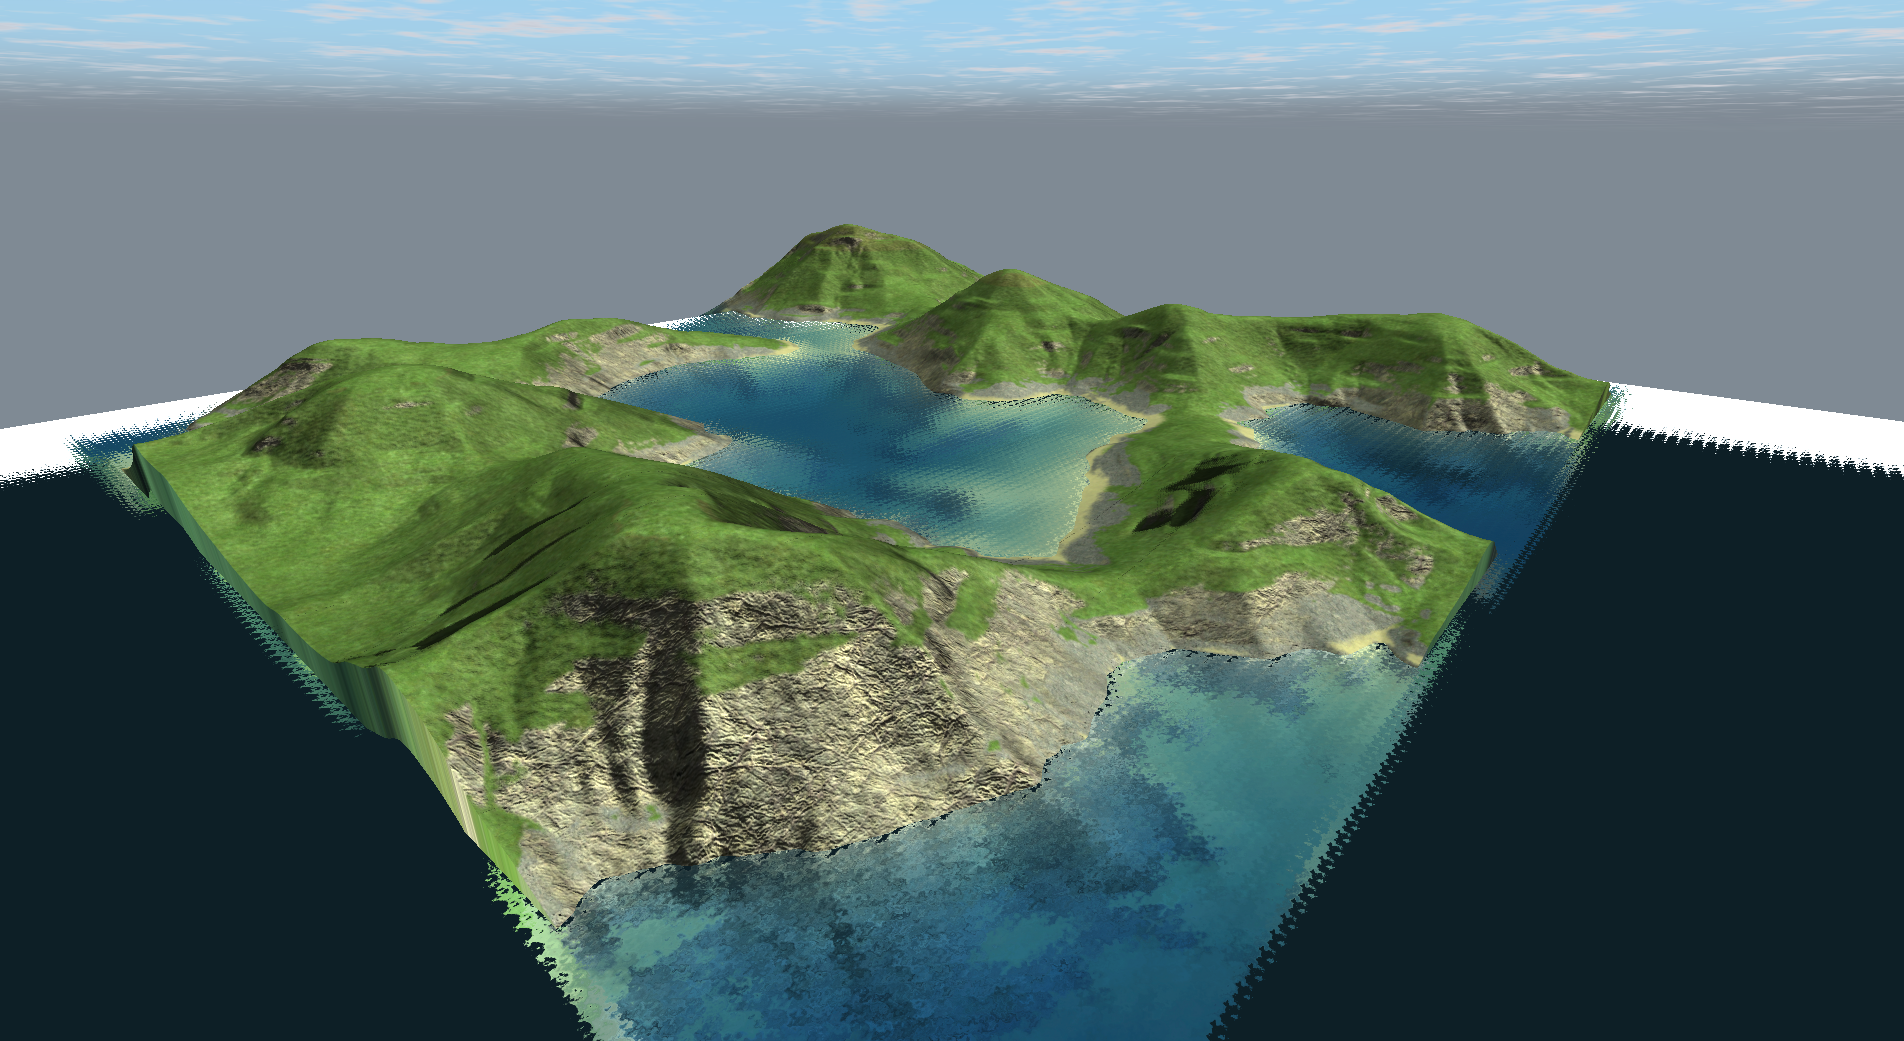
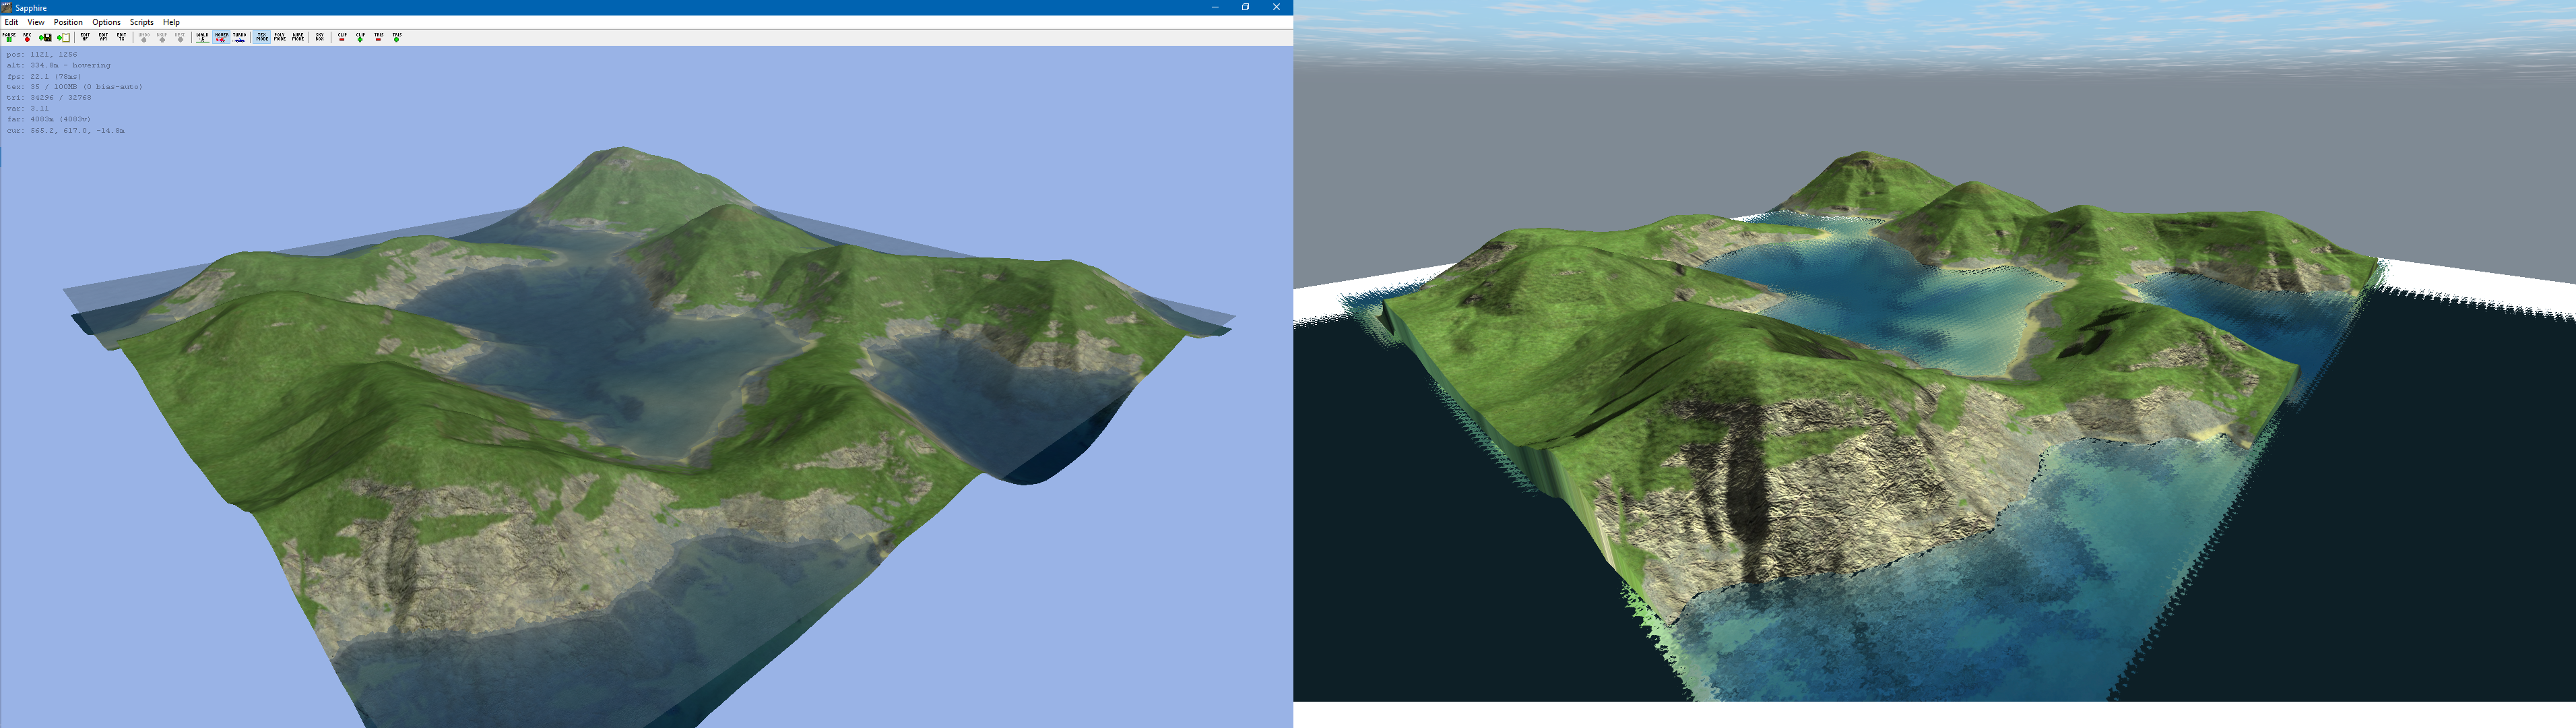
If everything went well, your terrain should look almost identical to how it does in L3DT's Sapphire:
Changing the spawn position
When you loaded the terrain, you most likely spawned in the water or on the side of a mountain.
To fix this, move RoRBot to where you'd like to spawn at.

Then press the h key. This is will log the current position to RoR.log.
Now browse to C:\Users\%username%\Documents\Rigs of Rods 0.4\logs and open the RoR.log file.
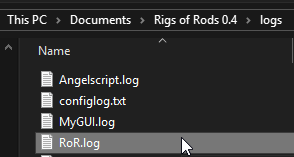
Scroll to the bottom of the file. You should find a line similar to this:
22:21:51: Position: 885.289, 113.769, 586.640, 0.0, 0.0, 0.0
Now open your .terrn2 file and find the StartPosition line.
StartPosition = 512, 1, 512
Copy the first 3 numbers from the position line, for example:
StartPosition = 885.289, 113.769, 586.640
Save the file and launch RoR. You should now spawn in the position you set.
Congratulations! You have learned how to get your L3DT terrain in-game!
Download the finished terrain here.
Troubleshooting
Stream size does not match calculated image size
Your Heightmap.0.0.raw.size value does not match the size of your exported raw file. Make sure the size you set in the export dialog is the same.
In-game world scale doesn't match the L3DT terrain
Make sure your WorldSizeX/WorldSizeZ matches the size in L3DT. Also check if you calculated the WorldSizeY value correctly.
Terrain texture is solid black
Your texture names in your page file don't match the filename.
Terrain texture is shiny
You didn't apply the alpha mask in GIMP correctly.
RoR crashes while loading the terrain
Check all your files and make sure you didn't make any syntax errors. You can also check your RoR.log to see where the crash occurs at.
More help
If you have a different issue than the one listed here and you're sure you didn't do anything obviously wrong, then please make a thread in the correct subforum or join our Discord server and ask your question in the #modding channel.