Installing Addons (Manual)
What are addons?
In the Repository, you will find a category for addon parts. These are ready-to-install modifications for existing vehicles.
Some are designed for specific vehicles (e.g. bumpers/exhausts) while others can fit on any vehicle (e.g. wheels/tires). This page serves as a general guide on the basics of installing various types of parts.
The only requirement is a plain text editor, such as Notepad. (Notepad++ is preferred)
As always, read thoroughly and do not skip any steps. Most questions we get are simply caused by people not reading.
ReadMe files
Inside most addon zips, you'll find a ReadMe text file. These contain info you need to know in order to install the part correctly, such as managedmaterials lines.
However, not all ReadMe files are the same. Some will provide a detailed step-by-step tutorial, while others may just give the bare minimum managedmaterials lines, or may not include a ReadMe at all.
Vehicle body parts
Most parts on the Repository are designed to fit specific vehicles. This includes but not limited to bumpers, exhausts, extra lights, etc.
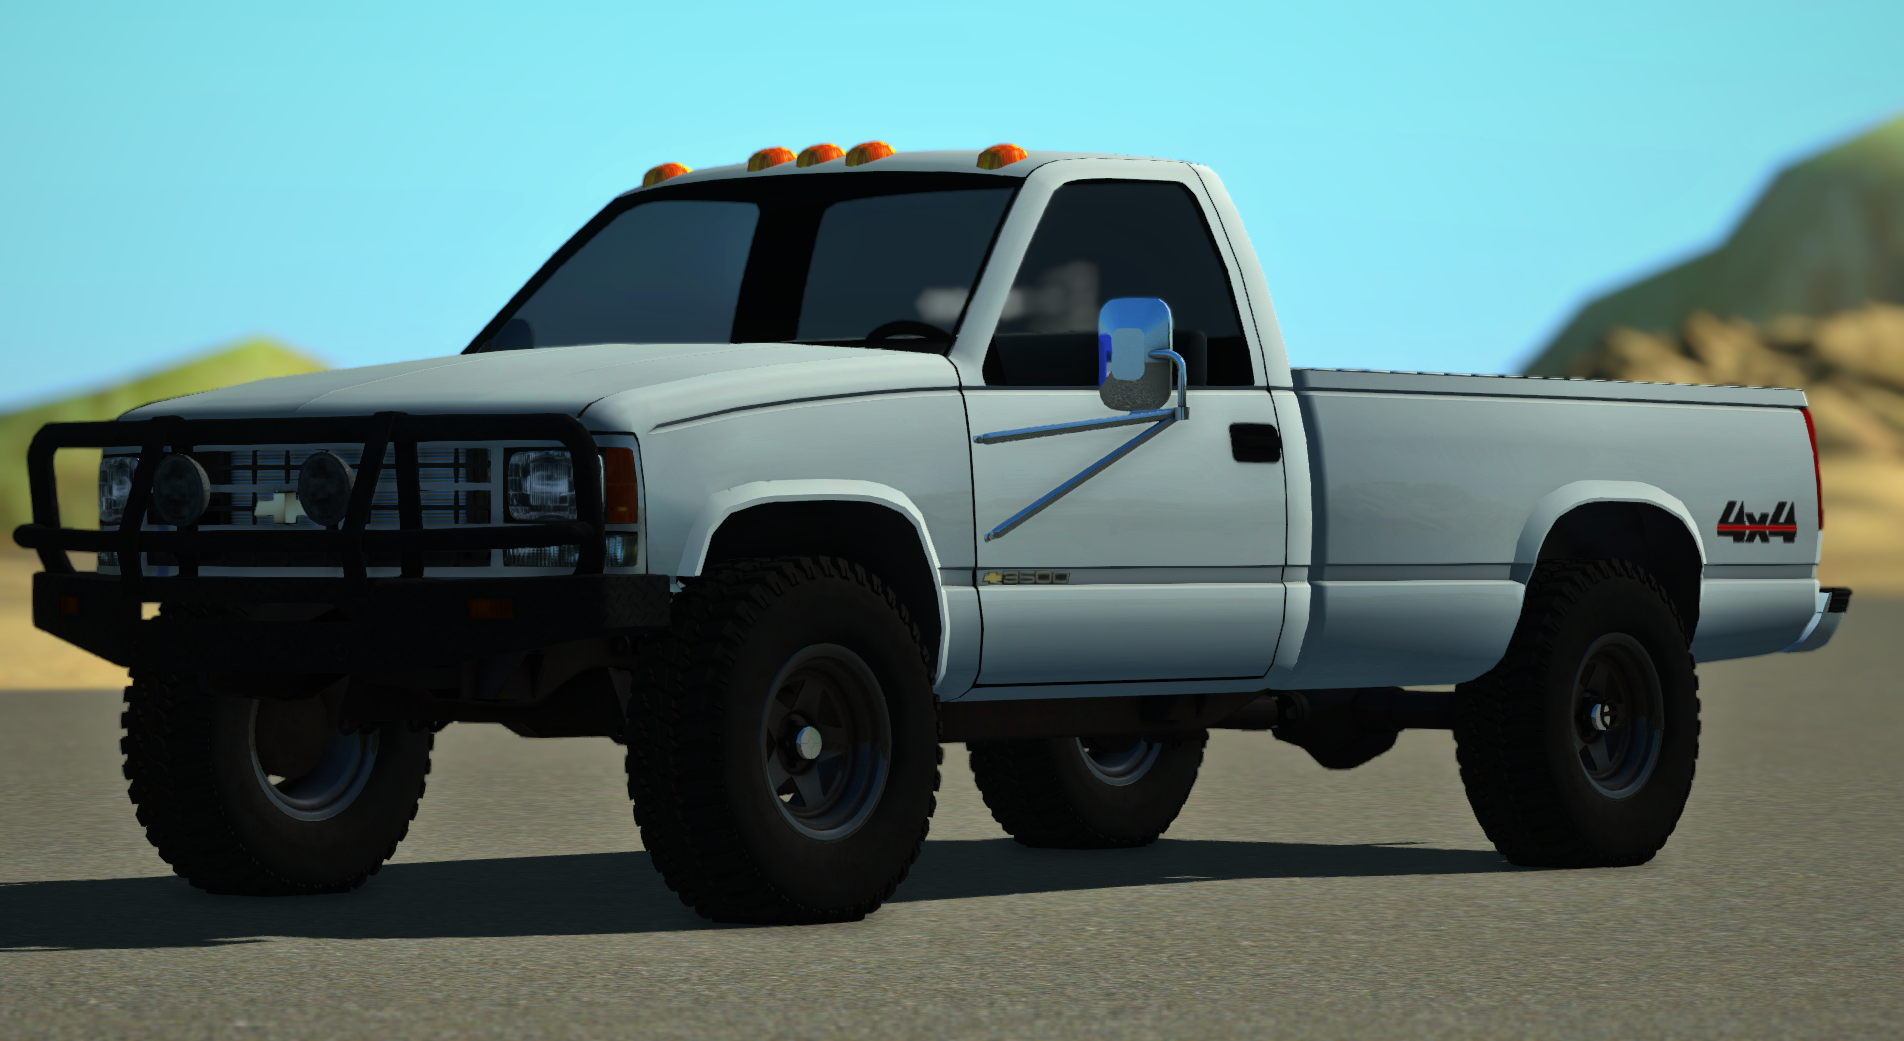
In this example we will be installing the Heavy Bumper for the Chevy K3500.
Setting up
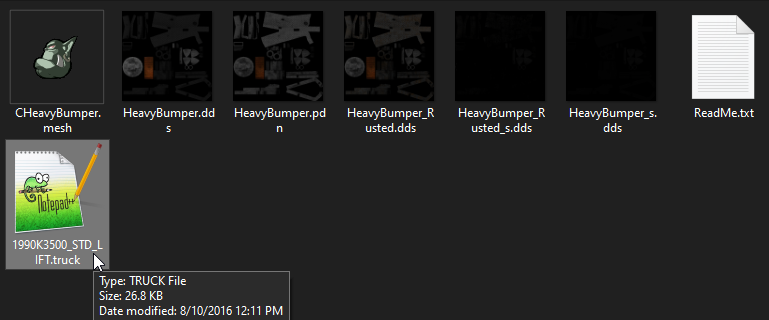
To begin, download & extract the part zip (in our case, CHeavyBumper.zip) into a new folder. The folder should contain the mesh, dds textures, PDN paintkit, and a readme text file:

Next, browse to Documents\My Games\Rigs of Rods\mods and open ChevyK3500.zip:
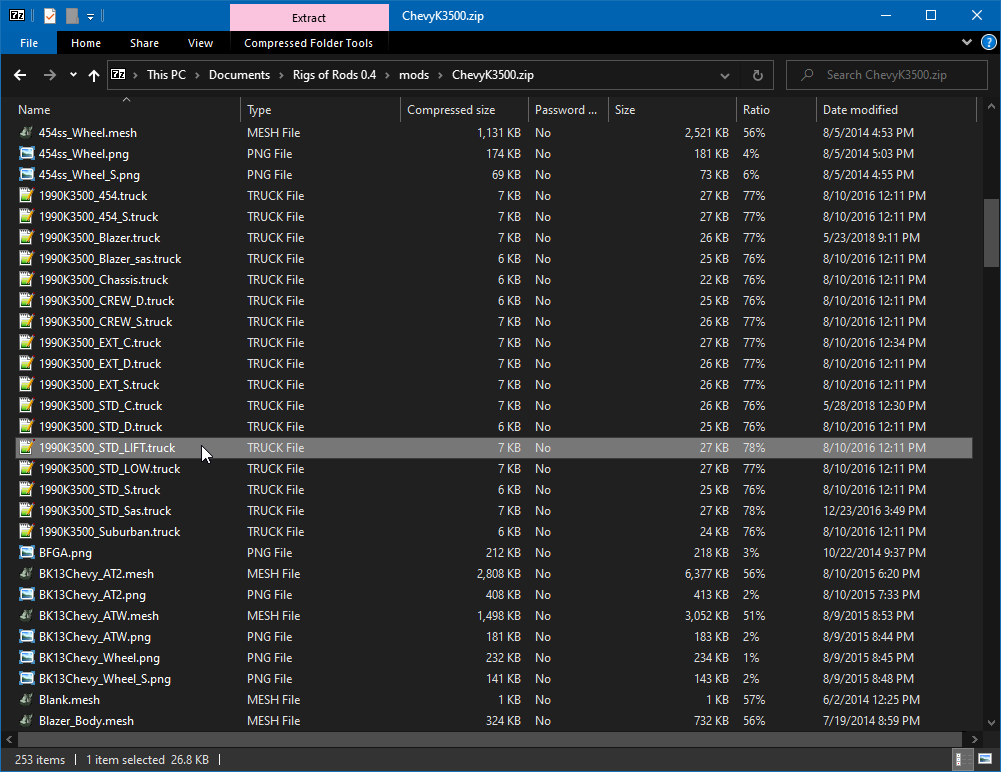
Find the .truck file you want to edit. For this example I'll be editing the Standard cab Single rear wheels (lift) version (1990K3500_STD_LIFT.truck)
Once you've figured out which truck you want the bumper on, drag the .truck file from the zip and into the folder containing the part you downloaded earlier:
The truck file
You will need to open two files, the truck file (1990K3500_STD_LIFT.truck) and the readme file (ReadMe.txt). The readme file contains the lines you need to copy into the truck file.
Managedmaterials
Before we begin, some notes:
-
Some parts may include a
.materialfile inside the zip. If this is the case then you don't need to specify anything inmanagedmaterials, just move the.materialfile into the vehicle's zip along with the other files. -
If you are unable to find the material name (ReadMe doesn't specify it), download OgreMeshy and open the
.meshfile. You should see a similar line in red:
Can't assign material 'ICD_AEZ_Forged' to SubEntity of 'MeshEntity' because this Material does not exist in group 'InternalMeshGroup'. Have you forgotten to define it in a .material script?
In the above example, ICD_AEZ_Forged would be the material name you set in managedmaterials.
With that said, in the truck file, scroll down until you find the managedmaterials section. It will look like this:
managedmaterials
set_managedmaterials_options 1
BK3500          mesh_standard       K3500-Tex.png       K3500_S.png
K3500_Frame     mesh_standard       Chassis_Bake.png        Chassis_Bake_S.png
Grille_Cheyenne     mesh_standard       Grille_Cheyenne.png     Grille_Cheyenne_S.png
K3500_SteeringWheel mesh_standard       K3500_SteeringWheel.png     -
K3500_Badge     mesh_standard       K3500_Badge.png     K3500_Badge.png
K3500_Badge1        mesh_standard       K3500_Badge_GMC.png K3500_Badge_GMC.png
Mirror_3        mesh_standard       Mirror_3.png        Mirror_3.png
Engine_Bay      mesh_standard       Engine_Bay.png      Engine_Bay_S.png
Engine_454      mesh_standard       Engine_454.png      Engine_454_S.png
Grille_WT       mesh_standard       Grille_WT.png       Grille_WT_S.png
K3500_Exhaust       mesh_standard       Exhaust-Tex.png     Exhaust_S.png
Kodiak_Interior     mesh_standard       Kodiak_Interior.png
Kodiak_Windows      mesh_transparent     Kodiak_Windows.png Kodiak_Windows_s.png
Kodiak_Mirrors      mesh_standard       Mirrors-Tex.png     Mirrors-Tex.png
TOYOOC          mesh_standard       Toyo-OC.png
K3500_Wheel     mesh_standard       K3500_Wheel.png     K3500_Wheel_S.png
BFGA            mesh_standard       BFGA.png        Black.png
DWindow         mesh_standard       Dwindow.png     Dwindow_S.png
For this bumper, you have the choice between clean or rusted, as shown in the readme:
Black
--------------------------------------------------------------------------------------------------------------------------
CHeavyBumper        mesh_standard       HeavyBumper.dds     HeavyBumper_s.dds

Rusted
--------------------------------------------------------------------------------------------------------------------------
CHeavyBumper        mesh_standard       HeavyBumper_Rusted.dds      HeavyBumper_Rusted_s.dds
We will choose the clean version. Paste the line at the bottom of the managedmaterials section. Example:
managedmaterials
set_managedmaterials_options 1
BK3500          mesh_standard       K3500-Tex.png       K3500_S.png
K3500_Frame     mesh_standard       Chassis_Bake.png        Chassis_Bake_S.png
Grille_Cheyenne     mesh_standard       Grille_Cheyenne.png     Grille_Cheyenne_S.png
K3500_SteeringWheel mesh_standard       K3500_SteeringWheel.png     -
K3500_Badge     mesh_standard       K3500_Badge.png     K3500_Badge.png
K3500_Badge1        mesh_standard       K3500_Badge_GMC.png K3500_Badge_GMC.png
Mirror_3        mesh_standard       Mirror_3.png        Mirror_3.png
Engine_Bay      mesh_standard       Engine_Bay.png      Engine_Bay_S.png
Engine_454      mesh_standard       Engine_454.png      Engine_454_S.png
Grille_WT       mesh_standard       Grille_WT.png       Grille_WT_S.png
K3500_Exhaust       mesh_standard       Exhaust-Tex.png     Exhaust_S.png
Kodiak_Interior     mesh_standard       Kodiak_Interior.png
Kodiak_Windows      mesh_transparent     Kodiak_Windows.png Kodiak_Windows_s.png
Kodiak_Mirrors      mesh_standard       Mirrors-Tex.png     Mirrors-Tex.png
TOYOOC          mesh_standard       Toyo-OC.png
K3500_Wheel     mesh_standard       K3500_Wheel.png     K3500_Wheel_S.png
BFGA            mesh_standard       BFGA.png        Black.png
DWindow         mesh_standard       Dwindow.png     Dwindow_S.png
CHeavyBumper        mesh_standard       HeavyBumper.dds     HeavyBumper_s.dds
For more info on managedmaterials, see: Managedmaterials
Flexbodies/props
Before we begin, a few notes:
-
If the placement line does not have a
forsetline, this means it is placed under thepropssection. Just searchpropsinstead. -
If the readme doesn't contain a placement line, it usually means the part uses the same placement as the vehicle's other parts. In this case you would just copy one of the other placements and change the mesh name to the part. The readme will most likely specify this.
-
Some parts (such as truck beds) may require you to edit the vehicle model (e.g. Bed is part of cab model) in order to install the part. To do this, see: Blender mesh editing
With that out of the way, search (CTRL+F) for flexbodies. You will see this:
flexbodies
39, 62, 34,    0.50,    0.32,     -0.5,   0,    180,    180, K3500_FBump.mesh
forset 175-178, 76-79, 28-31

39, 62, 34,    0.50,    0.32,     -0.5,   0,    180,    180, K3500_Badge.mesh
forset 149-160
Since the vehicle obviously already has a bumper, you will have to remove or comment (;) the original bumper line. For example:
;39, 62, 34,    0.50,    0.32,     -0.5,   0,    180,    180, K3500_FBump.mesh
;forset 175-178, 76-79, 28-31
Now copy the placement line from the readme and paste it below the original bumper line, like so:
flexbodies
;39, 62, 34,    0.50,    0.32,     -0.5,   0,    180,    180, K3500_FBump.mesh
;forset 175-178, 76-79, 28-31

39, 62, 34,    0.50,    0.32,     -0.5,   0,    180,    180, CHeavyBumper.mesh
forset 175-178, 76-79, 28-31

39, 62, 34,    0.50,    0.32,     -0.5,   0,    180,    180, K3500_Badge.mesh
forset 149-160
For more info on props and flexbodies, see: Props
You can now save & close the truck file.
Packaging
All that's left to do is to move the truck file, textures, and mesh back into the vehicle zip.
If the part includes multiple textures, you can only copy the files required by the managedmaterials section, in this case HeavyBumper.dds and HeavyBumper_s.dds.
In-game
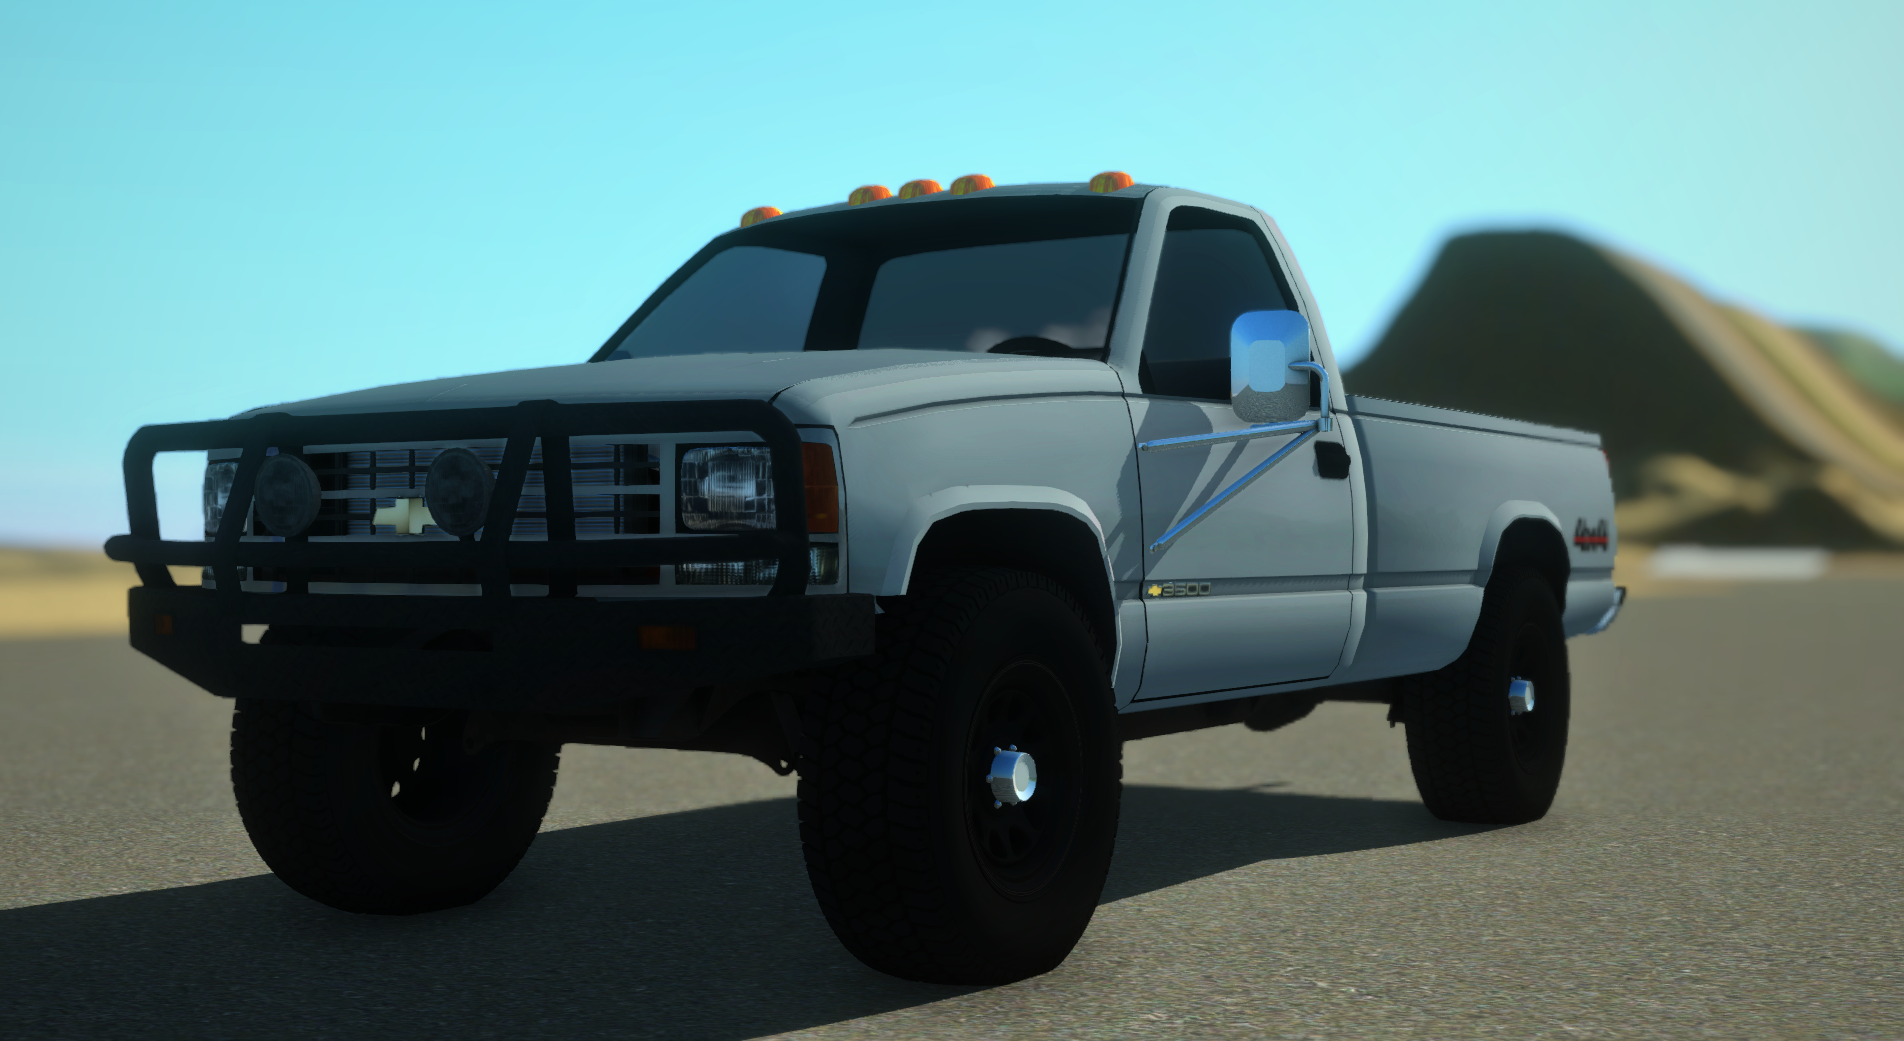
Now it's time to test your newly installed part in-game. If you followed this tutorial exactly, you should now have a custom bumper on your K3500!
Wheels and tires
Keeping with the K3500, in this example we will be installing the 5 Spoke Wheel.
Setting up
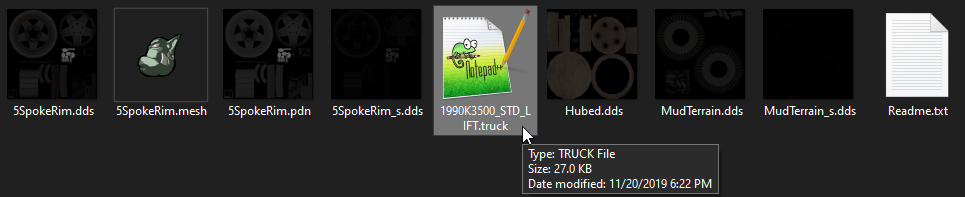
To begin, download & extract the part zip (in our case, 5SpokeRim.zip) into a new folder. The folder should contain the mesh, dds textures, PDN paintkit, and a readme text file:

Next, browse to Documents\My Games\Rigs of Rods\mods and open ChevyK3500.zip:
Find the .truck file you want to edit. For this example I'll be editing the Standard cab Single rear wheels (lift) version (1990K3500_STD_LIFT.truck)
Once you've figured out which truck you want the wheels on, drag the .truck file from the zip and into the folder containing the part you downloaded earlier:
The truck file
You will need to open two files, the truck file (1990K3500_STD_LIFT.truck) and the readme file (ReadMe.txt). The readme file contains the lines you need to copy into the truck file.
Managedmaterials
Before we begin, some notes:
-
Some parts may include a
.materialfile inside the zip. If this is the case then you don't need to specify anything inmanagedmaterials, just move the.materialfile into the vehicle's zip along with the other files. -
If you are unable to find the material name (ReadMe doesn't specify it), download OgreMeshy and open the
.meshfile. You should see a similar line in red:
Can't assign material 'ICD_AEZ_Forged' to SubEntity of 'MeshEntity' because this Material does not exist in group 'InternalMeshGroup'. Have you forgotten to define it in a .material script?
In the above example, ICD_AEZ_Forged would be the material name you set in managedmaterials.
With that said, in the truck file, scroll down until you find the managedmaterials section. It will look like this:
managedmaterials
set_managedmaterials_options 1
BK3500          mesh_standard       K3500-Tex.png       K3500_S.png
K3500_Frame     mesh_standard       Chassis_Bake.png        Chassis_Bake_S.png
Grille_Cheyenne     mesh_standard       Grille_Cheyenne.png     Grille_Cheyenne_S.png
K3500_SteeringWheel mesh_standard       K3500_SteeringWheel.png     -
K3500_Badge     mesh_standard       K3500_Badge.png     K3500_Badge.png
K3500_Badge1        mesh_standard       K3500_Badge_GMC.png K3500_Badge_GMC.png
Mirror_3        mesh_standard       Mirror_3.png        Mirror_3.png
Engine_Bay      mesh_standard       Engine_Bay.png      Engine_Bay_S.png
Engine_454      mesh_standard       Engine_454.png      Engine_454_S.png
Grille_WT       mesh_standard       Grille_WT.png       Grille_WT_S.png
K3500_Exhaust       mesh_standard       Exhaust-Tex.png     Exhaust_S.png
Kodiak_Interior     mesh_standard       Kodiak_Interior.png
Kodiak_Windows      mesh_transparent     Kodiak_Windows.png Kodiak_Windows_s.png
Kodiak_Mirrors      mesh_standard       Mirrors-Tex.png     Mirrors-Tex.png
TOYOOC          mesh_standard       Toyo-OC.png
K3500_Wheel     mesh_standard       K3500_Wheel.png     K3500_Wheel_S.png
BFGA            mesh_standard       BFGA.png        Black.png
DWindow         mesh_standard       Dwindow.png     Dwindow_S.png
The readme for this wheel contains the following managedmaterials lines:
5SpokeRim       mesh_standard       5SpokeRim.dds       5SpokeRim.dds
MudTerrains         mesh_standard       MudTerrain.dds      MudTerrain_s.dds
Hub         mesh_standard       Hubed.dds       -
Paste the lines at the bottom of the managedmaterials section. Example:
managedmaterials
set_managedmaterials_options 1
BK3500          mesh_standard       K3500-Tex.png       K3500_S.png
K3500_Frame     mesh_standard       Chassis_Bake.png        Chassis_Bake_S.png
Grille_Cheyenne     mesh_standard       Grille_Cheyenne.png     Grille_Cheyenne_S.png
K3500_SteeringWheel mesh_standard       K3500_SteeringWheel.png     -
K3500_Badge     mesh_standard       K3500_Badge.png     K3500_Badge.png
K3500_Badge1        mesh_standard       K3500_Badge_GMC.png K3500_Badge_GMC.png
Mirror_3        mesh_standard       Mirror_3.png        Mirror_3.png
Engine_Bay      mesh_standard       Engine_Bay.png      Engine_Bay_S.png
Engine_454      mesh_standard       Engine_454.png      Engine_454_S.png
Grille_WT       mesh_standard       Grille_WT.png       Grille_WT_S.png
K3500_Exhaust       mesh_standard       Exhaust-Tex.png     Exhaust_S.png
Kodiak_Interior     mesh_standard       Kodiak_Interior.png
Kodiak_Windows      mesh_transparent     Kodiak_Windows.png Kodiak_Windows_s.png
Kodiak_Mirrors      mesh_standard       Mirrors-Tex.png     Mirrors-Tex.png
TOYOOC          mesh_standard       Toyo-OC.png
K3500_Wheel     mesh_standard       K3500_Wheel.png     K3500_Wheel_S.png
BFGA            mesh_standard       BFGA.png        Black.png
DWindow         mesh_standard       Dwindow.png     Dwindow_S.png
5SpokeRim       mesh_standard       5SpokeRim.dds       5SpokeRim.dds
MudTerrains         mesh_standard       MudTerrain.dds      MudTerrain_s.dds
Hub         mesh_standard       Hubed.dds       -
For more info on managedmaterials, see: Managedmaterials
Meshwheels
Before we continue, a few notes:
-
Some wheels may include a tire with the wheel mesh, in this case you'll have to set the tire material to
tracks/trans. The examples below already have it set. -
Some wheels may have the tire as a separate mesh, in this case see: Flexbody wheels
-
If the wheel is inside out ingame, swap the
landrvalues before the mesh name. The second example below had to be swapped.
With that said, scroll down until you find the meshwheels section. You will see the following:
meshwheels
;tire_radius, rim_radius, width, numrays, node1, node2, snode, braked, propulsed, arm,  mass,   spring, damping, side,               meshname         material
0.43,       0.2785,   0.5,      12,    84,    86,    9999,      1,         1,   6, 160.0, 190000.0,  1200.0,    r,   ToyoOC_Wheel.mesh tracks/trans
0.43,       0.2785,   0.5,      12,    85,    87,    9999,      1,         1,   6, 160.0, 190000.0,  1200.0,    l,   ToyoOC_Wheel.mesh tracks/trans
0.43,       0.2785,   0.5,      12,    95,    96,     9999,      1,         1,  6, 160.0, 190000.0,  1200.0,    r,   ToyoOC_Wheel.mesh tracks/trans
0.43,       0.2785,   0.5,      12,    103,   105,    9999,      1,         1,  6, 160.0, 190000.0,  1200.0,    l,   ToyoOC_Wheel.mesh tracks/trans
Replace ToyoOC_Wheel.mesh with your wheel mesh, in this case 5SpokeRim.mesh:
meshwheels
;tire_radius, rim_radius, width, numrays, node1, node2, snode, braked, propulsed, arm,  mass,   spring, damping, side,               meshname         material
0.43,       0.2785,   0.5,      12,    84,    86,    9999,      1,         1,   6, 160.0, 190000.0,  1200.0,    l,   5SpokeRim.mesh tracks/trans
0.43,       0.2785,   0.5,      12,    85,    87,    9999,      1,         1,   6, 160.0, 190000.0,  1200.0,    r,   5SpokeRim.mesh tracks/trans
0.43,       0.2785,   0.5,      12,    95,    96,     9999,      1,         1,  6, 160.0, 190000.0,  1200.0,    l,   5SpokeRim.mesh tracks/trans
0.43,       0.2785,   0.5,      12,    103,   105,    9999,      1,         1,  6, 160.0, 190000.0,  1200.0,    r,   5SpokeRim.mesh tracks/trans
For more info on meshwheels, see: Meshwheels
You can now save & close the truck file.
Packaging
All that's left to do is to move the truck file, textures, and mesh back into the vehicle zip.
If the part includes multiple textures, you can only copy the files required by the managedmaterials section.
In-game
Now it's time to test your newly installed wheel in-game. If you followed this tutorial exactly, you should now have new wheels on your K3500!
Troubleshooting
Part doesn't appear ingame
If the part doesn't appear ingame, make sure you saved and copied the correct files into the zip and did all .truck file edits correctly.
Some parts may require you to adjust the prop/flexbody placement. Press E twice to make sure it's not under the map.
White/pink textures
If the part appears as white or pink ingame, you set the wrong managedmaterials lines or didn't copy the .material file.
If you need help finding the material name, see the second note in Managedmaterials
Conclusion
You should now know the basics of installing addon parts in Rigs of Rods. I hope this answers most questions people have. Please contact the staff if you'd like any more examples added.