Blender (2.7) mesh editing
Introduction
Rigs of Rods is a game that is very easy to modify. This tutorial will help you get started on editing meshes using Blender, from installing the add-ons to exporting.
We assume you already have some basic knowledge on using Blender (navigating UI, basic object editing, etc). There are plenty of tutorials available on YouTube or many other websites.
We'll also assume you are running Windows, however these instructions should mostly apply to Linux users.
Please read everything carefully and do not skip any steps.
Disclaimer
This page's purpose is not to teach you how to make content from scratch, nor is it meant to discourage anyone from doing so. It is simply for those who are interested in editing existing models. Editing existing content is the easiest way to learn how RoR's content creation works, and this page is meant to help you get started. We currently do not have a tutorial on how to make a mod from scratch.
Required software
- Rigs of Rods
- Blender 2.79
- Ogre Import/Export add-ons
- Ogre Command Line Tools
- (Optional) Notepad++
- (Optional) OgreMeshy
- A brain, some basic computer knowledge, and some patience
Blender version warning
This page was written for Blender 2.79 and has not yet been updated for newer versions. For 2.8+ you can use the blender2ogre plugin to import/export meshes.
When downloading Blender from the above link, avoid the versions in the latest folder! They do not support the addons. If you're unsure, download blender-2.79-windows64.msi.
Getting started
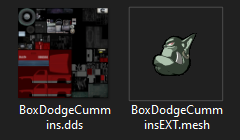
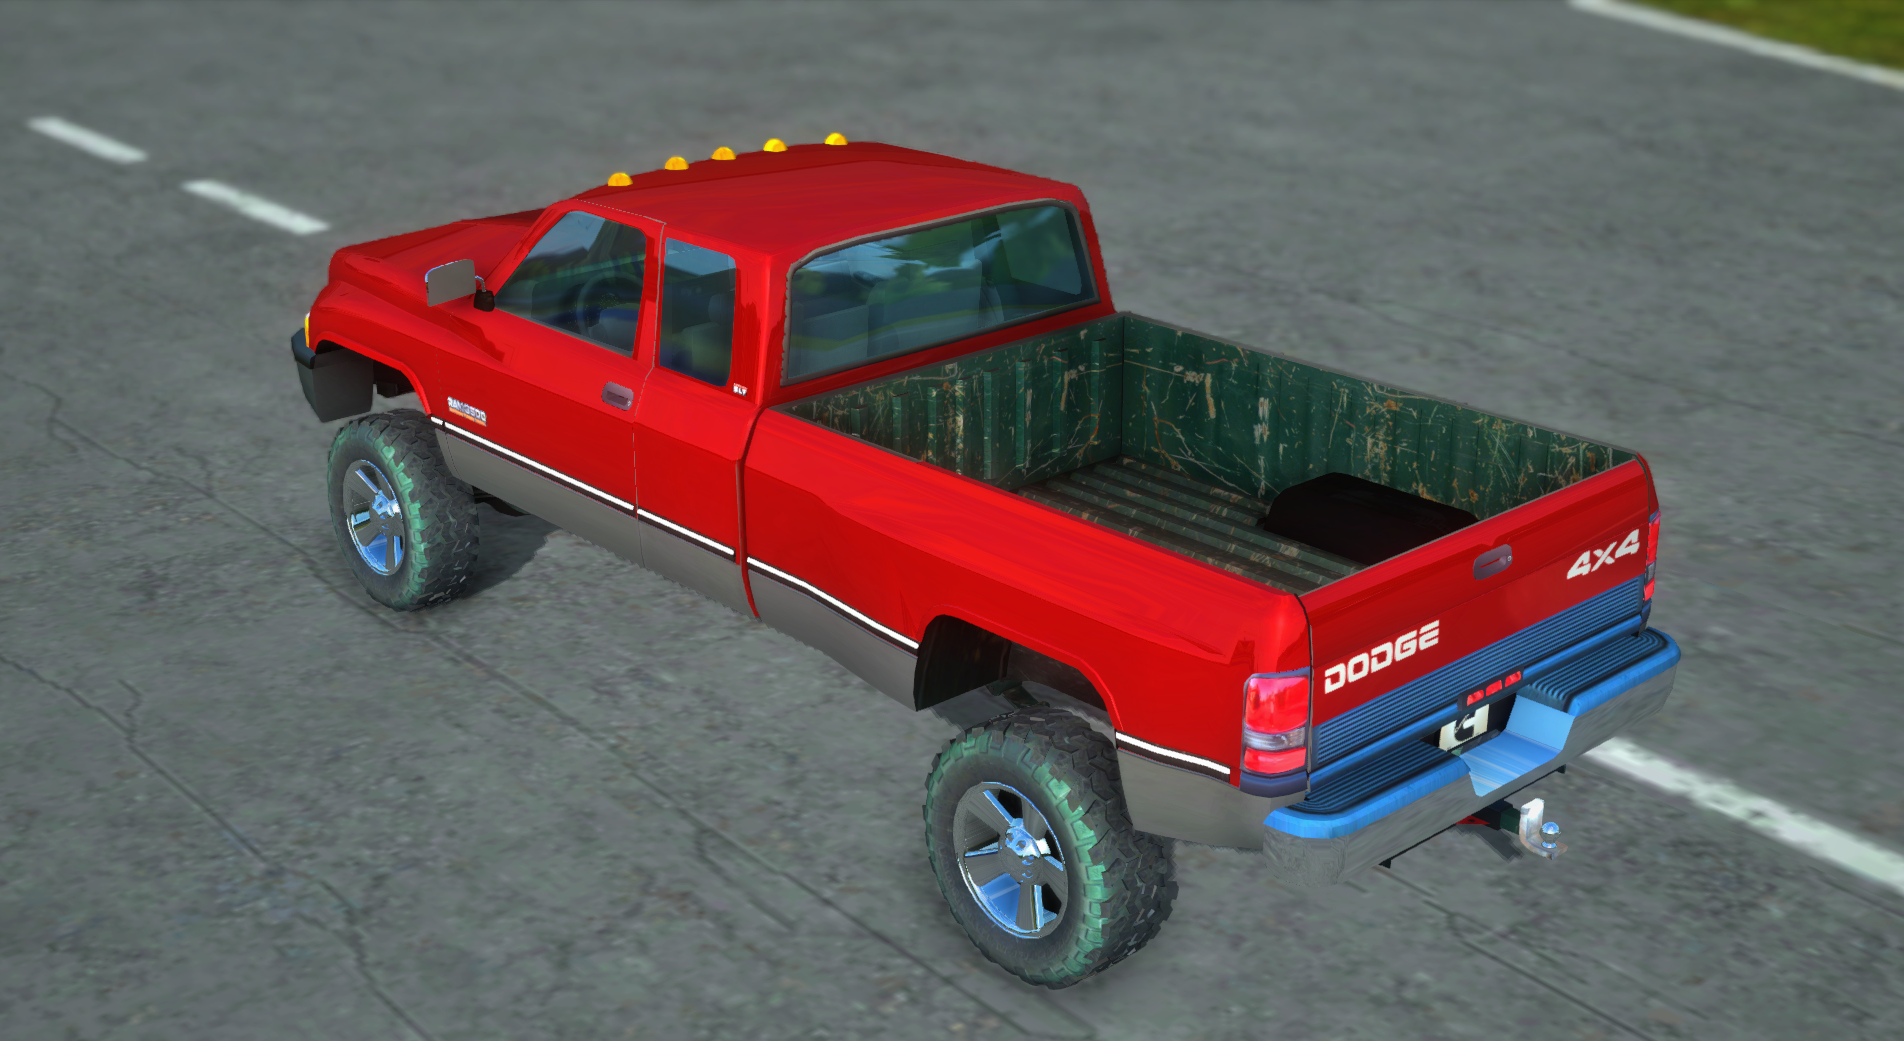
If you're following this tutorial, chances are you probably already have a mesh you want to edit. In this tutorial I'll be editing Box5Diesel's Ram EXT. Open the .zip file for the vehicle, and extract the correct .mesh file(s) and the textures (.dds, .png, etc) into a folder you can easily access:
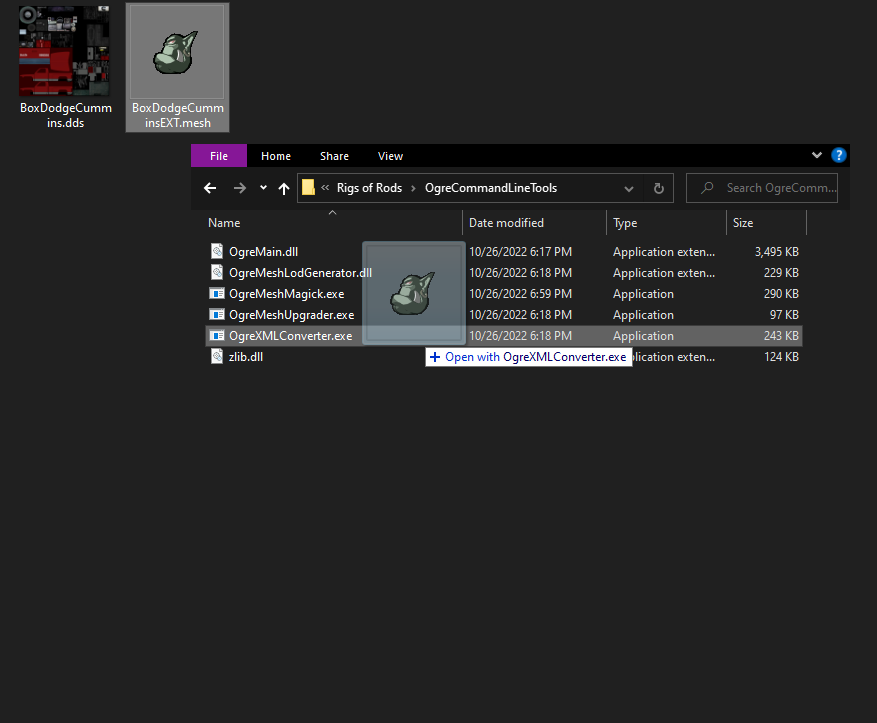
Next, download the Ogre Command Line Tools and extract the archive into a new folder. Inside you'll find OgreXMLConverter.exe.
Now simply drag and drop the mesh onto OgreXMLConverter.exe to get a .mesh.xml:
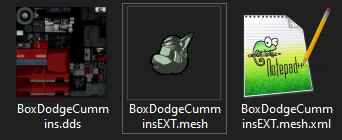
You should now have a .mesh.xml file in the same folder:
We're ready to launch Blender now.
Installing Blender add-ons
First, download the latest Ogre Import/Export add-ons from GitHub (RoR_ImportExport_*.zip) and place it into any folder. Do not extract.
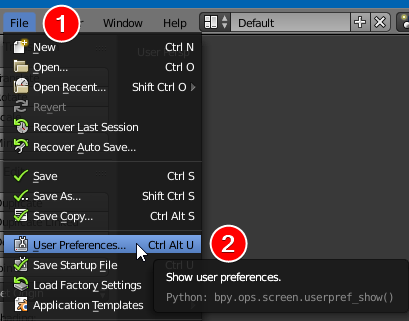
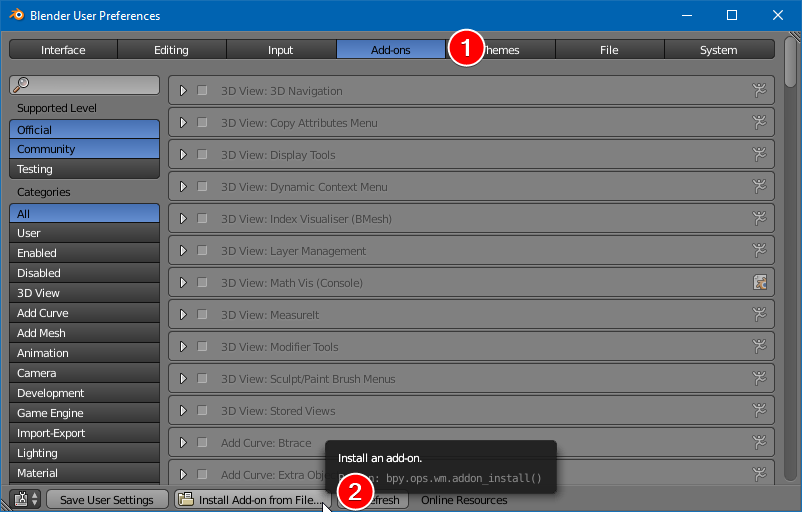
Now open Blender. Click File -> User Preferences:
Click Add-ons -> Install from File:
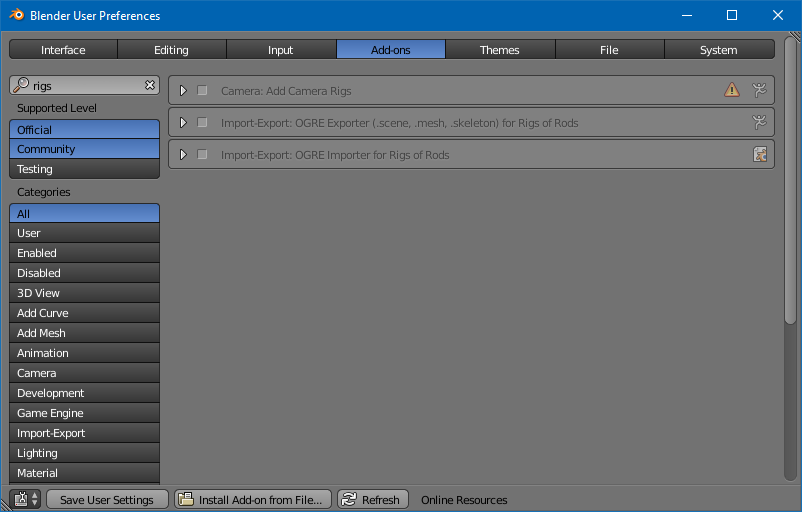
Select the RoR_ImportExport_*.zip file you downloaded earlier.
Type rigs into the search bar and both add-ons should appear:
Once both add-ons are enabled by clicking the checkbox, select Save User Settings:
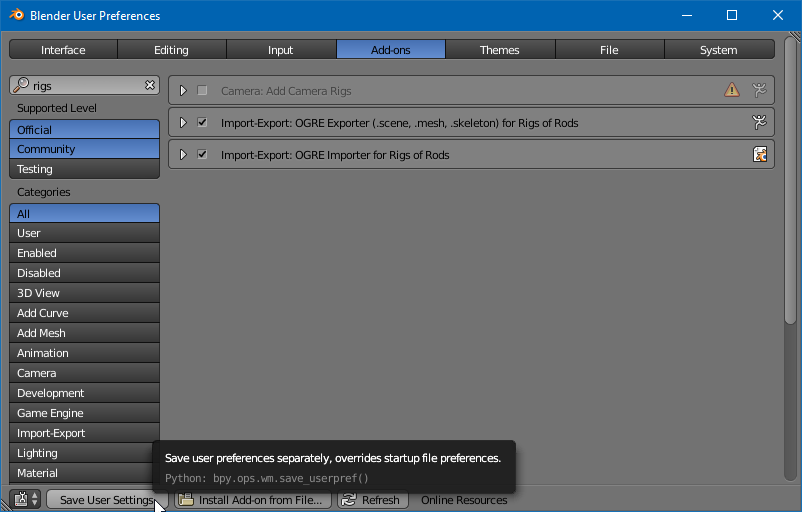
You can now close the User Preferences window.
Importing the mesh
Select File -> Import -> Ogre3D (.mesh.xml):
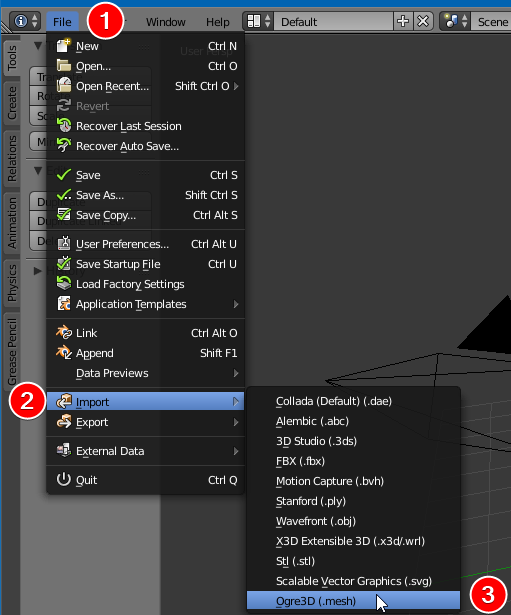
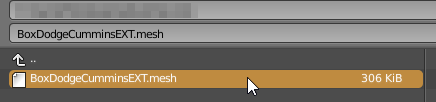
Find & select the .mesh file.
You should now see something similar to this:
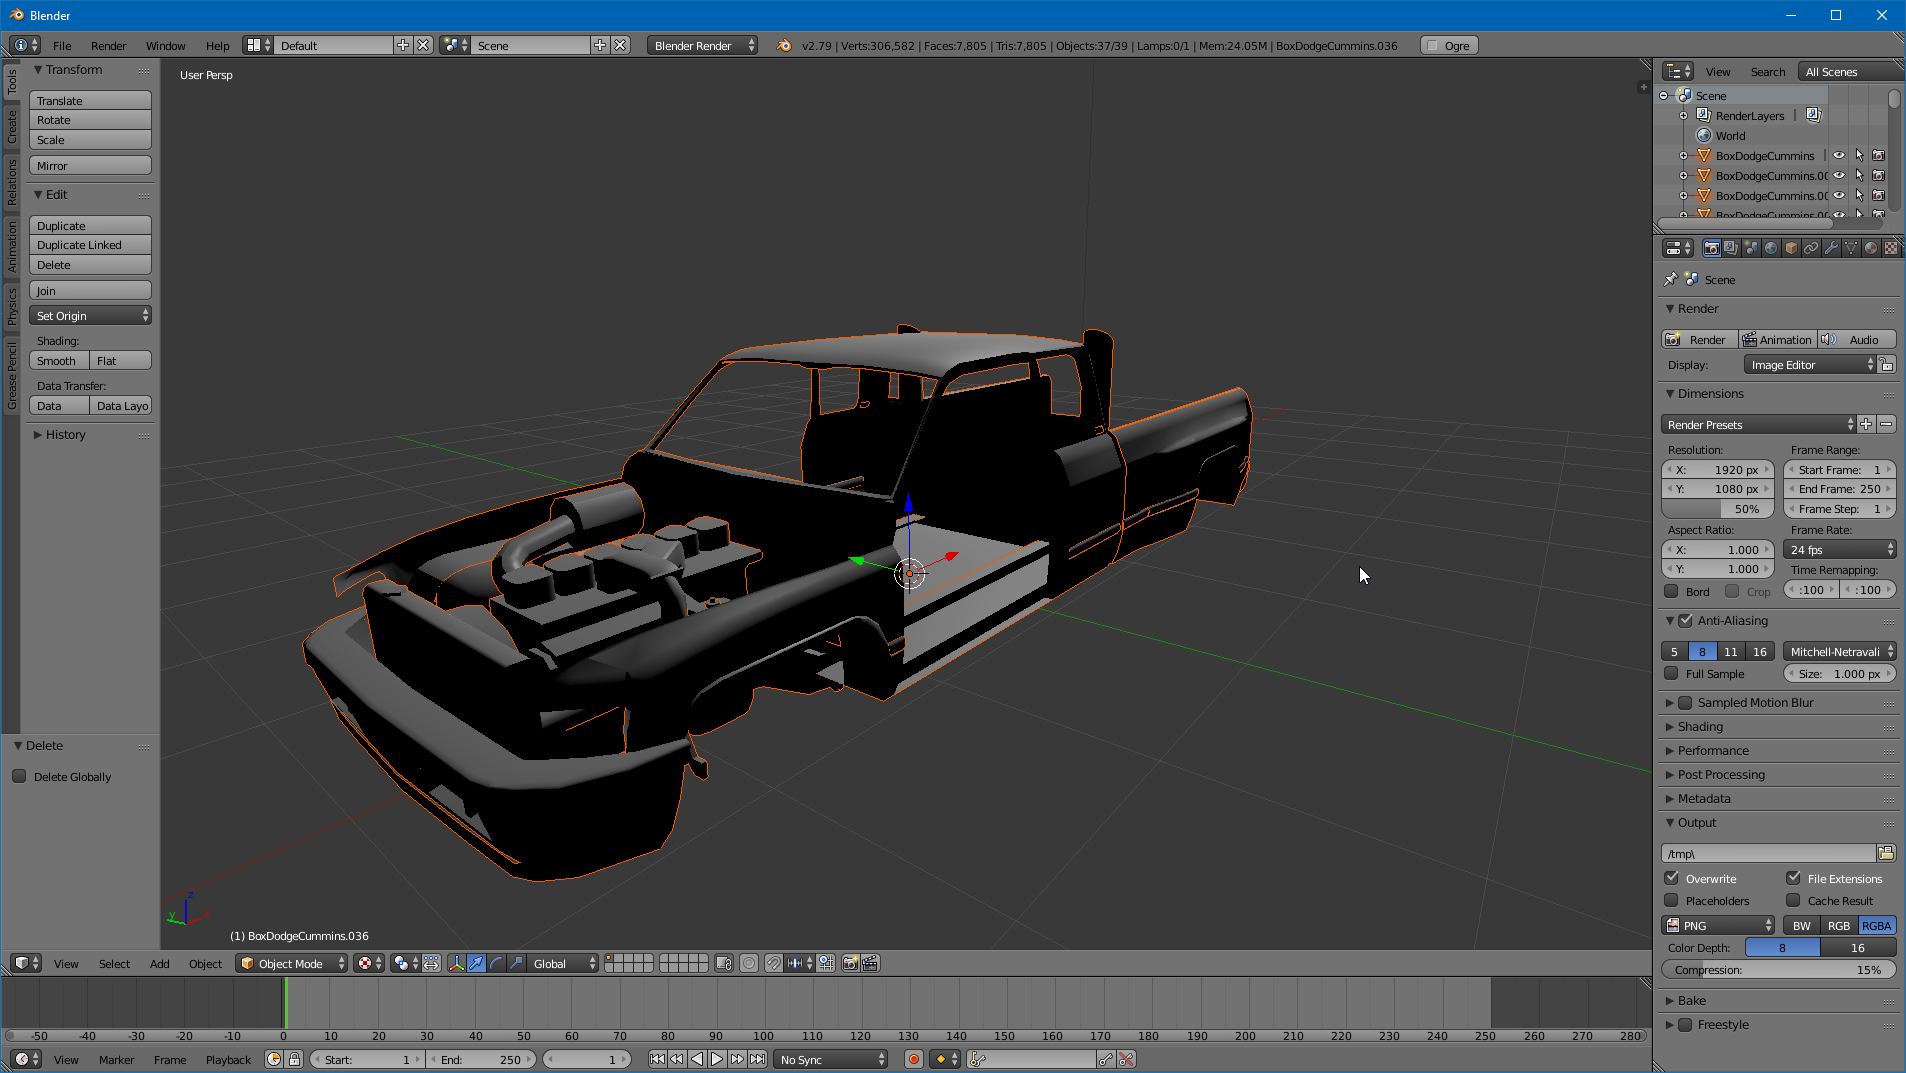
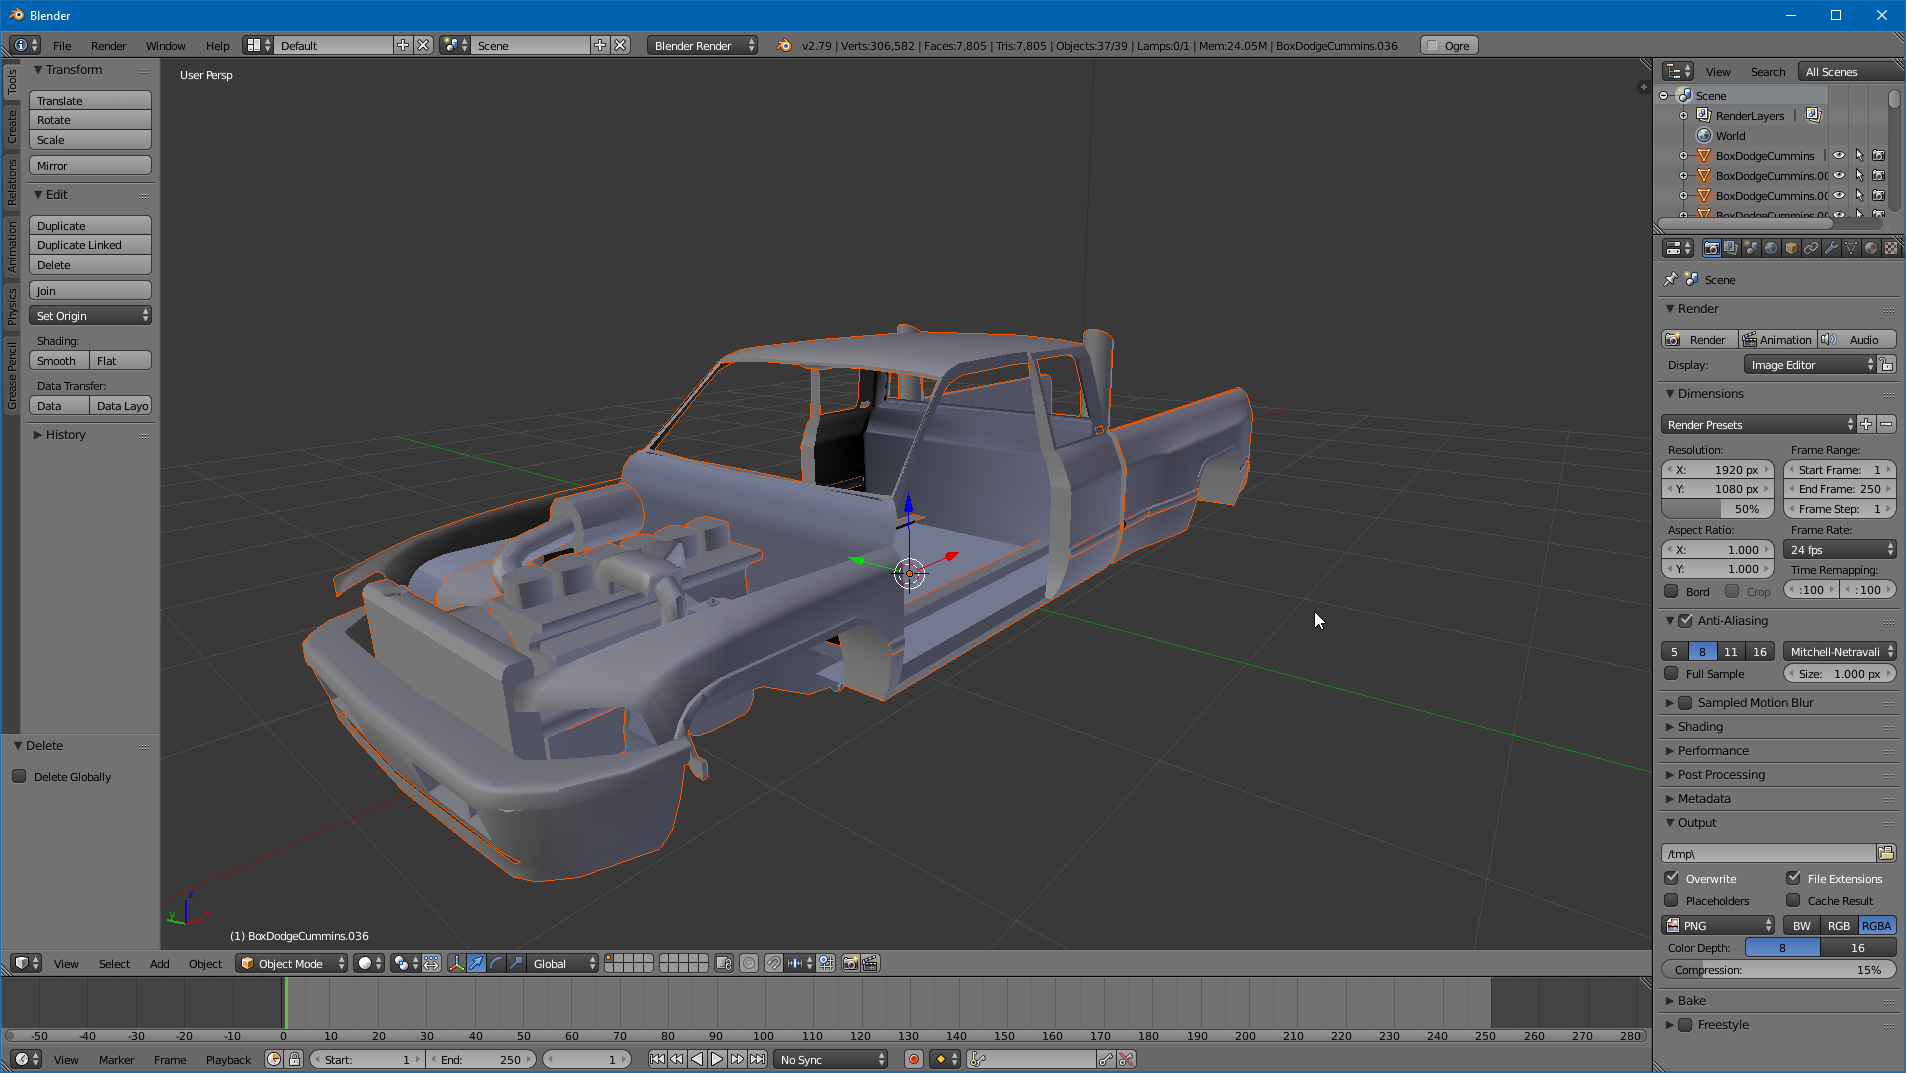
Press the Z key twice to get out of that shading mode. You should now see this:
Warning
The importer will automatically separate meshes if the .mesh.xml contains multiple materials. The object names match the material name. If there's many objects with the same material name, you should be safe to join them by pressing CTRL+J:
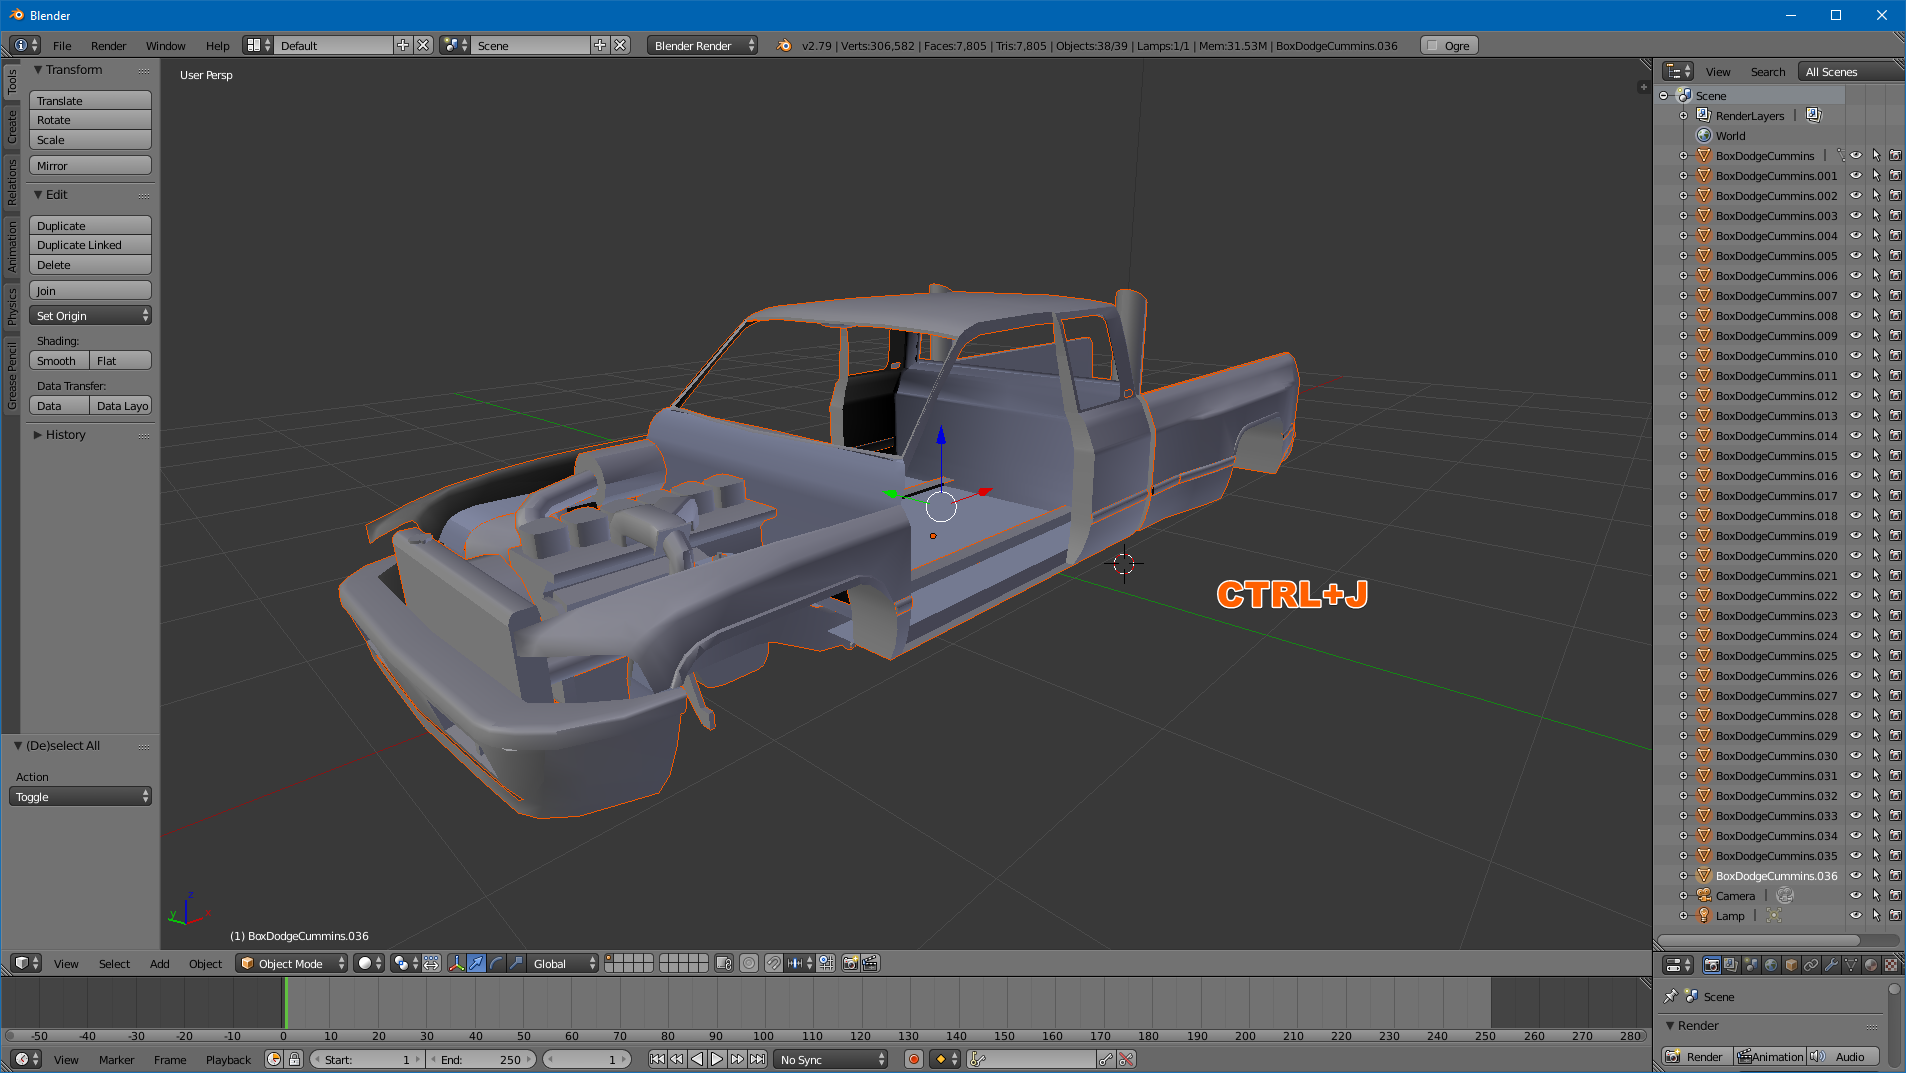
It should look similar to this now:

Fixing object shading
You'll probably notice that your mesh is very blocky and/or has lots of shading errors. To fix this:
On the left menu (Press T if it's not already open) select Smooth. You need to be in Object Mode (TAB key) for this to appear:

Now press the TAB key again to go into Edit Mode:
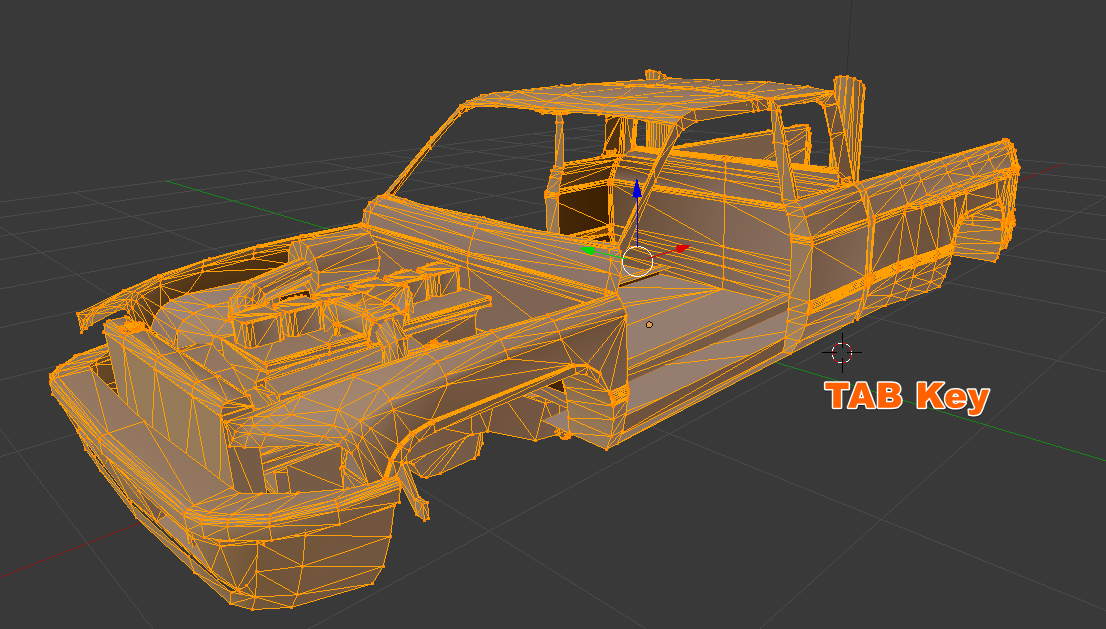
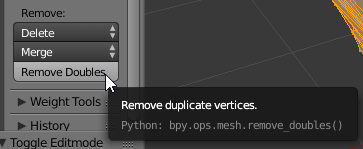
Select Remove Doubles from the T menu:
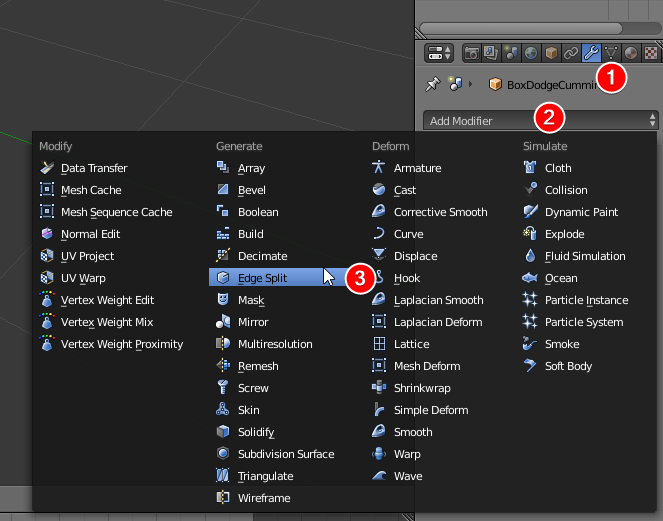
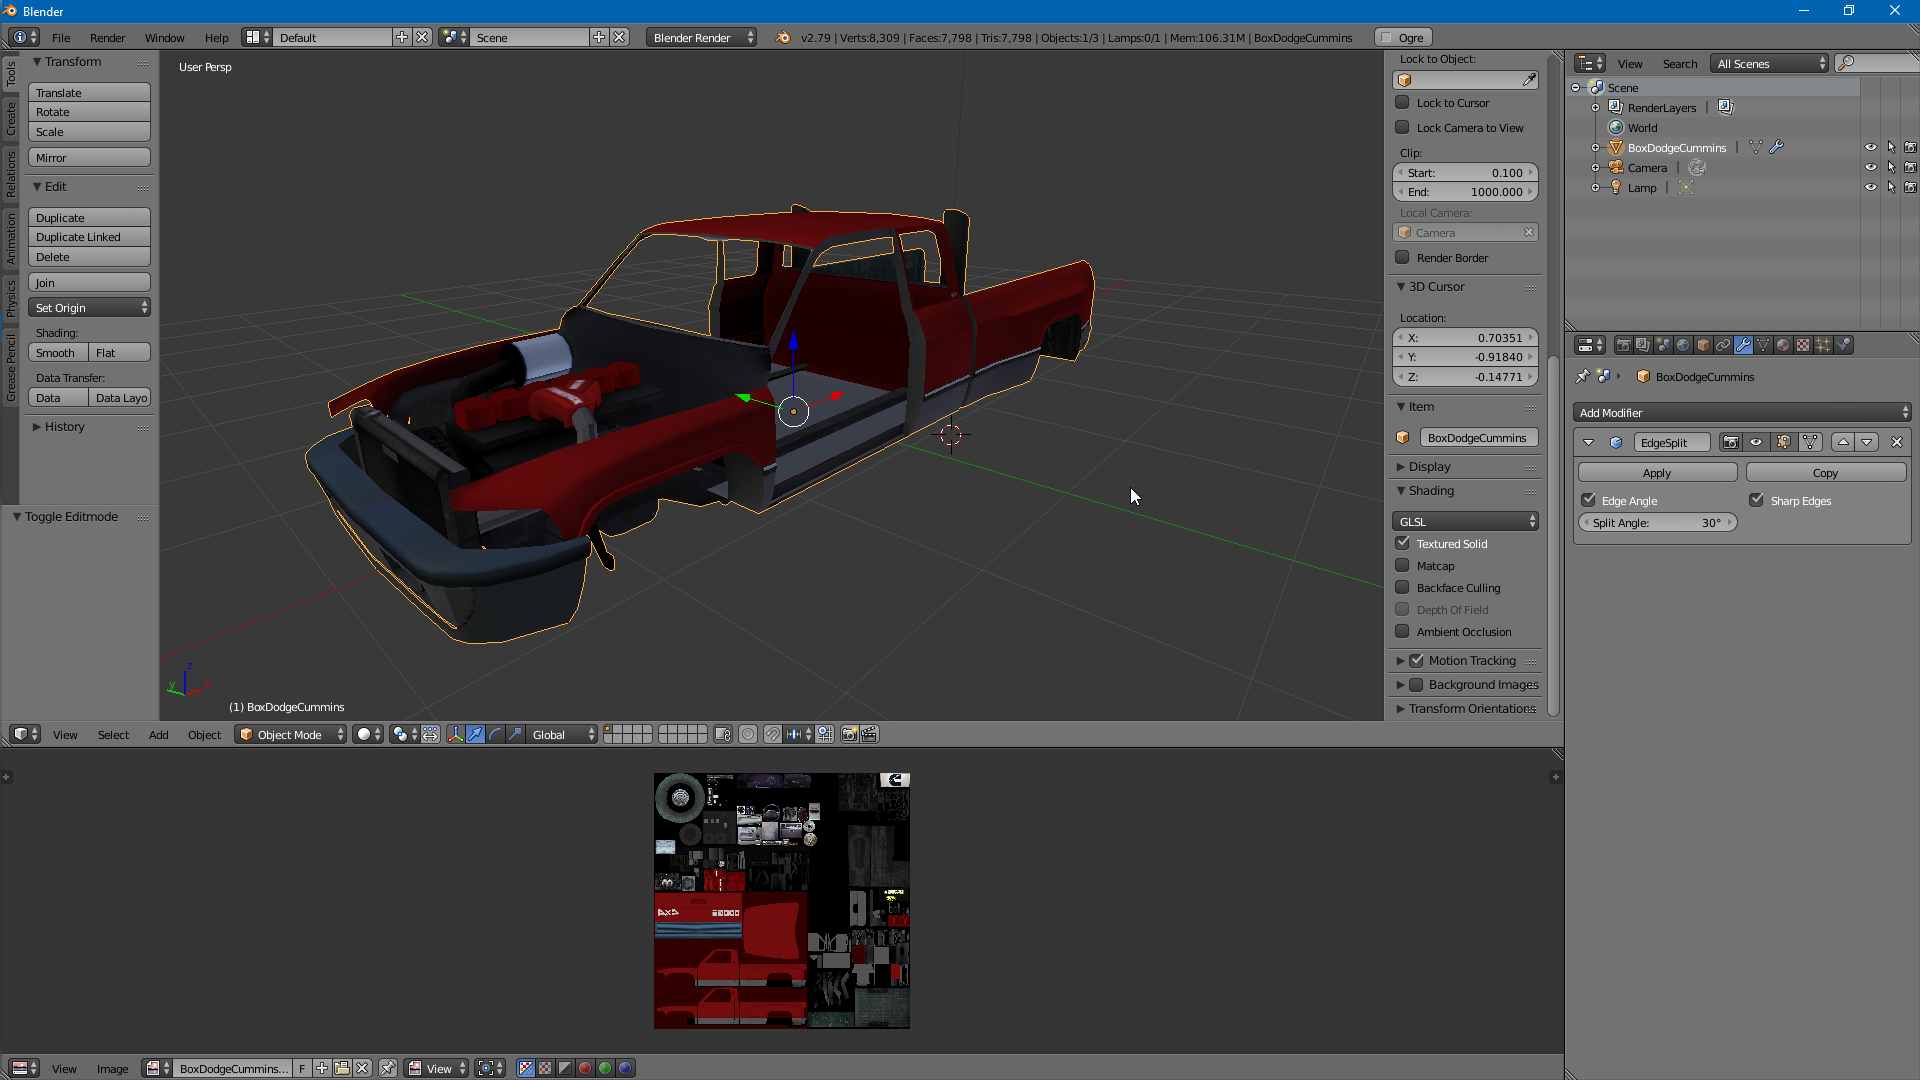
Now head over to the tool menu on the right and find the blue wrench icon -> Add Modifier -> Edge Split:
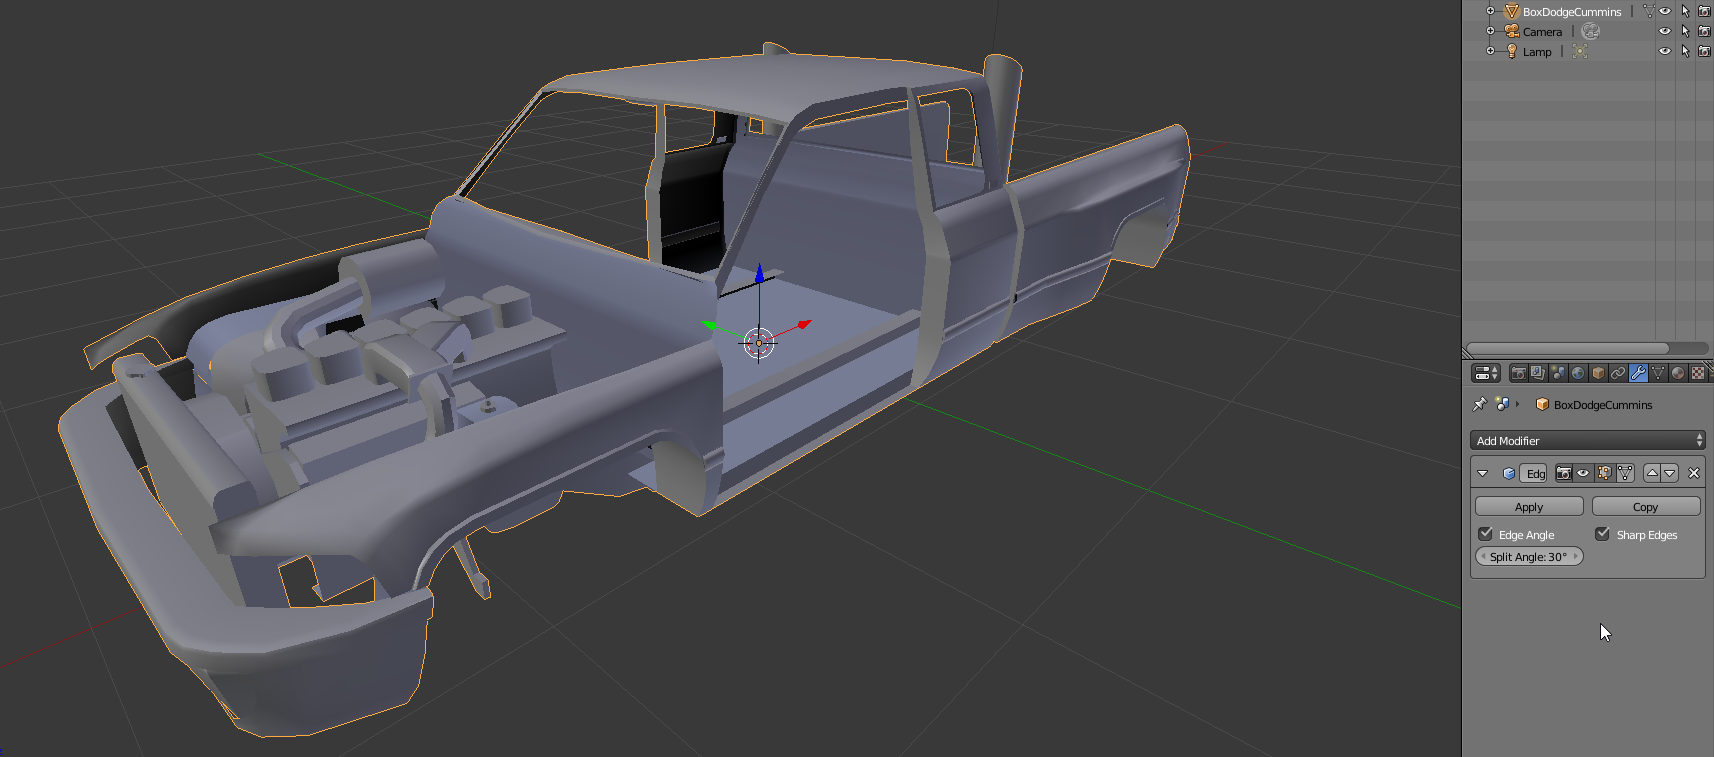
The Edge Split Modifier should now be selected. The default Split Angle (30) should be fine in most cases. Do not apply the modifier. The exporter will do this for you.
Note
For some models just applying edge split won't be enough, further work may be required (such as marking faces sharp).**
Applying the texture
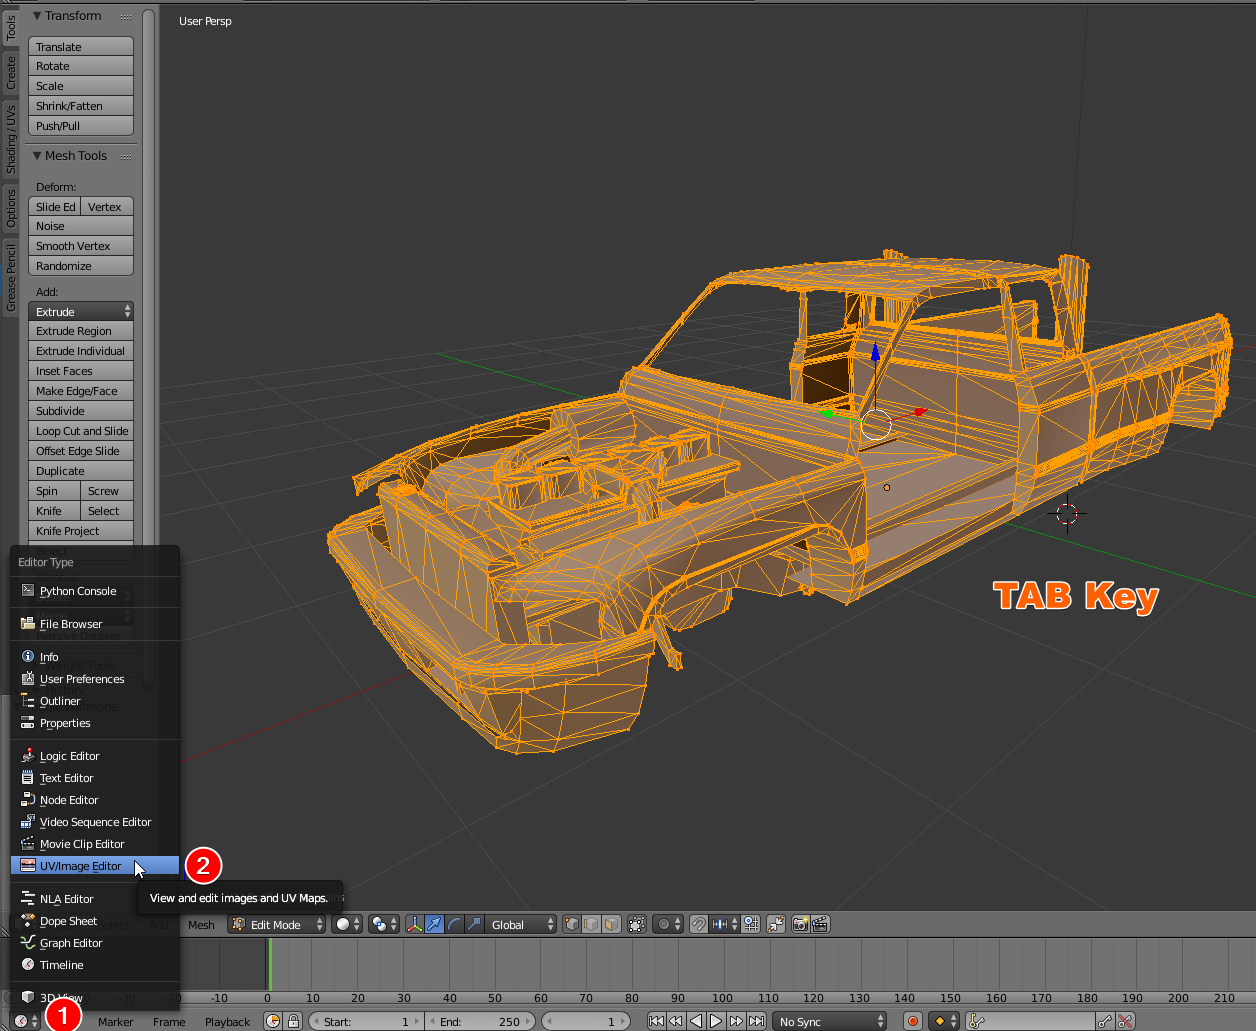
Now we can apply the texture. Press the TAB key to go into Edit Mode if you're not in it already and click the circle icon on the bottom left -> UV/Image Editor:
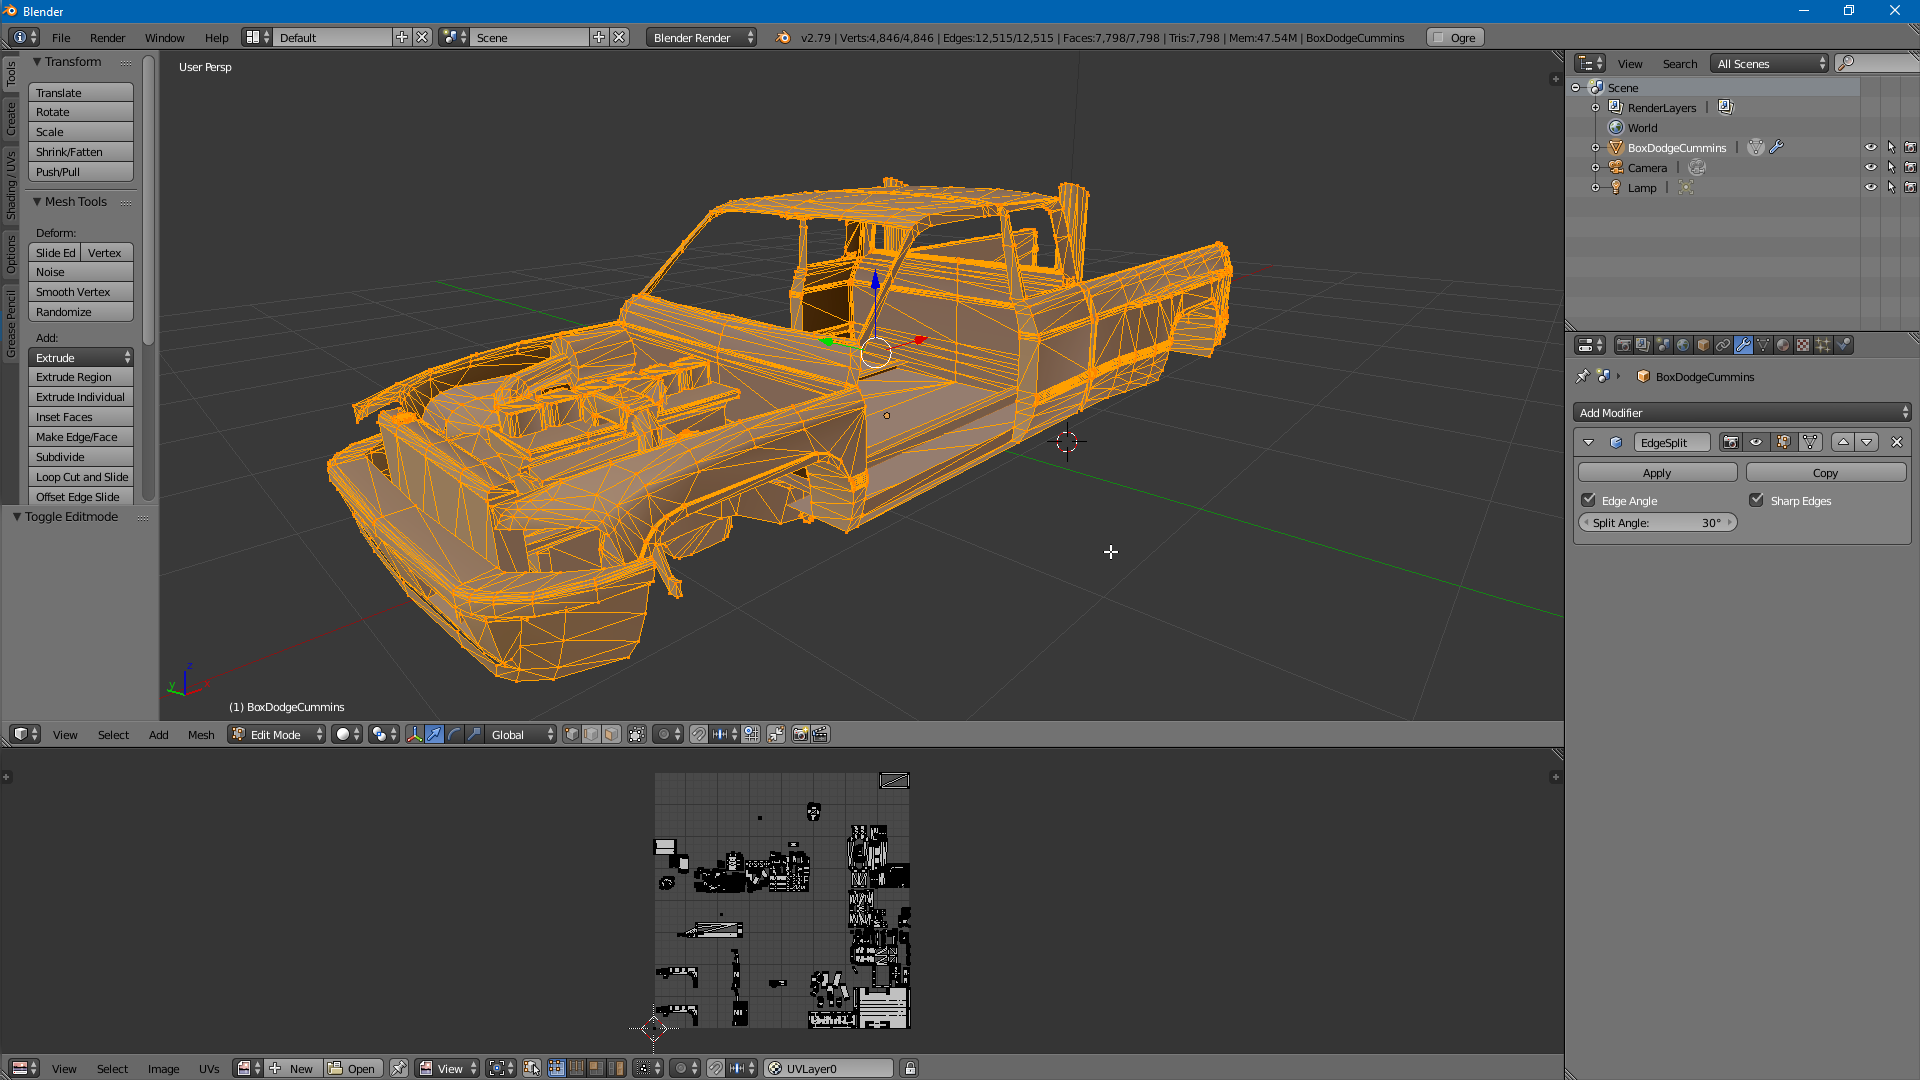
The UV/Image Editor should now be open:
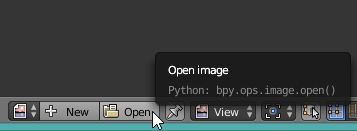
Select Open from the bottom bar:
Find & select your texture file:
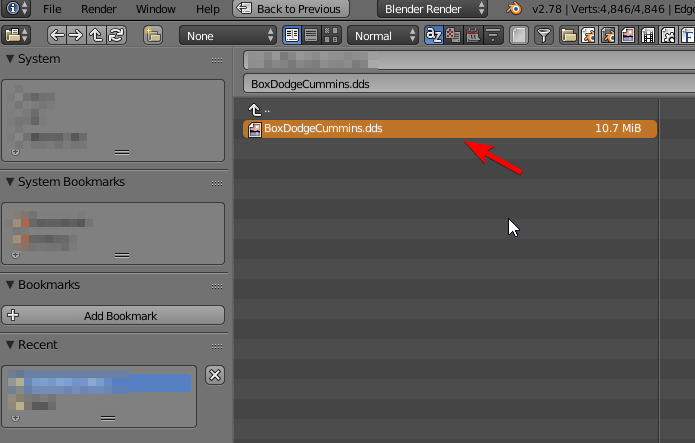
The texture file should now be open in the UV/Image Editor.
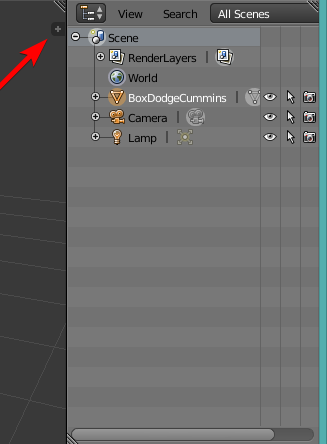
Now go to the top right and find the little plus icon, or press N to open it:
Open the Shading menu and click Textured Solid:
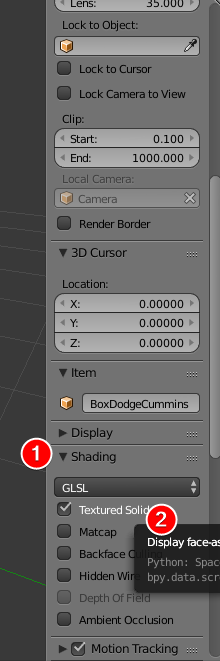
It should now look similar to this:
Editing the mesh
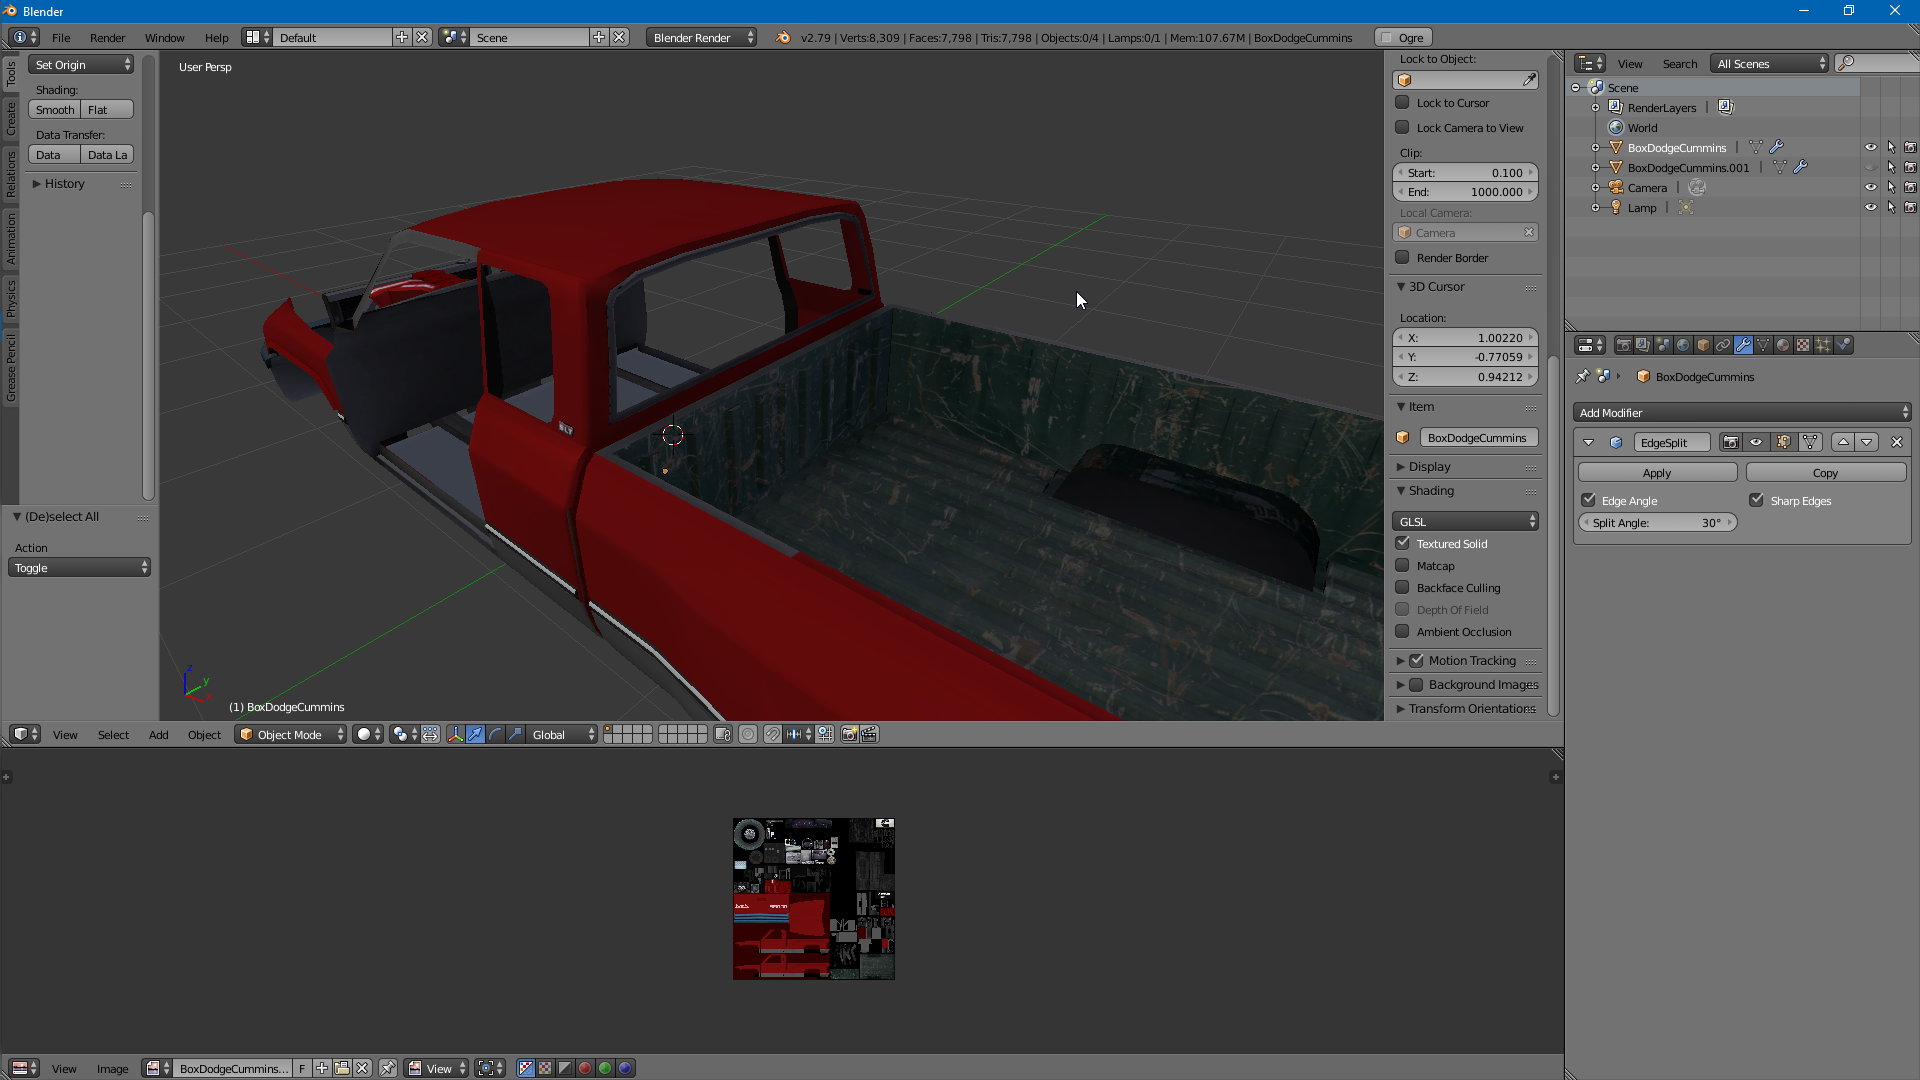
You're now ready to start editing the mesh. For this tutorial, I removed the exhaust stacks from the bed:
Setting the object name
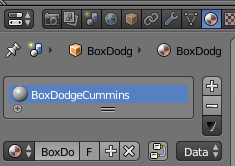
In the outliner (object list), double-click the object name to rename it. This will be the name of your mesh when exporting.

In this example, I'll name it BoxDodgeCummins-NoStacks.
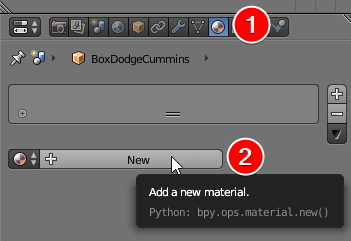
Adding a material
Now select the circle icon next to the triangle icon and click New:
The easiest way to find the material name is by opening the .mesh.xml file in a text editor and search "material":

Exporting
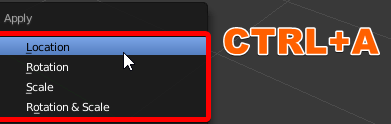
Before we export, if you moved the object while editing it you will need to apply Location/Rotation/Scale by pressing CTRL+A otherwise it will be placed incorrectly in-game:
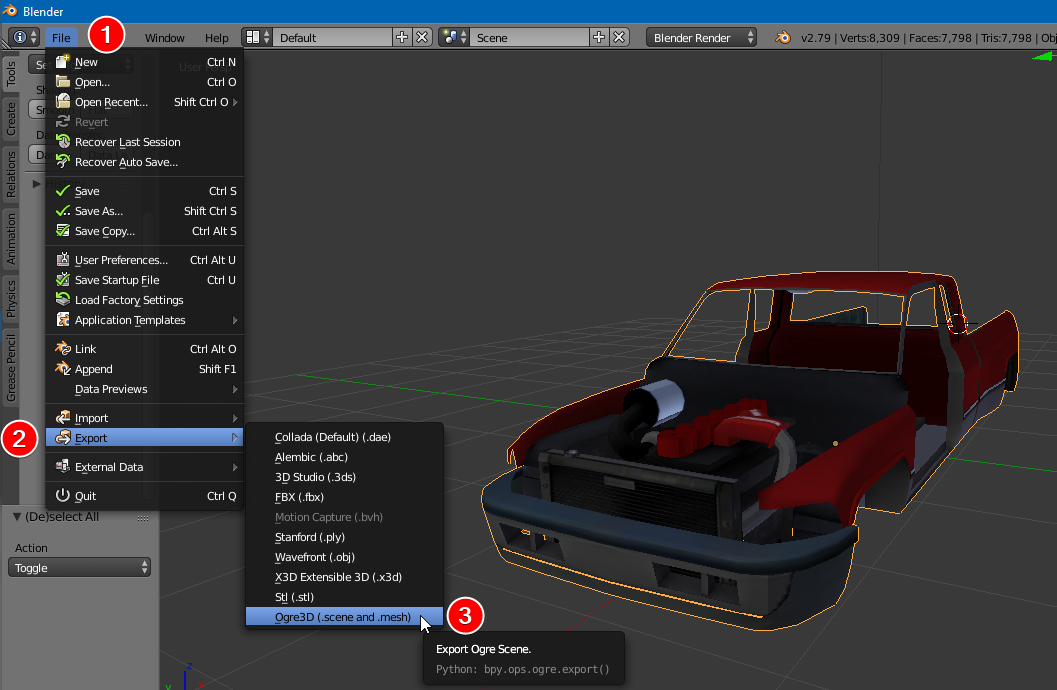
Select your mesh then click File -> Export -> Ogre3D (.scene and .mesh.xml):
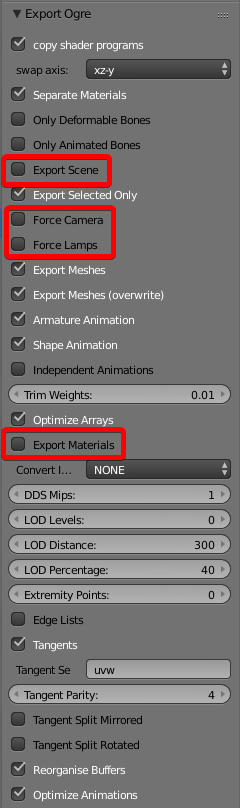
Change your export settings to match the screenshot (all other settings can be left to their defaults):
You should now have a new .mesh.xml and .mesh file in your folder:

The exporter will automatically convert the .mesh.xml to .mesh as long RoR is installed to the default location.
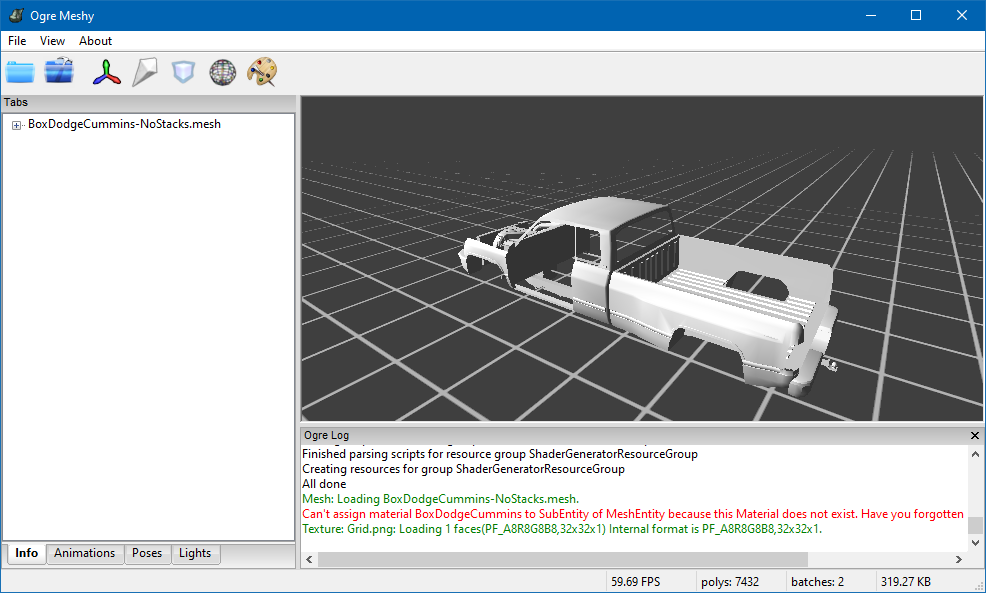
If you want to preview your exported model, you can use OgreMeshy to view it: (You can make a .material file if you want it to be textured in OgreMeshy)
Testing in-game
Now just edit the vehicle's .truck file to match the name of your new mesh and drag the new mesh file back into the .zip and test in-game:
17,14,2, 0.73, 0.5, 0.07, 0, 0, 0, BoxDodgeCummins-NoStacks.mesh
forset 7, 12, 40, 41, 44-66, 69-87, 111
Congratulations!
Troubleshooting
[Error 2] No such file or directory
You forgot to convert the .mesh to .mesh.xml, as described in the Getting started section.
Warning
On Linux there is currently a bug preventing .mesh.xml imports in uppercase paths (e.g. /home/user/Downloads/rorimportfiles. You will have to place the .mesh and .mesh.xml files into a different folder without uppercases (e.g. /home/user/rorimportfiles)
Mesh is rotated incorrectly
Change the "swap axis" option in the export settings:
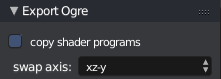
Rigs of Rods meshes require the axis to be swapped to xz-y due to differences in the axises between RoR and Blender:
In RoR x is front-back, y is up-down, z is side to side
In Blender x is side to side, z is up-down, y is front-back
Mesh appears white/black/pink
You did not assign the correct material or you named it incorrectly. Make sure it matches.
White/pink means the game can't find the material, while black means the game found the material but not the texture. You can search the mesh name in your RoR.log to find the error.
Other errors
If you're experiencing issues, you can create a thread on the content creation forum or join the RoR Discord and ask in the #modding channel.