nodeSnap
Introduction
nodeSnap is a new open source truck editor heavily inspired by the old rorEditorizer.
This tutorial will show you how to use and manipulate nodeSnap (version 0.1.1-beta)
Get started
You can download nodeSnap from the repository following this link.
The current version is a stand-alone app (which means, it doesn't require an installer) so you will find it in a zip format.
You might ask: But why is it ~67MB while rorEditorizer is ~729KB?
nodeSnap is built using new technologies, such as Electron and node.js. That might be overkill for this application, but that's how it became possible in the first place. Next versions will make that size worth it with much more features.
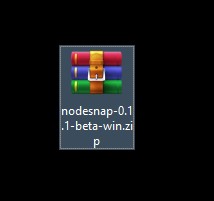
After downloading the zip file, you can put it anywhere you want. I moved it to my desktop.
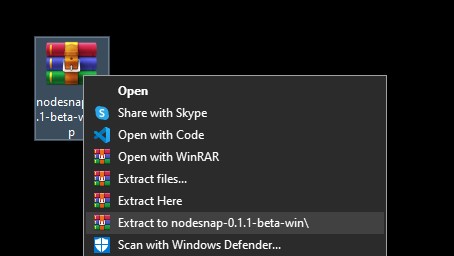
Extract it to a folder (important)
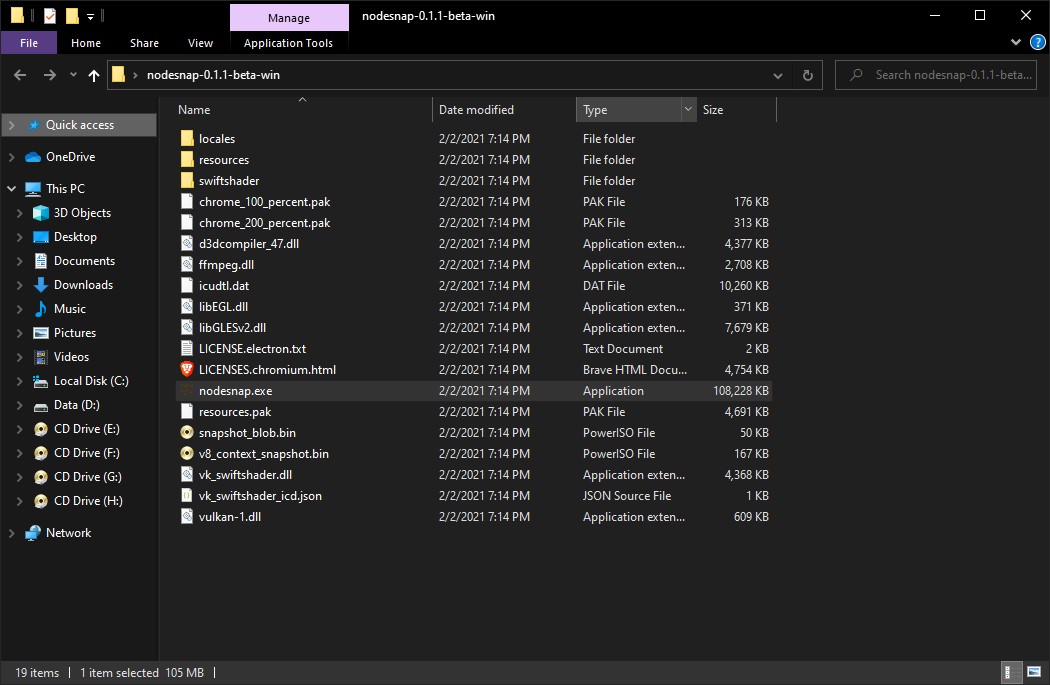
Then double click on "nodeSnap" to run it.
Create a new truck file
To create a new truck file, all you have to do is to click on "New File" under "Actions" and fill up the form, then click on "Next".
Open a truck file
To open a truck file, simply click on "Open file" under "Actions" and navigate to your desired truck file.
Note: nodeSnap supports all of RoR's truck file extensions.
Interface
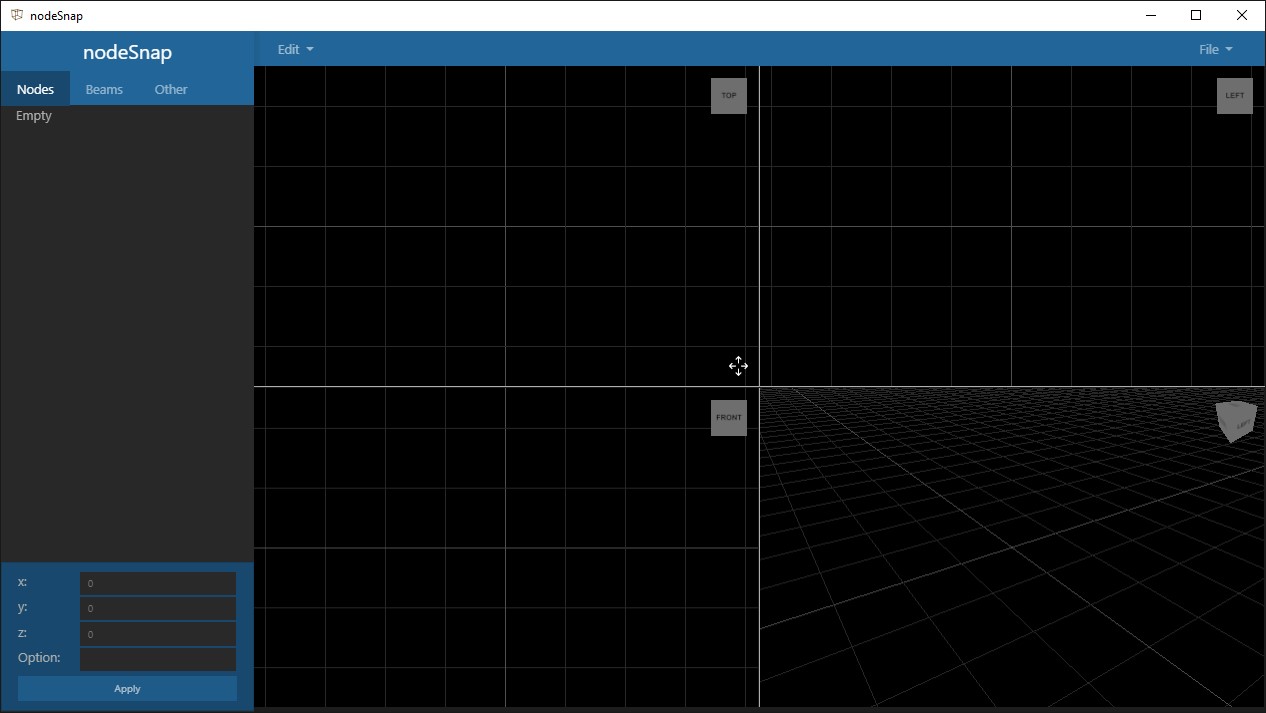
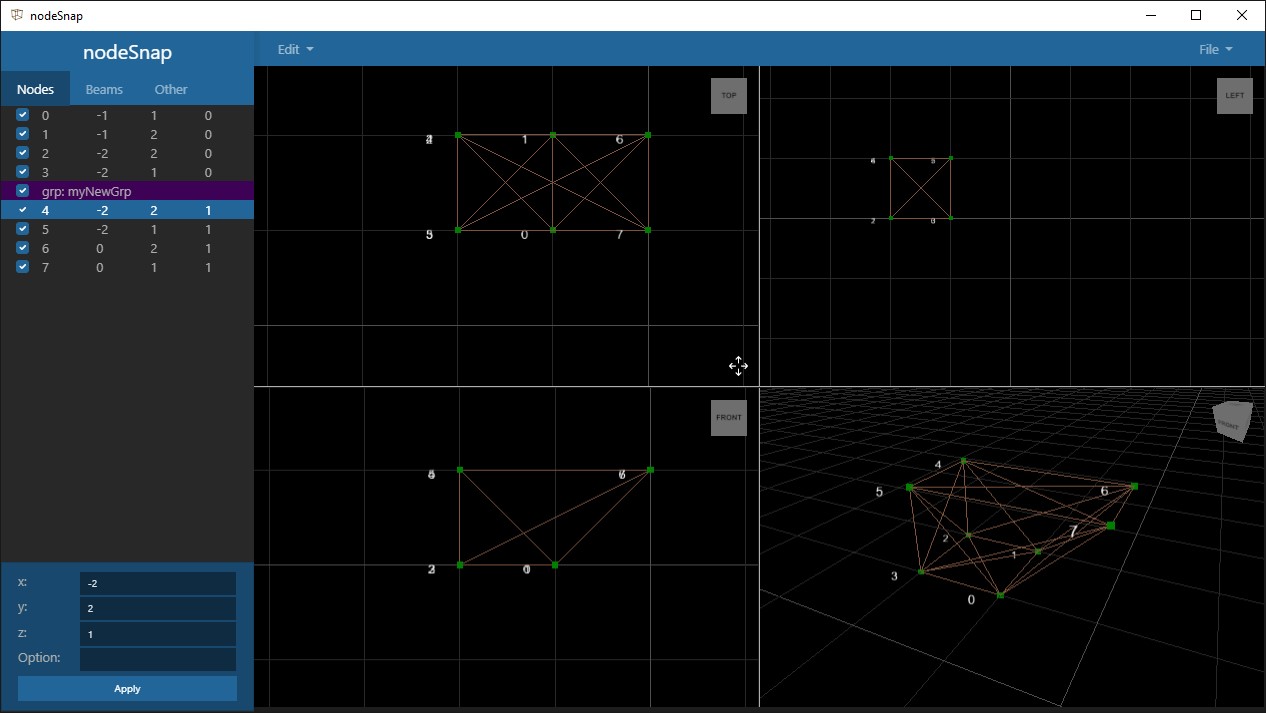
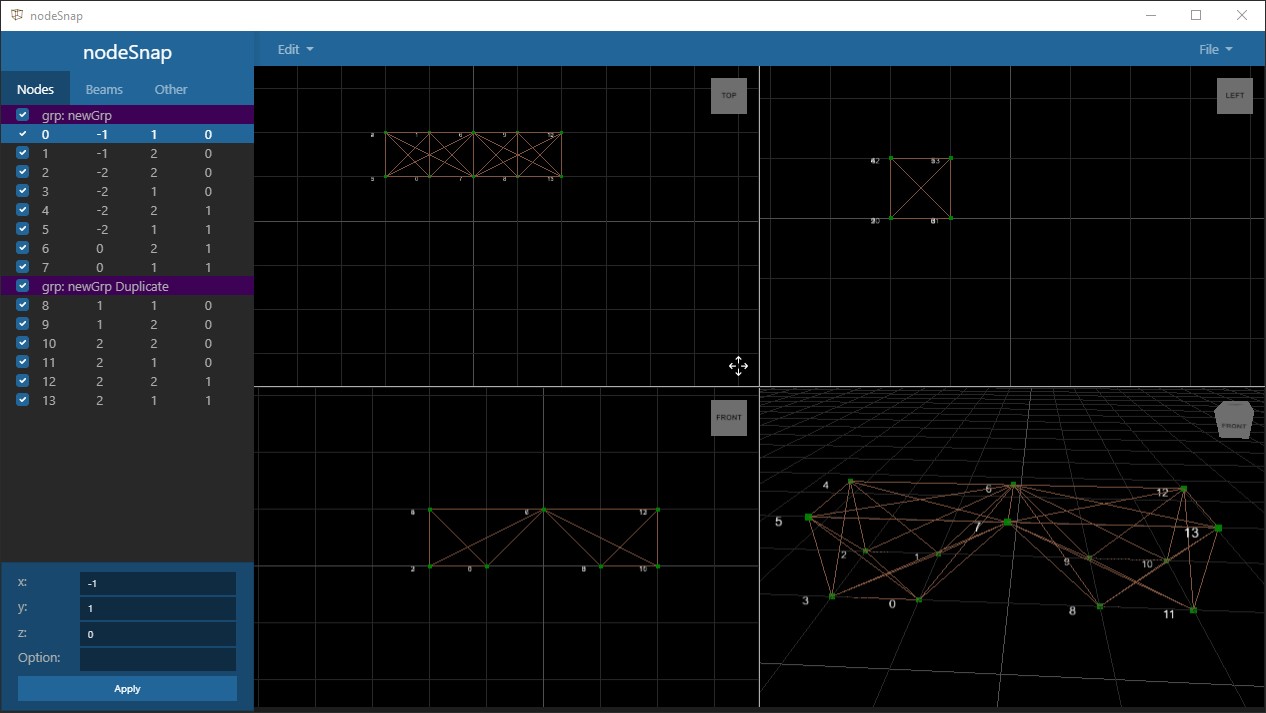
nodeSnap's UI looks like rorEditorizer. On the left side, we have a sidebar that shows you all the nodes and beams with their details and on the top, we have a toolbar that contains functions.
In the middle, we have 4 views: Top, Side, Front, and 3D. The first three views are orthographic and the last one is a perspective view. In the middle of the views, you have a selector that you can drag to resize the views. On each view, you have a 'viewCube' (3ds max inspired) that can help you get to certain angles easily. (currently works only on the 3D view)
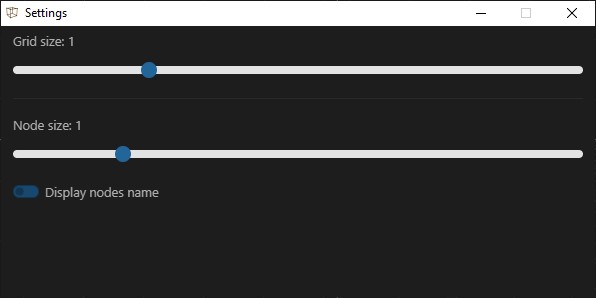
On the sidebar, click on the "Other" tab, click on "Settings" button to access the current editor's settings. These settings allow you to change the grid size (it affects node snapping), to change a visual node's size and to toggle node names.
Note: These settings are saved as preferences for each truck file you make/edit in a ".nodeSnap" folder that you can find in the root truck file's directory.
Controls
Camera:
- Right click + mouse move => move camera around
- Left click + mouse move (Only on perspective view aka 3D view) => rotate on axis
- Mouse wheel => Zoom
Editor:
- CTRL + N => truck mode (default)
- CTRL + B => blueprint mode
- Truck Mode:
- Mouse double left click => new node
- Mouse double left click + CTRL => new node snapped on grid
- Mouse click on a node + drag => Move node around
- Mouse click on a node + drag + CTRL => Move node around with grid snapping to the preset value
- CTRL + SHIFT + click node1 + click node2 => Creates a beam + shows a temporary blue line before you click on the second node
- Blueprint Mode:
- Mouse + gizmo => transform
- Key "S" => scale mode
- Key "R" => rotate mode
- Key "T" => translate mode
Functions
nodeSnap includes a few useful functions to make your editing experience easier.
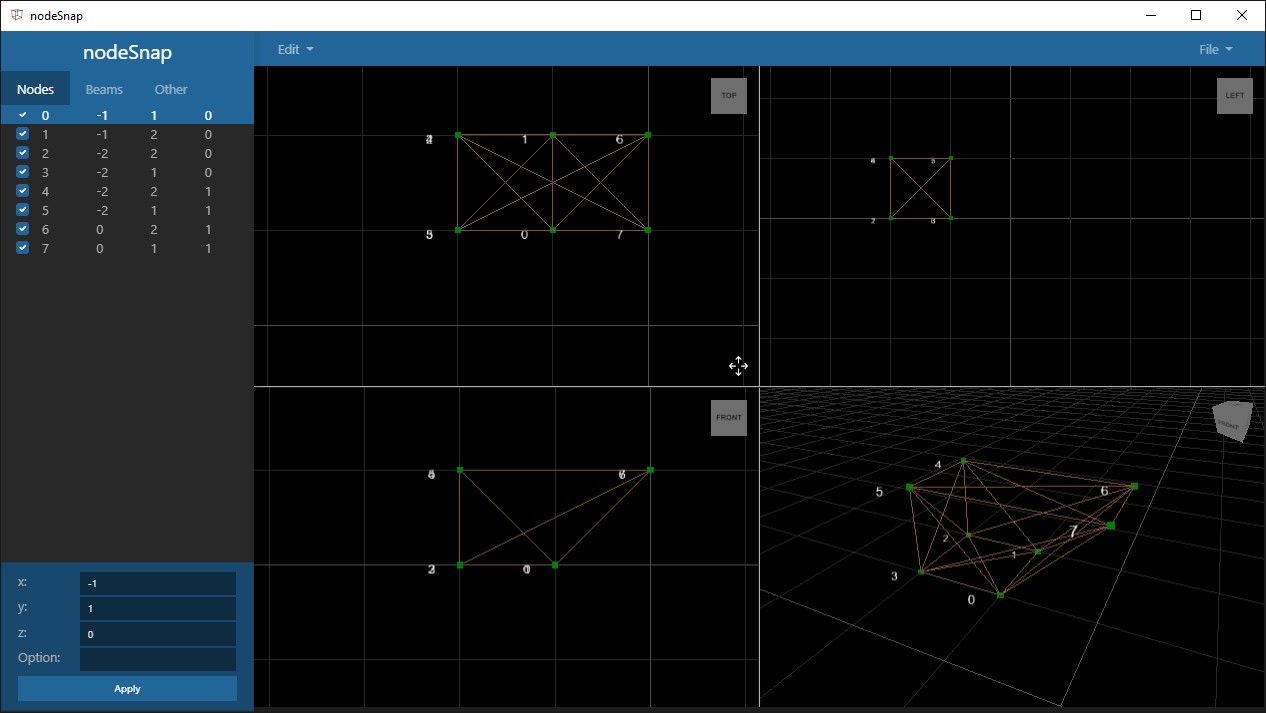
We will use this simple structure as an example.
A structure is an N/B, either the whole N/B or an N/B inside of a group.
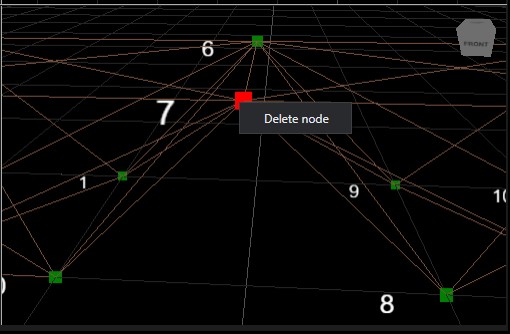
You can right click on a node in one of the views for a menu
Grouping
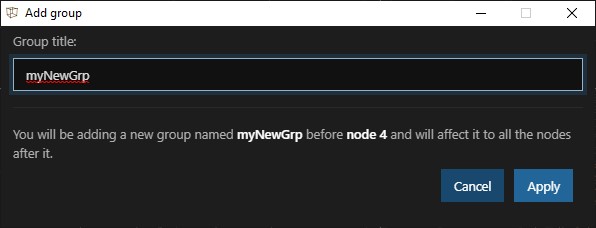
nodeSnap supports RoR's grouping and adds a few more functions to that. To add a new group, right click on a node, a window will ask you to name that group, and after clicking apply, nodeSnap will add that group affecting that node and all nodes after it.

After you add a new group, nodeSnap will offer you a few functions when you right click on the group.
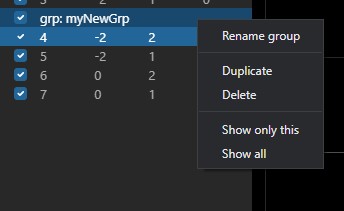
The functions are self explanatory.
Duplicate a group
Instead of remaking the exact same structure somewhere else, nodeSnap offers a function to duplicate the current structure in a group and place it anywhere else you want.
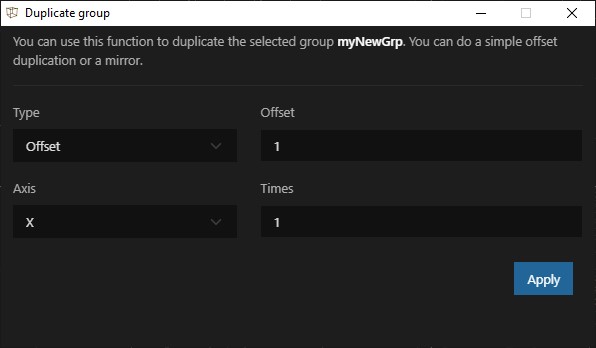
nodeSnap allows you to do an offset on the specified axis.
All you have to do is to specify the offset (in RoR's one unit of distance) and how many times you want to duplicate the structure
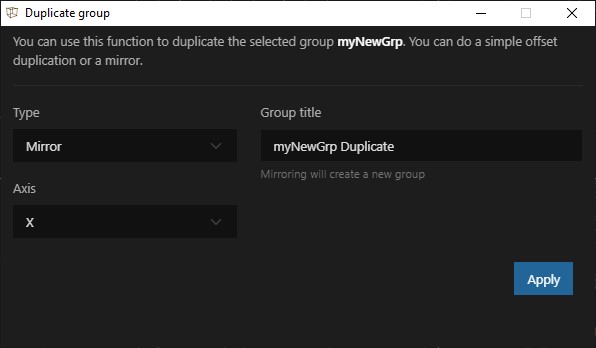

nodeSnap also allows you to do a mirror on the specified axis.
Note: You do not have to care about overlapped nodes after duplication, because nodeSnap takes care of that automatically.
Note 2: nodeSnap does not copy beams that are connected between any node inside the group and an other node outside the group, keep reading for the solution.
Toolbar
On the toolbar, we have two drop down menus: "Edit" and "File"
Edit menu
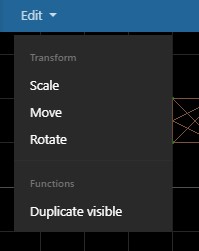
The edit menu has a few interesting functions. The "Scale" function gives you the ability to scale the whole n/b. The "Move" functions moves the whole n/b by an offset on a specified axis. The "Rotate" function rotates the whole n/b on a specified axis with a given angle in degrees.
The "Duplicate Visible" function solves one problem you have when duplicating groups. Instead of duplicating a specific group, all you have to do is to hide all the nodes/groups that you do not want to duplicate, and execute the function, just like duplicating a group.
File menu
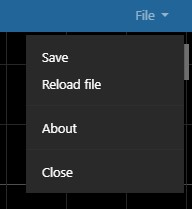
The functions are pretty much self explanatory.
Note: nodeSnap has an integrated file watcher. This means that whenever you edit your truck file using a text-editor, nodeSnap will automatically reload the file.
Note 2: nodeSnap has a backup system. Each time you save your file, nodeSnap will make a backup of the previous truckfile and store it inside the ".nodeSnap" folder that is found in the root truck file's directory, ordered by a timestamp.
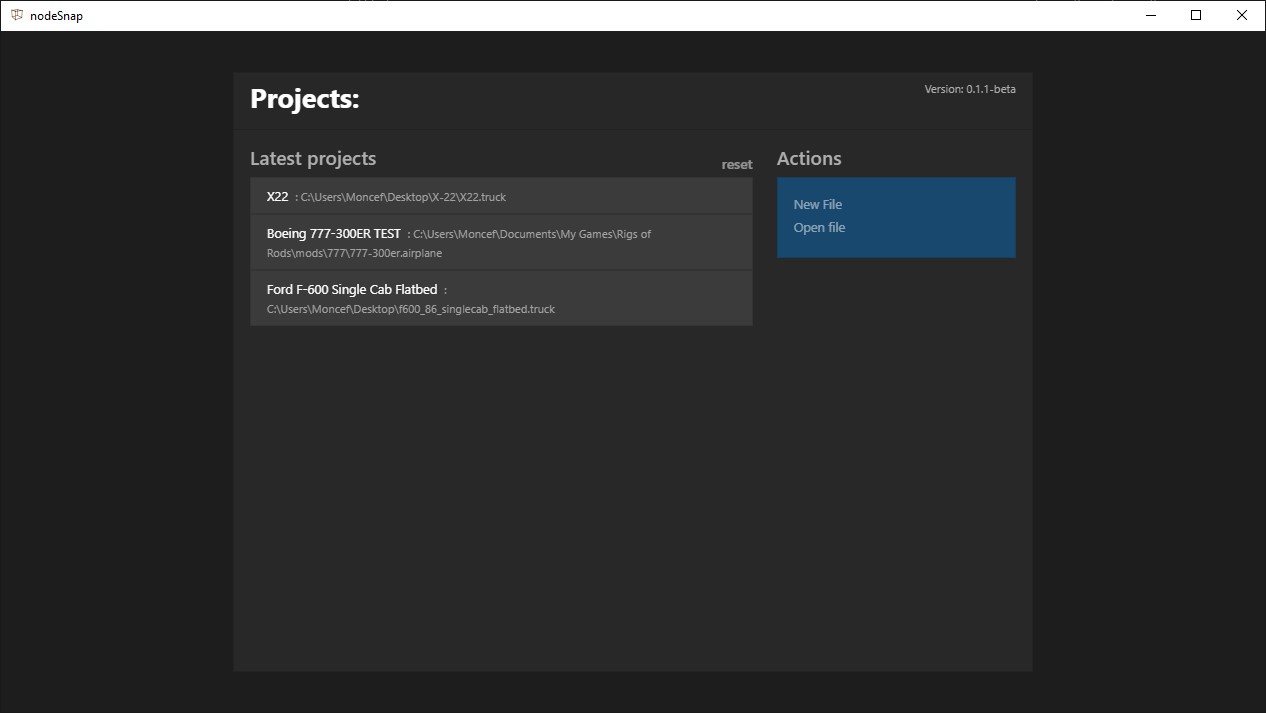
Note 3: nodeSnap is based on a "project" system, which means, if you leave the editor and go back to the project page, your work will not be lost and you will have an option to go back to your work. (this is integrated for future features)
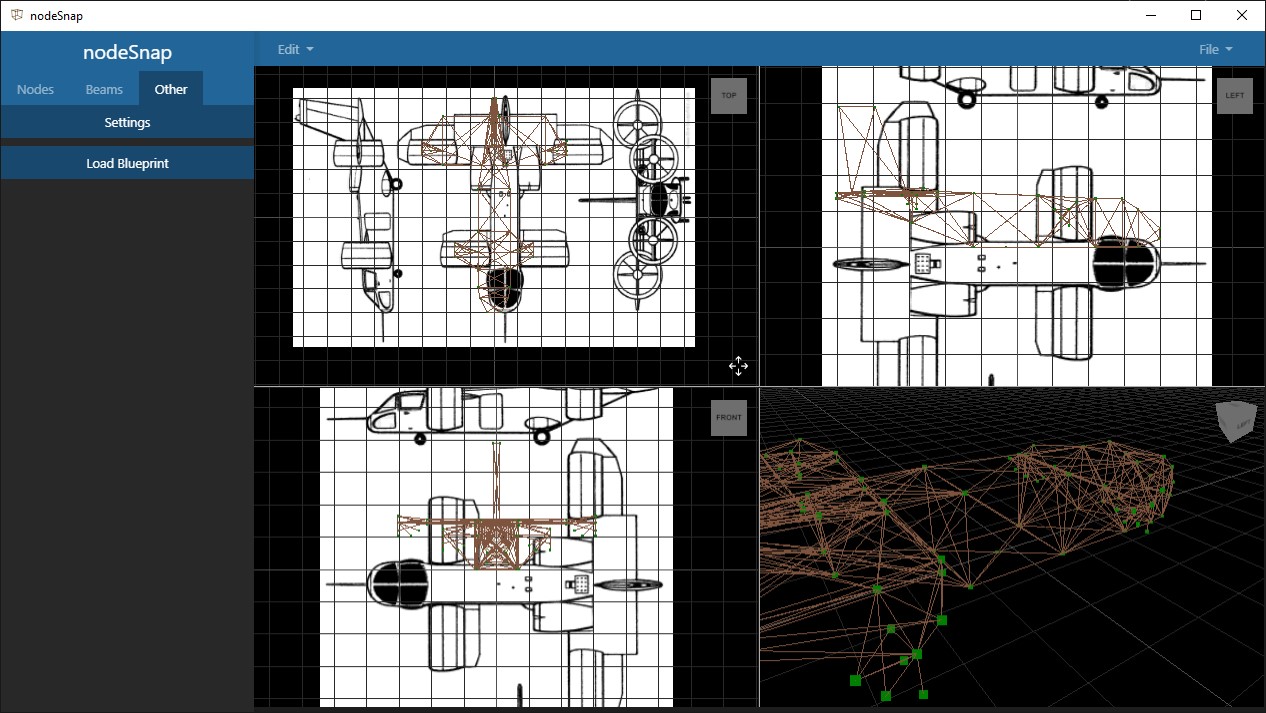
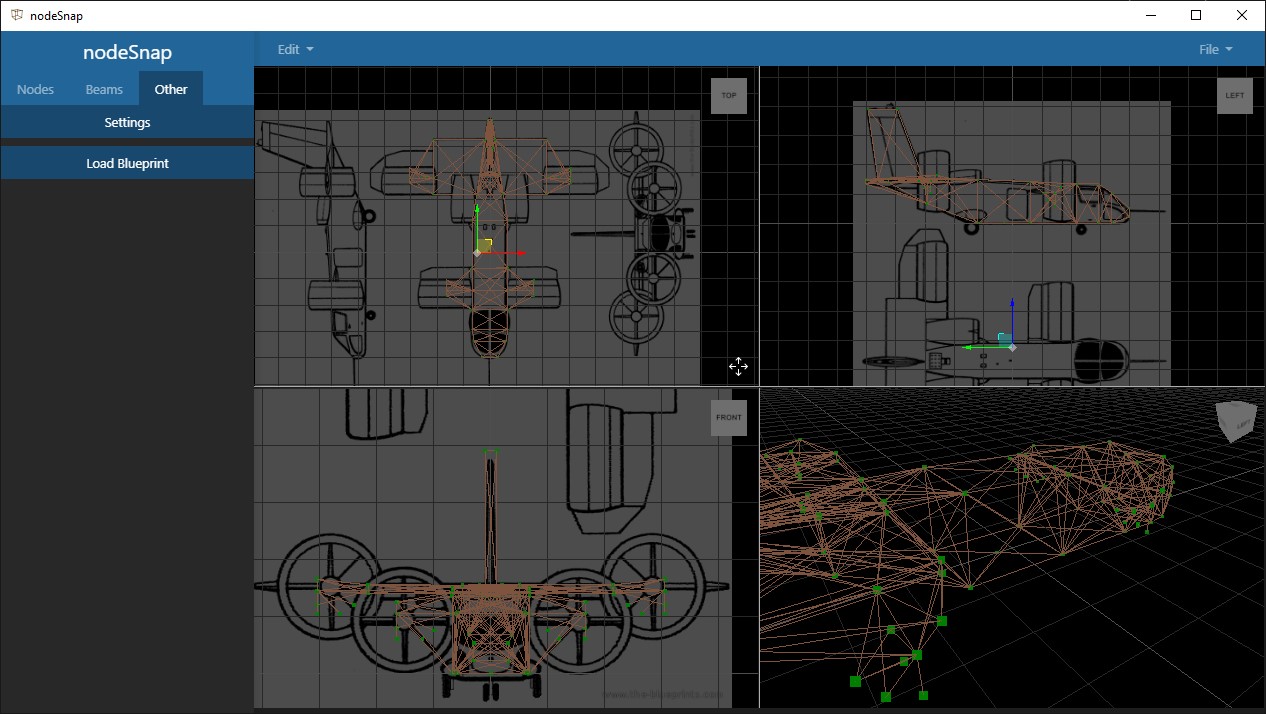
Blueprint system
Like any 3D editor, you can load a blueprint in nodeSnap by going to the sidebar, clicking on the "Other" tab, and clicking on the "Load Blueprint"
Note: nodeSnap saves your blueprint data as preference and loads it again whenever you load the truck file again.

Image
On the "Image" tab, select your file and press "Add"
You can switch to blueprint mode (CTRL+B) and reposition, scale or rotate the blueprint by pressing (T, S, R) keys respectively.
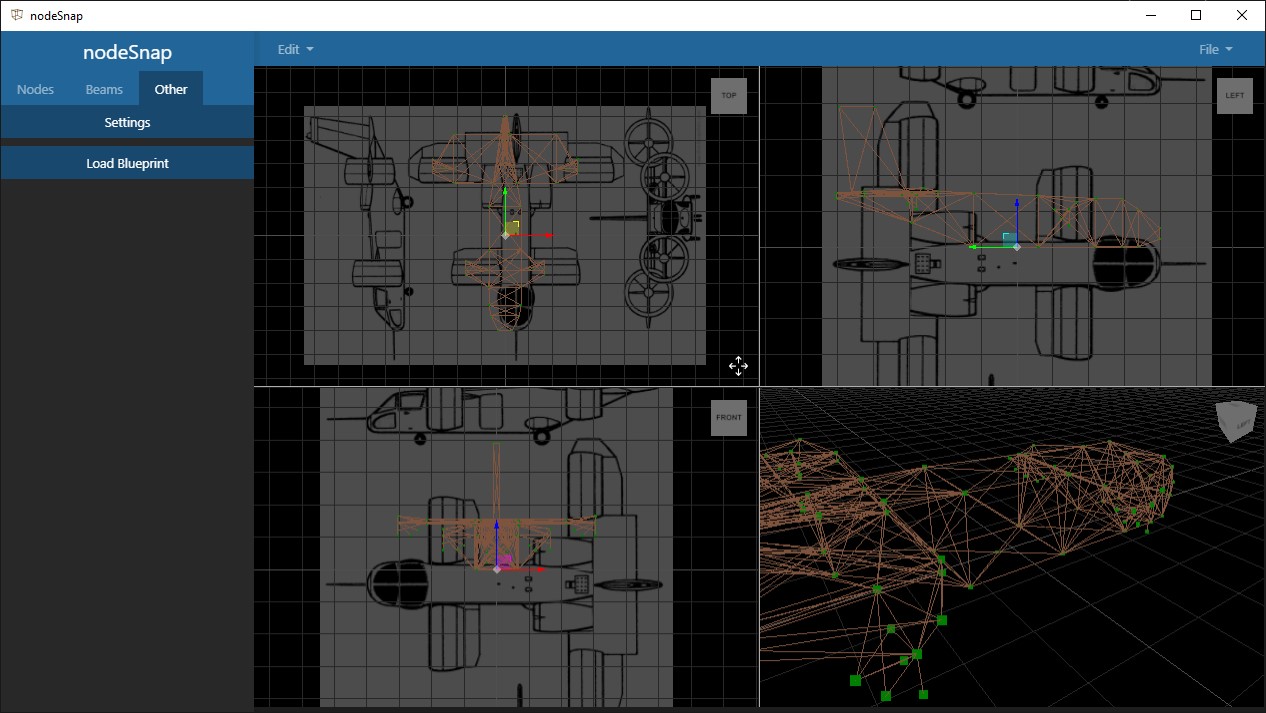
And then go back to truck editor mode using (CTRL+N)
3D Model
On the "3D Model" tab, select your file and press "Add"
Again, you can switch to blueprint mode (CTRL+B) and reposition, scale or rotate the model by pressing (T, S, R) keys respectively.
Note: nodeSnap supports only ogre's XML files (".mesh.xml") or Wavefront object file (".obj")
Conclusion
nodeSnap is made to make editing N/Bs an easy task that anyone can do.
For feature requests or bug reporting, please click this link