Visual editors
Introduction
While it is possible to create a node/beam completely using a text editor, it is not recommended as an n/b can get quite complex.
These are programs that help you visualize and edit a node/beam.
Truck file template
To help you get started with creating a new node/beam, you can download this truck file template which contains all the required sections.
Blender
As of November 2018, Blender supports creating/editing Node/Beam structures with a plugin created by Ulteq.
Features:
-
Full vertex group support
-
Automatic column alignment
-
Sophisticated vertex position rounding
-
Full preservation of the original truck file
-
Automatic beam sorting based on the vertex groups
-
All node, beam and cab options are preserved during import / export
-
All
set_node_defaults,set_beam_defaultsandset_beam_defaults_scaleentries are preserved
Download
First, download the correct version of the plugins from the Repository.
For Blender 2.79, download blender_NB_plugin_2.79.zip.
For Blender 2.8 and newer, download blender_NB_plugin_2.8.zip.
Do not extract.
Installation
2.79
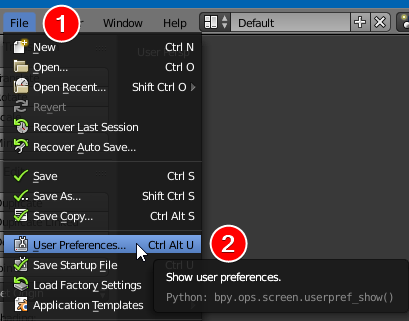
Go to File -> User Preferences:
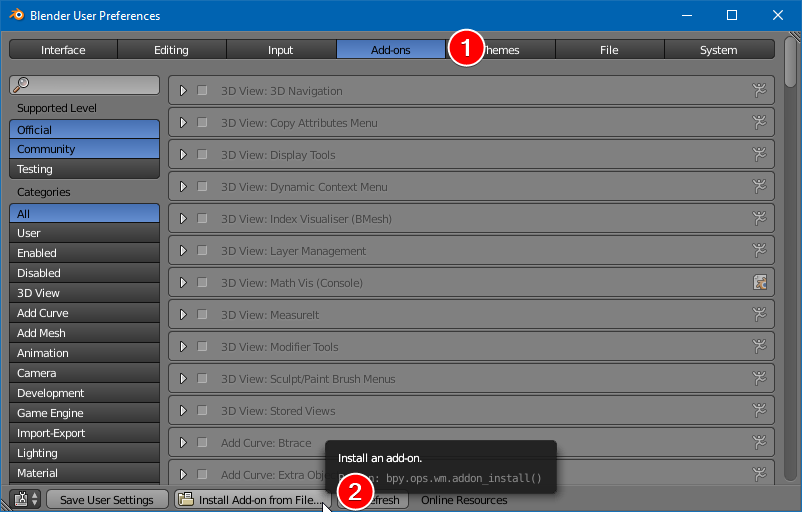
Click Add-ons -> Install from File:
Select the blender_NB_plugin_2.79.zip file you downloaded earlier.
Type "RoR" into the search bar and both add-ons should appear:
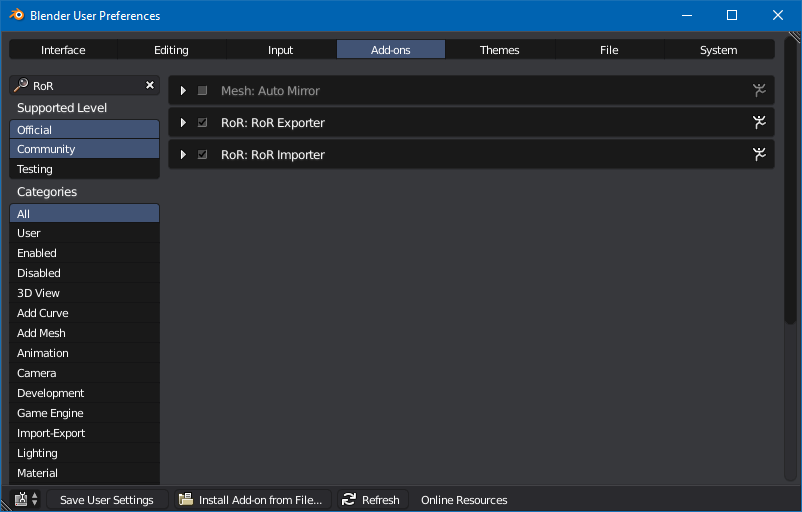
Once both plug-ins are enabled by clicking the checkbox, select Save User Settings.
You can now close the User Preferences window.
The plugins are now available in File -> Import and Export -> Truck (.truck).
2.8 and newer
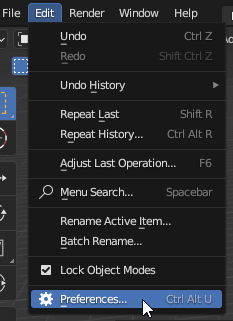
Go to Edit -> Preferences:
Click Add-ons -> Install:
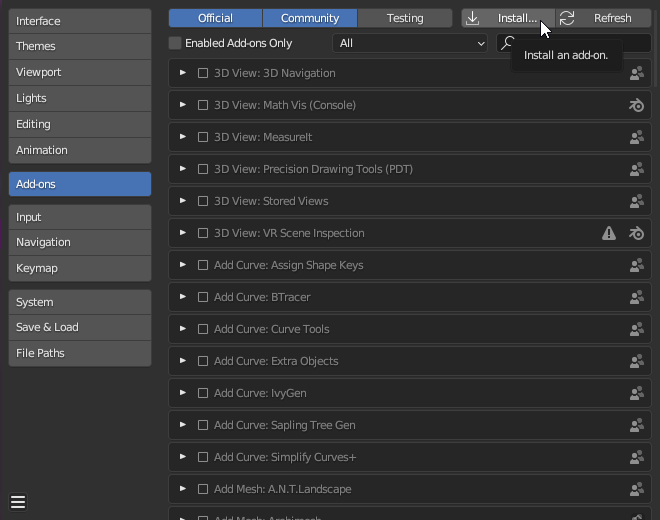
Select the blender_NB_plugin_2.8.zip file you downloaded earlier.
Type "RoR" into the search bar and both add-ons should appear:

Enable both RoR Exporter and RoR Importer addons, then close the Preferences window.
The plugins are now available in File -> Import and Export -> Truck (.truck).
Node visualization
To view the node numbers, follow the steps below for your Blender version.
2.79
By default, the plugin will enable Blender's debug mode which provides node ID visualization, however they are usually difficult to read.
To fix this, download this plugin by GitHub user zeffii (mirror)
Install it following the above instructions:

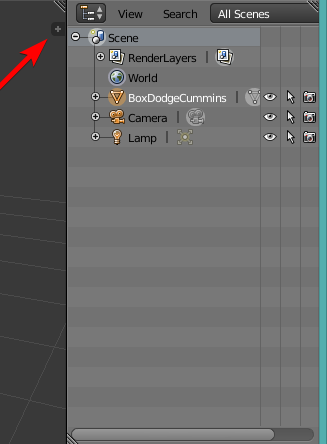
To enable it, go to the top right and find the little plus icon, or press N to open it:
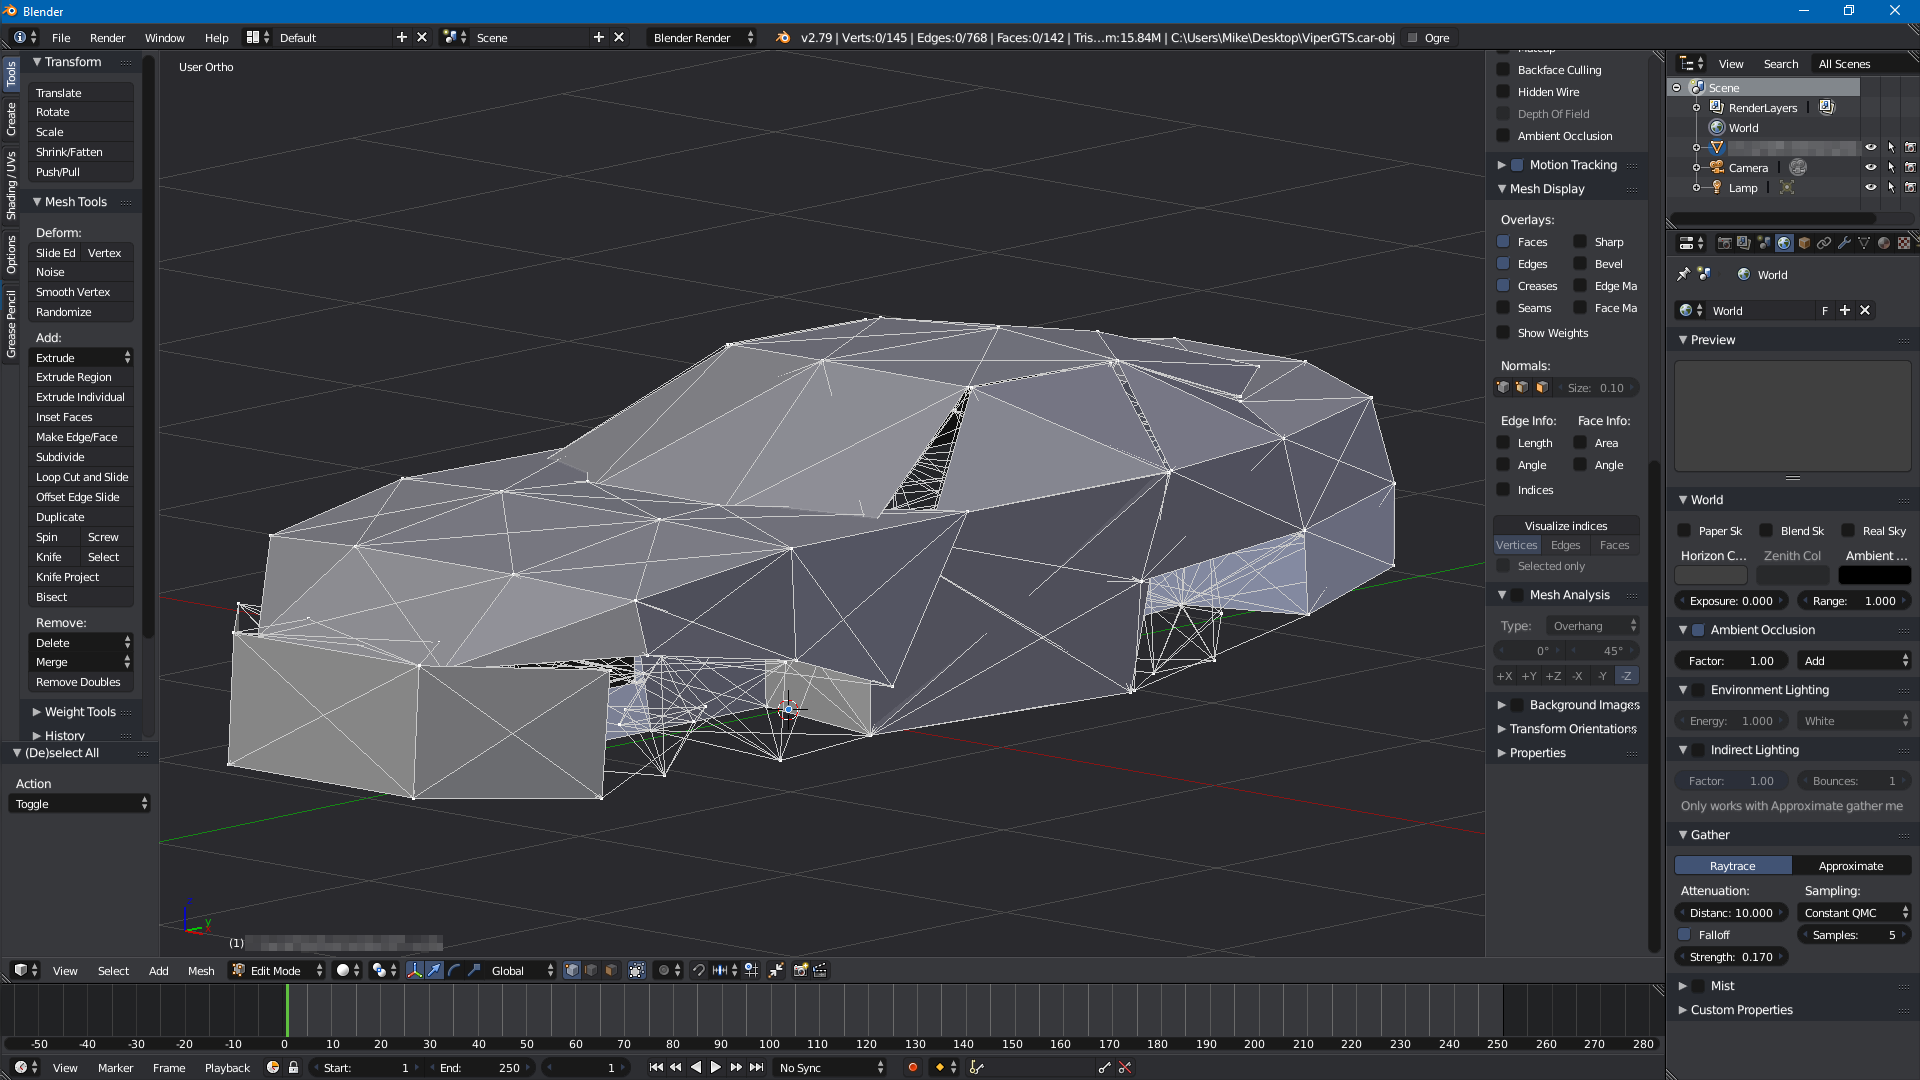
While in edit mode, open the Mesh Display menu and select Visualize indices:
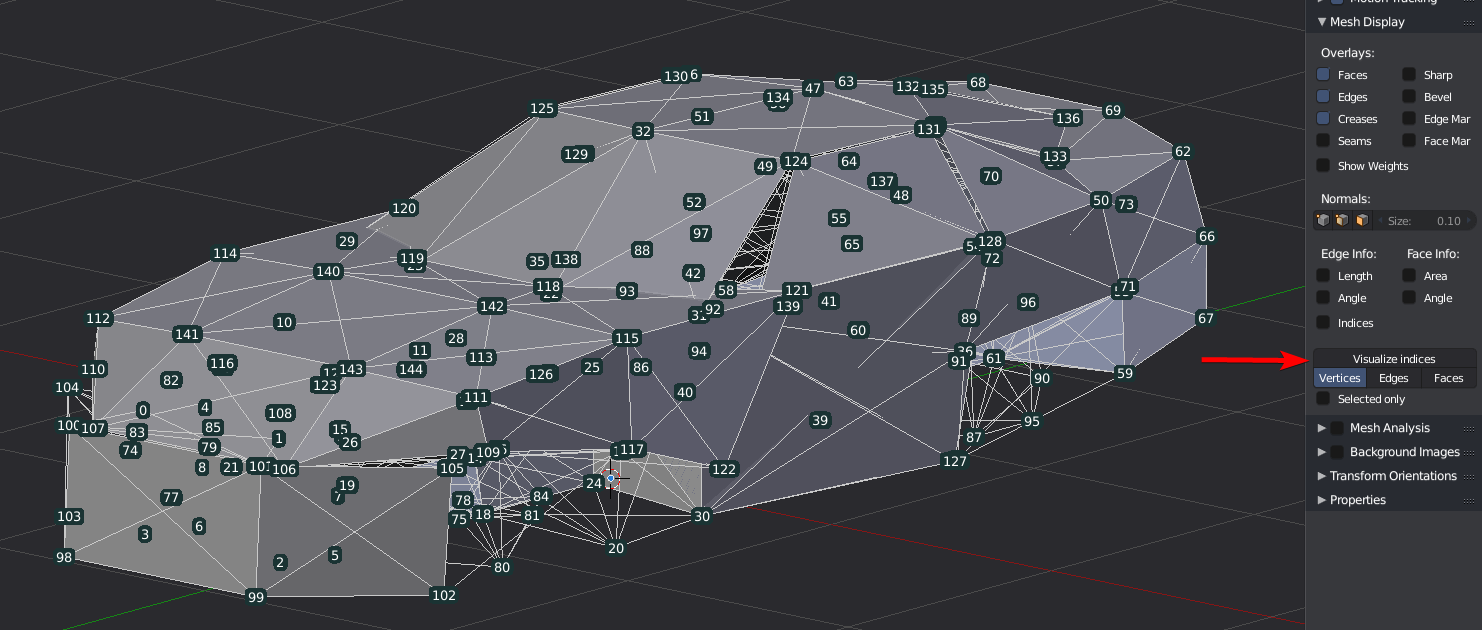
You should now have readable node IDs.
2.8 and newer
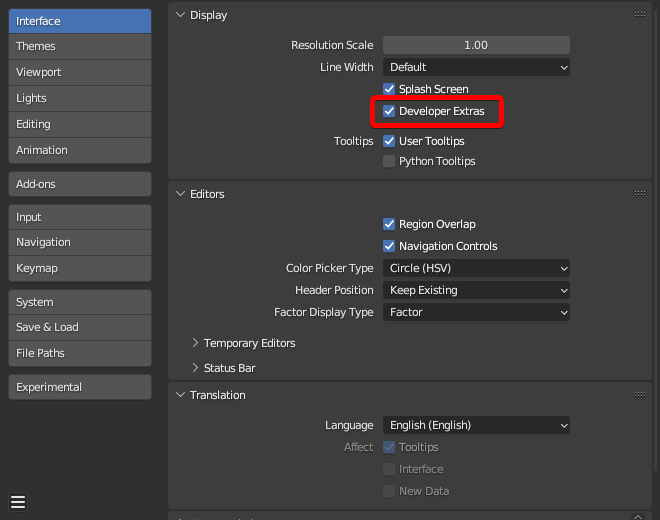
Make sure Developer Extras is enabled in Edit -> Preferences -> Interface:
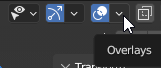
Now open the Overlays menu, located in the top right:
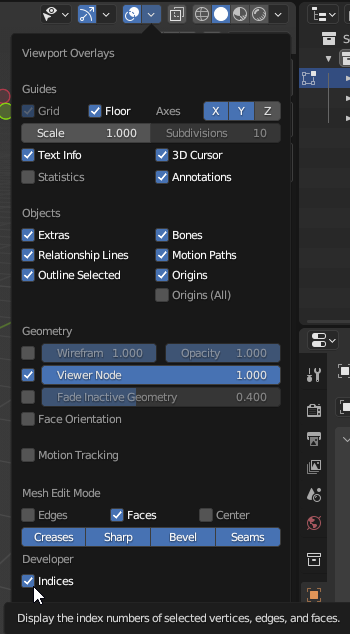
Enable Indices under Developer:
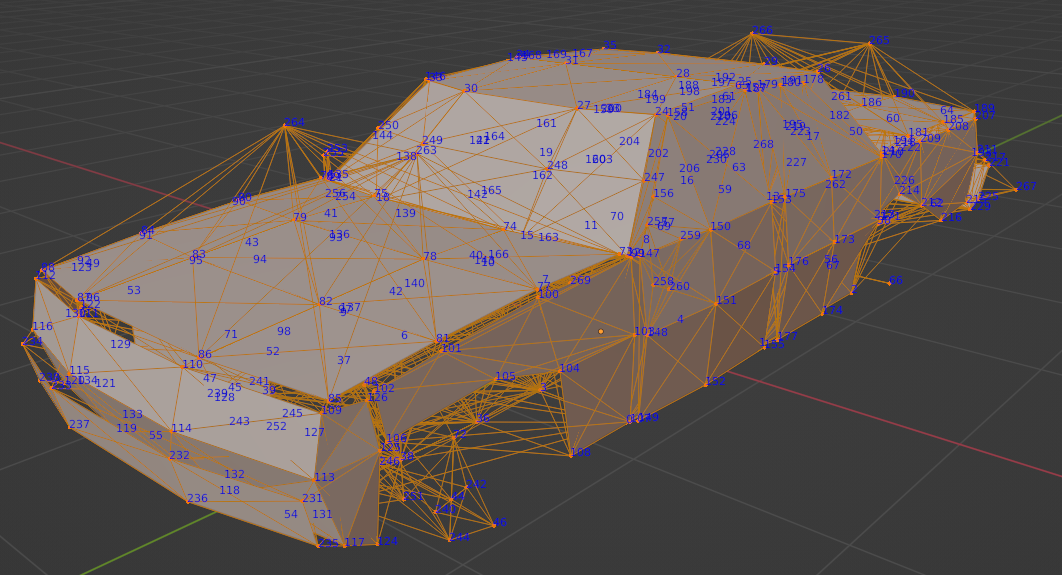
Node numbers should now be visible.
Notes and known issues
- You can use vertex groups to organize your structure. In the
.truckfile, a "vertex group" starts with;grp:. - Due to how the plugin reads/writes the
.truckfile, it is recommended to remove and reimport your N/B if you want to make more changes in Blender, otherwise changes you've made in the.truckfile after exporting will be reverted.
Known issues:
- If the
.truckfile contains detacher_group sections, they must be commented;out otherwise not all beams will import correctly. See this GitHub issue ticket for more information.
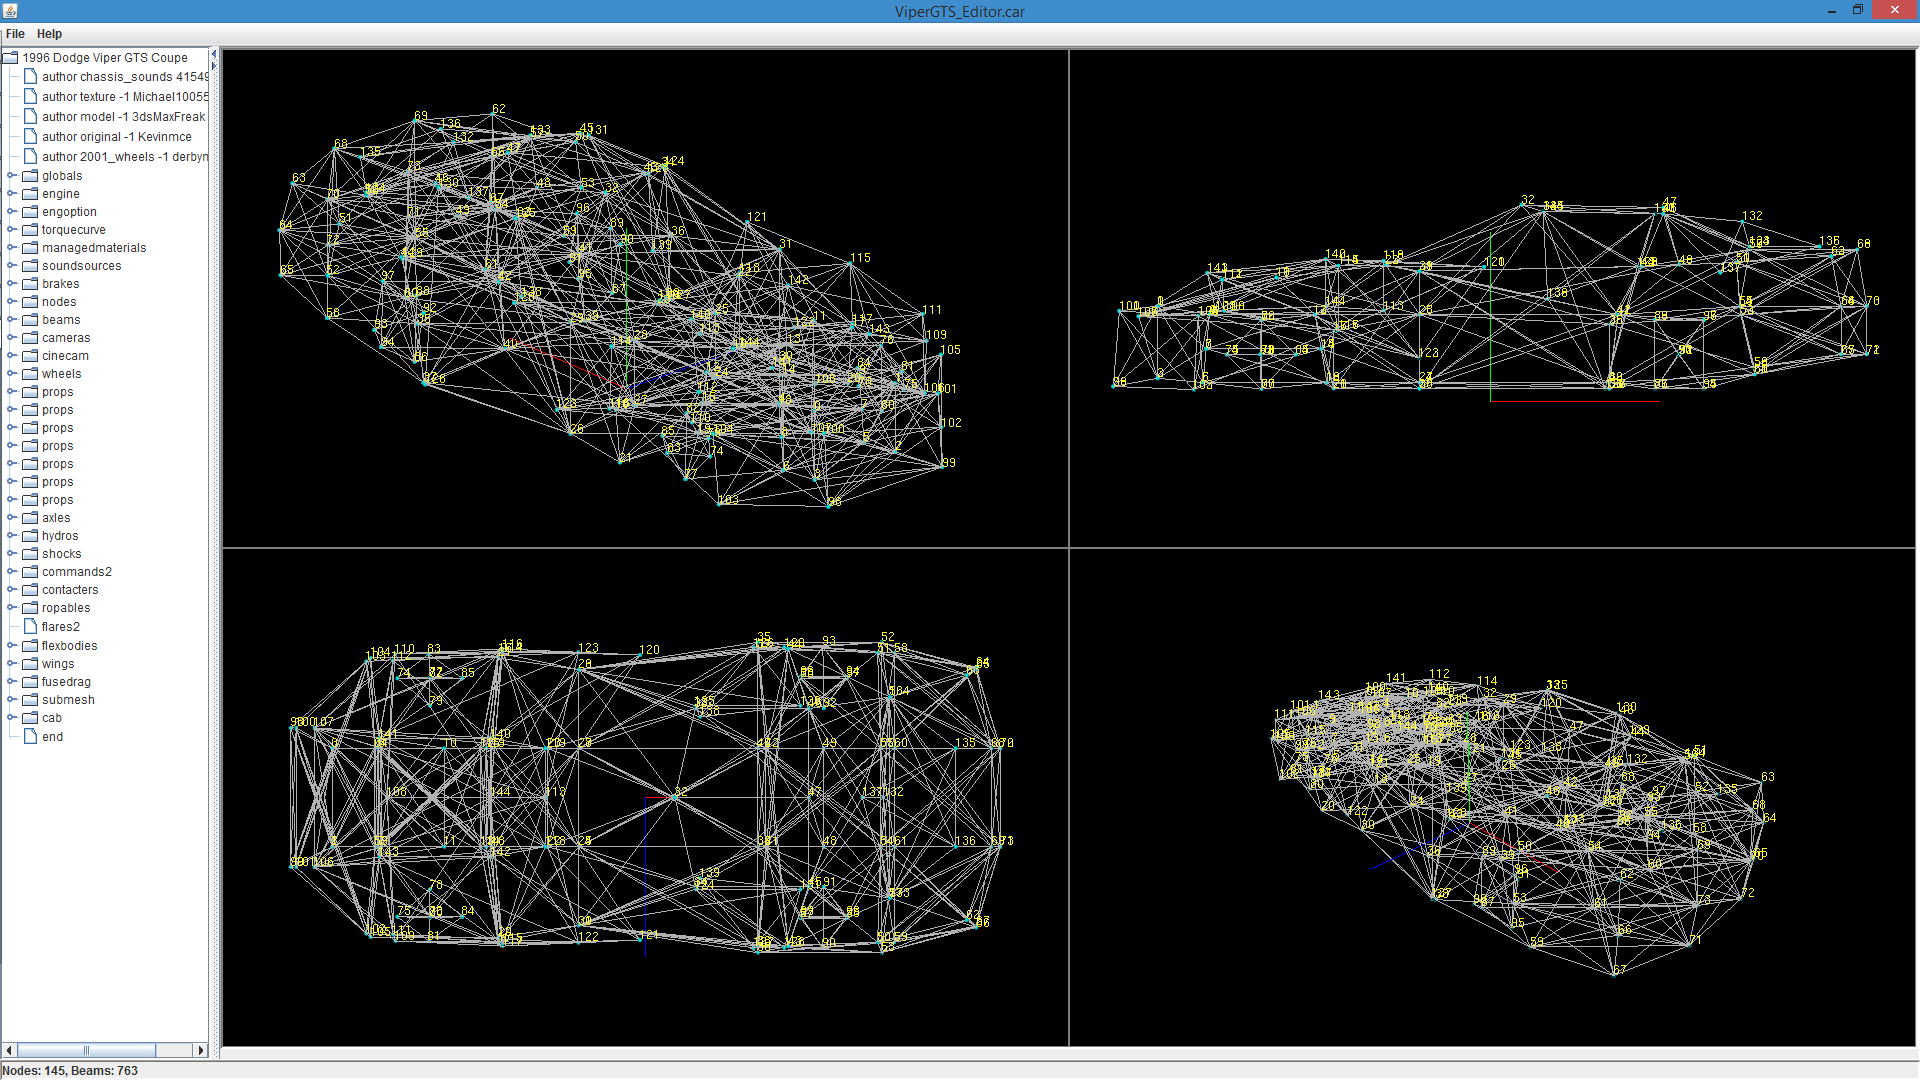
TruckViewer
A Java program made by Gouranga designed for viewing a node/beam structure.
Pros:
-
Auto-reloading of the file
-
Supports nodes2
-
4 independent views, each can be either be rotated in 3d or snapped to the front/sides/back.
Cons:
-
Only displays pure nodes and beams.
-
Cannot edit the n/b structure, it is designed only for viewing it.
Download
Editorizer
Warning
This program is very old and thus shouldn't be used to edit existing vehicles. It is recommended to create N/Bs using Blender instead.
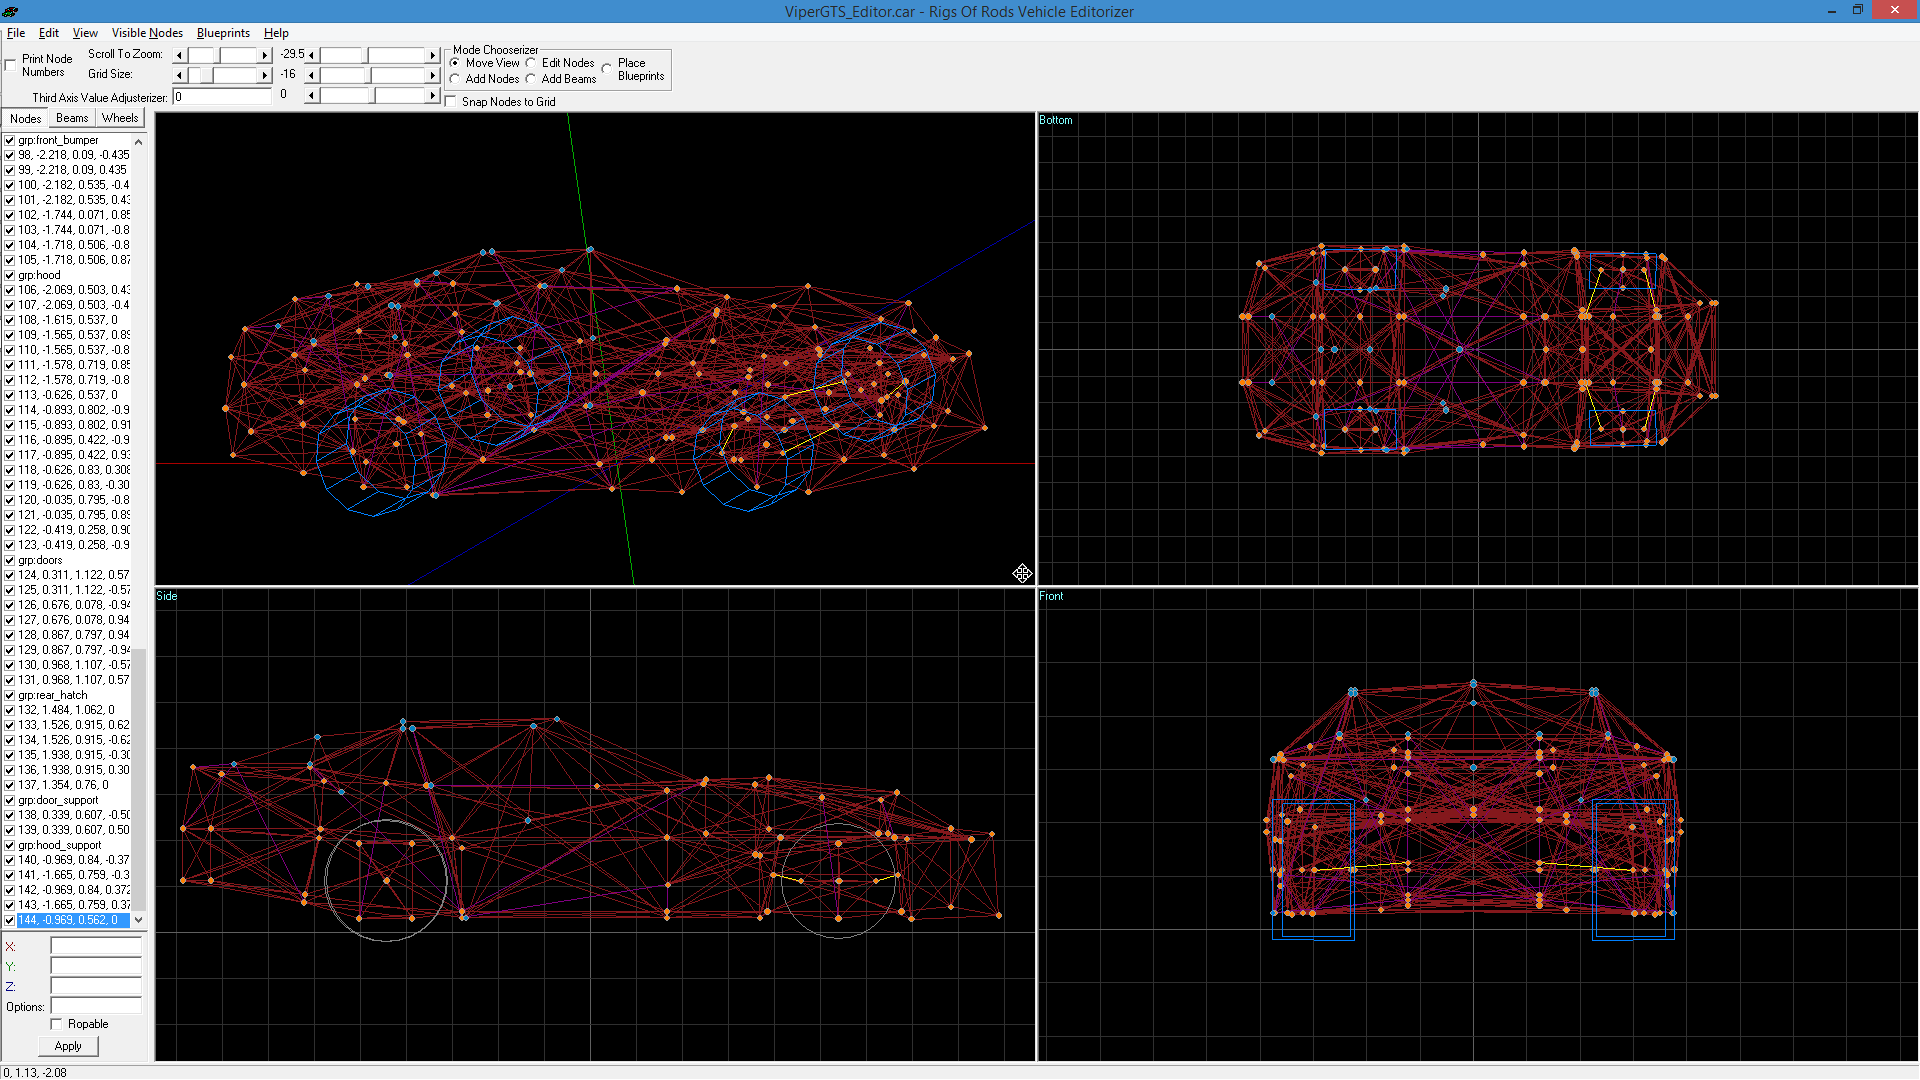
The Editorizer is a free program written by Ben for making vehicles. Contributions: Tuusita (Comments, Structure, Connect To).
It's a fairly old and simple program. Note you can't use it to create a new vehicle from scratch, you need to manually create a .truck file with a basic structure. A .truck file with the basic structure has been included to get you started.
Pros:
-
Designed for editing node/beam, very feature-rich
-
Colors can be changed to suit your liking
Cons:
- Does not support newer truck sections (such as
set_node_defaults). These sections will have to be commented out otherwise the Editorizer fails to open the file.
It is recommended to make a copy of the truck file made for editing, then copy the changes over to your main truck file.
Download and run on Windows
Download here (ZIP archive)
Run as administrator! (only needed on the first run or if you move Editorizer's directory)
Troubleshooting
If you don't run Editorizer as administrator for the first time, or you subsequently move it's directory, you may encounter this error: 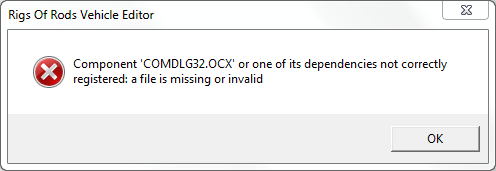
To resolve this, try running as administrator again, and if it doesn't help, try these steps:
- Find comdlg32.ocx and mscomctl.ocx in Editorizer's directory.
- On 32-bit Windows:
- Move comdlg32.ocx and mscomctl.ocx to C:\Windows\system32.
-
Open a command line window and run following commands:
- On 64bit Windows: - Move comdlg32.ocx and mscomctl.ocx to C:\Windows\SysWOW64 - Open a command line window and run following commands:regsvr32 c:\Windows\system32\comdlg32.ocx regsvr32 c:\Windows\system32\mscomctl.ocxregsvr32 c:\Windows\SysWOW64\comdlg32.ocx regsvr32 c:\Windows\SysWOW64\mscomctl.ocx
Download and run on MacOSX
Download here (ZIP archive)
Requires MacOSX Snow Leopard or Higher.
The mac port is standalone with all the files needed built into the app, Huge thanks to MothBird.
Warning: the file is quite large (209.92MB) because of all of the required frameworks.
Using blueprints
Blueprints are technical drawings of vehicles and machinery, very useful as reference. Many good blueprints can be found on the internet.
To load a blueprint, find Blueprints in the top toolbar, and load in the files.
To adjust blueprints, click on Place Blueprints on the far right, and place your blueprints in a desired position .
Editing Nodes
When you want to add nodes, just click on Add Nodes up in the right. Click where you want the node to go, either in the Top Left, Bottom Left or Botton Right areas. If you want to make the node only get placed on the "grid" that divides the areas up-check the "snap nodes to grid" box. Special Nodes
Check truckfile reference for special node types.
If you want to give your nodes these special options, just click on the Nodes tab, pick the one you want to change, and put the corresponding node option in the options part.
Editing Beams
When you want to add beams, just click on the Add Beams up in the right. Click the first node where you want the beam to start. Click the second node which is where you want the beam to end.
Check truckfile reference for special beam types.
If you want to give your beams these special options, just click on the Beams tab, pick the beam you want to change, and put the corresponding beam option in the options box, along with any variables for that type of beam.
Wheels
To add wheels, look at this example. Just click on the Wheels tab and add in the correct information in the correct spaces.
FRONT WHEELS(Steering wheels):
wheels
; EXAMPLE:
0.5,0.1,12,33,34,9999,1,1,32,350.0,300000,4000, tracks/wheelface tracks/wheelband1
; EXAMPLE2:
0.5,0.1,12,35,36,9999,1,1,31,350.0,300000,4000, tracks/wheelface tracks/wheelband1
REAR WHEELS:
wheels
;EXAMPLE:
0.5,0.1,12,12,13,14,1,1,10,350.0,300000,4000, tracks/wheelfaceb tracks/wheelband1
;EXAMPLE2:
0.5,0.1,12,14,15,-12,1,1,9,350.0,300000,4000, tracks/wheelfaceb tracks/wheelband1
Scaling
To scale your vehicle if you find it a little bit too big, just go to the Visible Nodes tab at the very top. Click on Scale..., then put in decimal numbers from 0.01 to 0.99 in the X,Y,Z lines to scale it down, put in decimal numbers from 1.0 and up(experiment) to scale it up.
Tools to avoid
In the Visible Nodes tab at the top, I would advise to not use the Interconnect or Variable Interconnect options with any vehicle as it can mess up the structure and other things. Basically these options will join every node to every other node in the object...